
Bright Sunshine Pops Recipe with Real Fruit and Tropical Flavors
Sunshine pops burst with vibrant tropical energy, offering a delightful frozen treat that captures summer’s essence.
Cool and refreshing, these colorful delights enhance ordinary ingredients into extraordinary sensations.
Sweet and tangy flavors dance across your palate, creating an instant mood lift.
Creamy textures blend seamlessly with fruity undertones, promising a delectable experience for all ages.
Homemade sunshine pops represent more than just a dessert; they’re an edible celebration of joy and warmth.
Crafted with simple ingredients and minimal effort, these frozen treats become instant crowd-pleasers that spark smiles and memories.
Summer feels magical when you enhance ordinary moments into extraordinary culinary adventures.
Everything That Makes Sunshine Pops So Fun
Ingredients You’ll Need for Sunshine Pops
Base Ingredients:Sweetening and Binding Ingredients:Coating and Decoration Ingredients:Steps to Freeze and Serve Sunshine Pops
Step 1: Create the Magical Mixture
Grab a mixing bowl and blend all ingredients together. Stir with love until everything looks perfectly combined and smooth. The mixture should feel soft and slightly sticky.
Step 2: Shape Your Sunshine Spheres
Use a small cookie scoop to form round, adorable balls. If you want to add popsicle sticks, gently insert them into each ball. Place the balls on a parchment-lined tray.
Step 3: Chill and Prepare
Pop the tray into the freezer for one hour. This helps the balls firm up and makes coating easier. While waiting, prepare your chocolate coating.
Step 4: Melt the Chocolate Coating
Choose your chocolate melting method:
Double Boiler Option:Microwave Option:Step 5: Decorate with Deliciousness
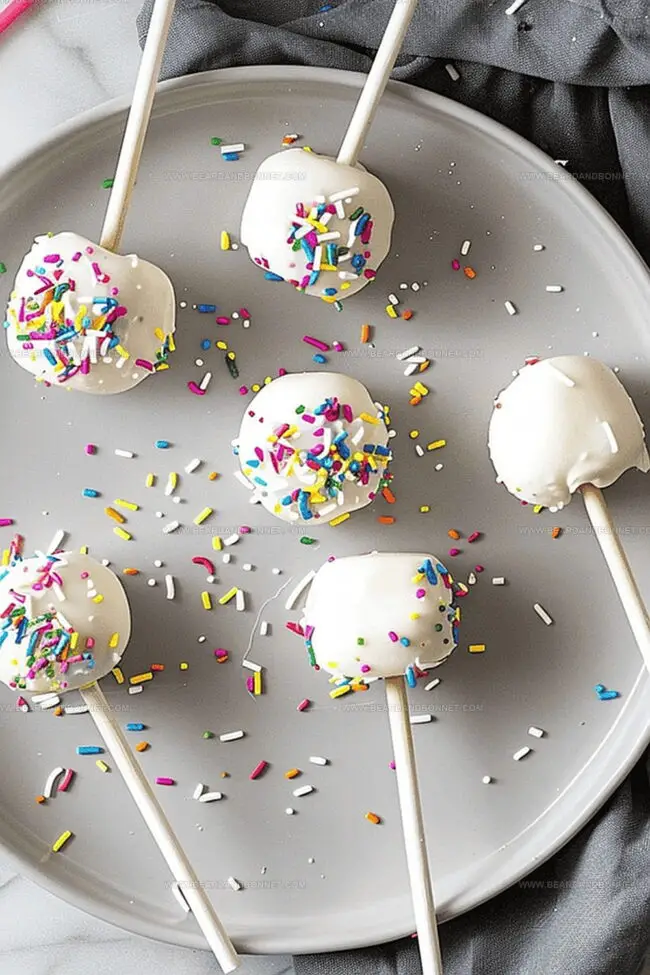
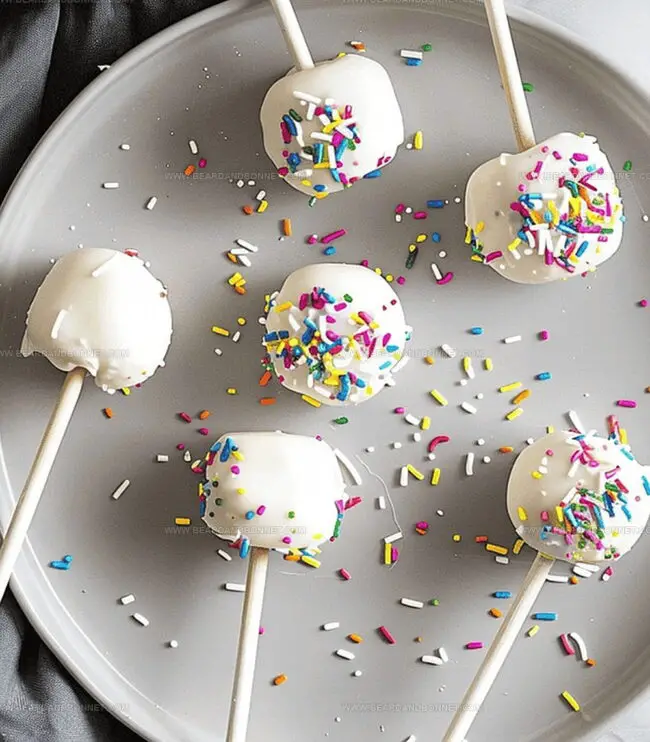
Remove frozen balls from freezer. Dip each ball into melted white chocolate. Sprinkle with colorful decorations while chocolate is still wet.
Step 6: Final Freezing and Serving
Place decorated pops back on parchment paper. Freeze for another 15 minutes to set. Store in freezer up to 6 months. Before serving, let pops sit at room temperature for 15 minutes to soften.
Enjoy your homemade Sunshine Pops!
Pro Tips for Making Sunshine Pops Smooth and Sweet
Best Storage Methods for Sunshine Pops
Great Combos to Serve Alongside Sunshine Pops
Flavor Mix-Ins and Variations for Sunshine Pops
Print
Sunshine Pops Recipe
- Total Time: 25 minutes
- Yield: 10 1x
Description
Sunshine Pops bring tropical paradise to your palate with a creamy coconut base and zesty mango swirls. Refreshing homemade popsicles promise cool indulgence that transports you to island bliss with each delightful bite.
Ingredients
Main Ingredients:
- 10 ounces (280 grams) white chocolate chips
- ⅓ cup (80 milliliters) sunflower seed butter
- ⅓ cup (80 milliliters) unsweetened applesauce
- ¾ cup (90 grams) oat flour
Supportive Ingredients:
- 2 teaspoons (10 grams) sugar
- 1 teaspoon (5 grams) flaxseed meal
- A pinch of salt
Decorative Ingredients:
- ¼ cup (40 grams) colored sprinkles
Instructions
- In a spacious mixing vessel, thoroughly blend oat flour, sunflower seed butter, applesauce, sugar, flaxseed meal, and salt until the mixture achieves a uniform consistency.
- Utilize a compact cookie scoop to carefully shape the blend into uniform spherical formations, ensuring each orb maintains a consistent size and texture.
- Gently insert popsicle sticks into the center of each sphere, pressing firmly to secure placement.
- Transfer the prepared spheres to the freezer, allowing them to solidify and chill completely for approximately one hour.
- Prepare the chocolate coating by selecting either a double boiler or microwave technique for melting white chocolate, maintaining gentle heat and consistent stirring to prevent scorching.
- When using a double boiler, keep water at a gentle simmer and stir chocolate until achieving a smooth, glossy liquid consistency.
- For microwave melting, employ short 20-30 second intervals, pausing between each burst to stir and prevent overheating.
- Remove frozen spheres from freezer and delicately submerge each one into the molten white chocolate, ensuring complete and even coverage.
- Immediately garnish the chocolate-coated spheres with vibrant colored sprinkles while the coating remains wet, allowing decorations to adhere naturally.
- Place the decorated pops on parchment paper or a specialized cake pop stand to set and solidify.
- Store the completed sunshine pops in the freezer, where they will remain fresh for up to six months.
- Prior to serving, remove pops from freezer and allow them to rest at room temperature for approximately 15 minutes, enabling a softer, more palatable texture.
Notes
- Stash these delightful frozen treats in an airtight container for easy grab-and-go snacking.
- Quick tip: Let pops thaw slightly before biting into their creamy, crunchy goodness for the best texture experience.
- Customize your sunshine pops by swapping sprinkles or experimenting with different chocolate coatings to match any mood or celebration.
- Prep Time: 15 minutes
- Cook Time: 10 minutes
- Category: Snacks, Desserts, Drinks
- Method: Blending
- Cuisine: American
Nutrition
- Serving Size: 10
- Calories: 195
- Sugar: 4 g
- Sodium: 12 mg
- Fat: 10 g
- Saturated Fat: 5 g
- Unsaturated Fat: 4 g
- Trans Fat: 0 g
- Carbohydrates: 25 g
- Fiber: 1 g
- Protein: 3 g
- Cholesterol: 0 mg
Alex Reed
Founder & Lead Content Writer
Expertise
Recipe Development and Testing, Culinary Education, Food Writing and Blogging, Sustainable Cooking Practices, Global Cuisine Exploration
Education
Johnson & Wales University
Le Cordon Bleu Paris
Alex Reed is an inventive chef and food creator with a passion for dishes that balance taste, health, and sustainability.
Trained at Portland Community College and holding an Advanced Pastry Arts certificate from Oregon Culinary Institute, Alex brings more than 10 years of practical culinary experience to every recipe he develops.
His background uniquely blends traditional cooking skills with modern, mindful eating principles. As the founder of Beard and Bonnet, Alex creates recipes that encourage readers to cook confidently.