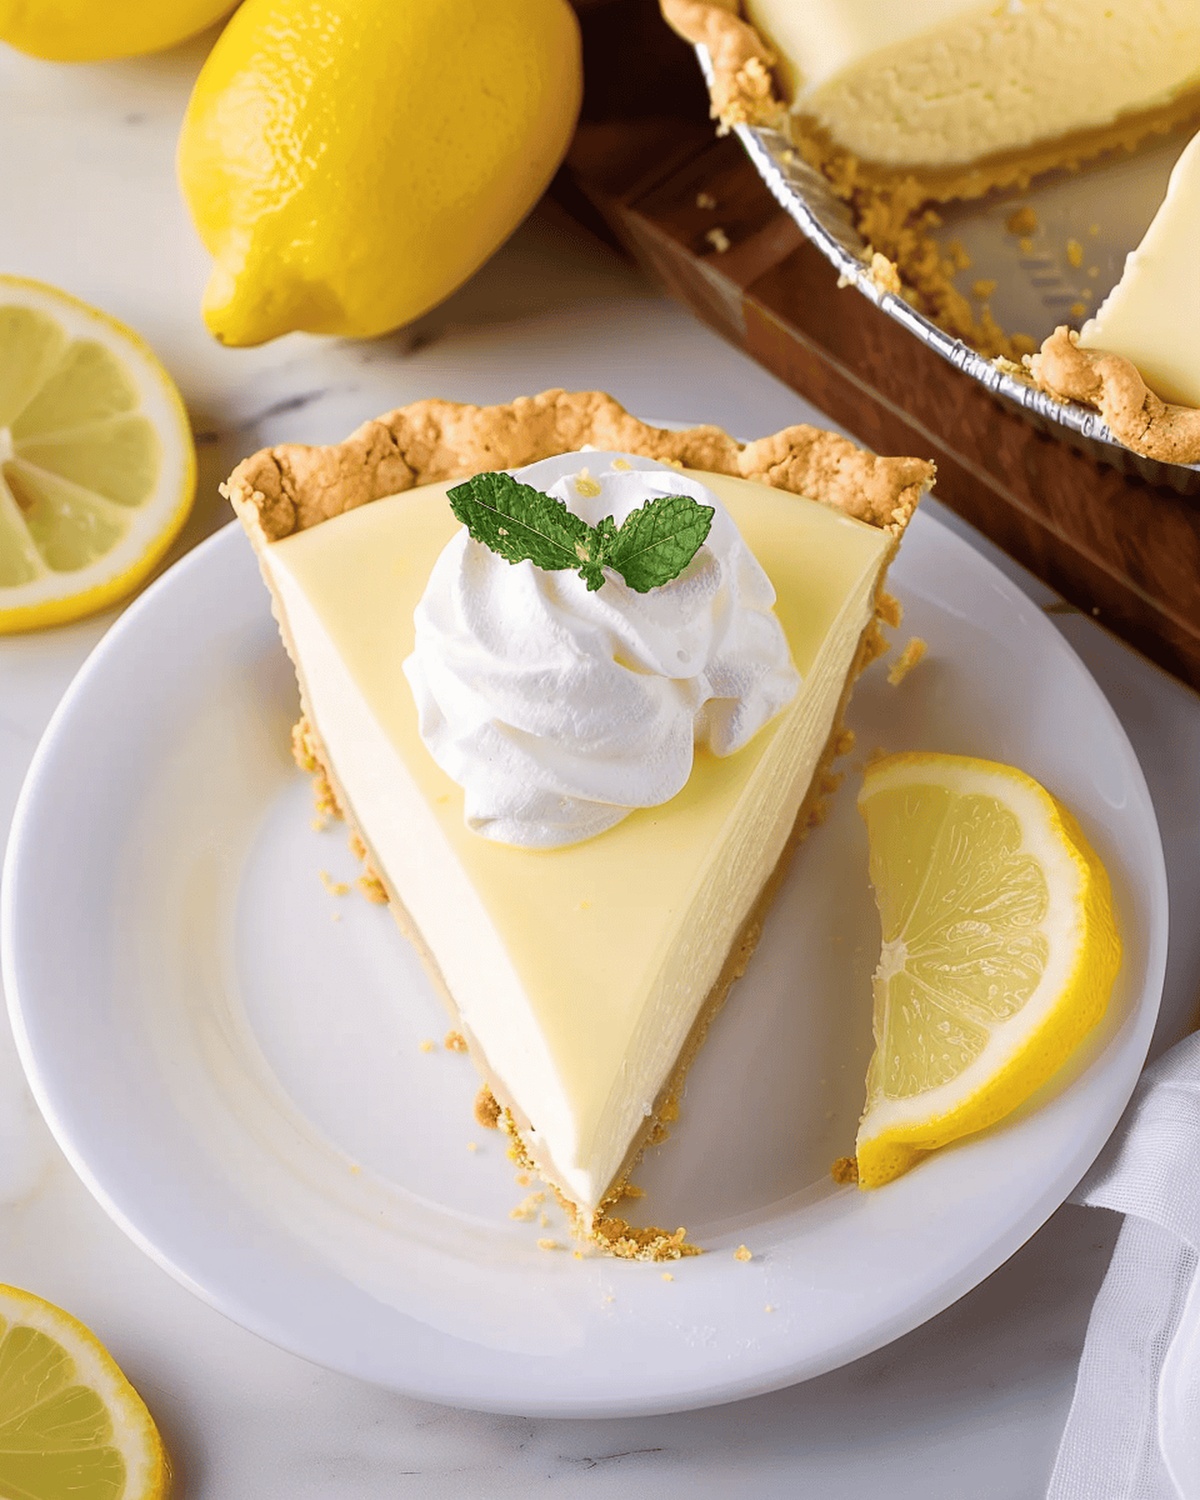
Zesty Lemon Dream No-Bake Pie Recipe for Sunny Days
Sunshine dances through the kitchen as this lemon dream no-bake pie recipe promises a burst of tangy sweetness that melts effortlessly on your tongue.
Creamy and bright, the dessert whispers summer memories with every silky bite.
Layers of zesty lemon and velvety cream come together in a cool, refreshing escape from ordinary sweets.
No oven required means less hassle and more deliciousness in just minutes.
The graham cracker crust adds a delightful crunch that perfectly complements the smooth, citrusy filling.
Simple ingredients transform into a show-stopping dessert that will have everyone asking for seconds.
Dive into this no-bake marvel and let its bright flavors transport you to a moment of pure culinary bliss.
Quick Recipe Overview
Ingredients for a Zesty Lemon Dream No-Bake Pie
For Creamy Lemon Base:For Enriching Protein and Flavor:For Crust and Garnish:Kitchen Gear for Assembling Lemon Dream Pie with Ease
No-Bake Steps for Making Lemon Dream Pie Bliss
Grab a saucepan and combine sugar, cornstarch, half and half, lemon zest, and juice. Heat over medium-high temperature, stirring frequently until bubbling emerges.
Reduce heat and whisk mixture for one minute, ensuring no burning occurs. Remove from heat carefully.
Slowly introduce hot lemon mixture into egg yolks, whisking continuously to prevent scrambling. Gently return tempered yolks back to saucepan.
Return saucepan to medium heat, stirring consistently for about 90 seconds until perfectly blended.
Take pan off heat, fold in cold butter and vanilla extract until silky smooth and fully incorporated.
Transfer luscious lemon filling into graham cracker crust, smoothing surface with a spatula for elegant presentation.
Place pie in refrigerator for minimum two hours, allowing delightful filling to solidify and flavors to meld beautifully.
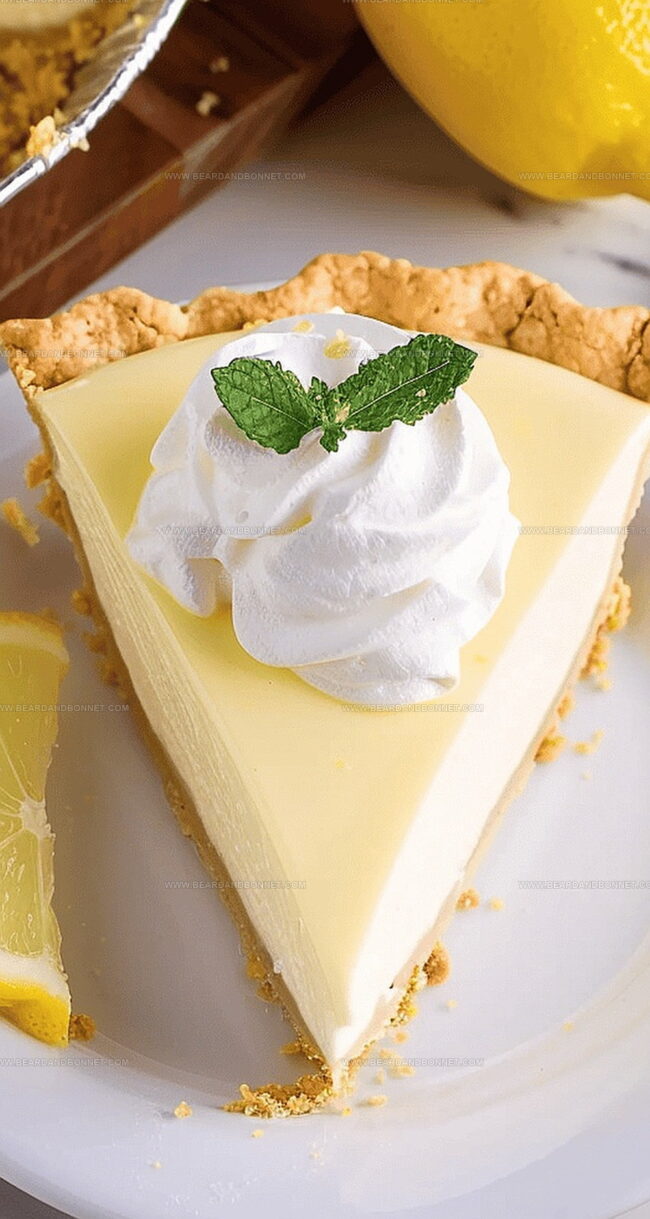
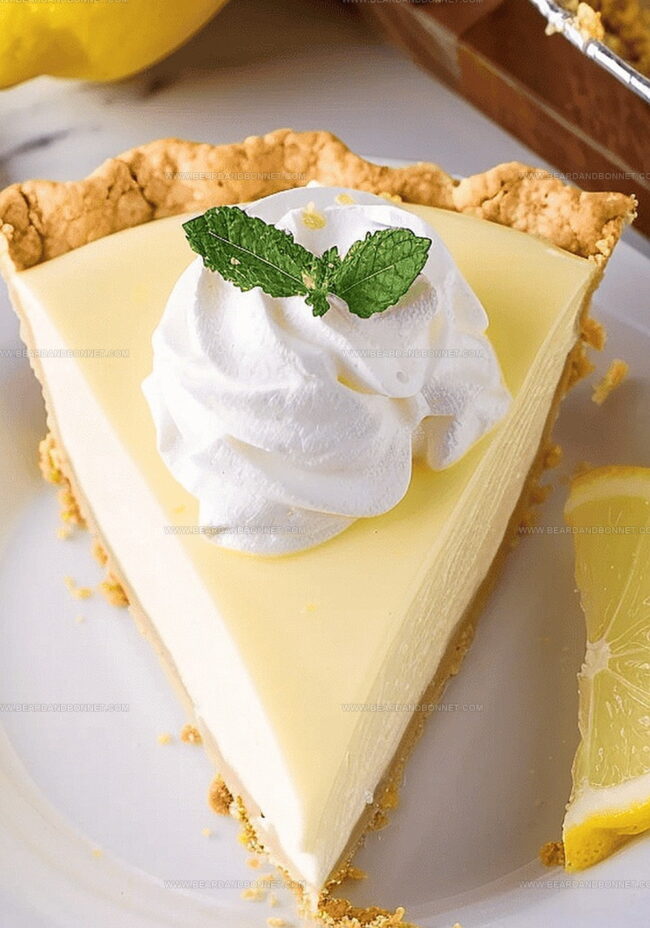
Once chilled, crown pie with delicate whipped cream, zesty lemon slices, and optional fresh mint for a stunning finale.
Tips for Perfecting Lemon Dream No-Bake Texture
Serve Lemon Dream Pie Chilled & Lovely
Lemon Dream Pie Storage Tips That Keep it Firm
Print
Silky Lemon Dream No-Bake Pie Recipe
- Total Time: 30 minutes
- Yield: 9 1x
Description
Creamy lemon dream no-bake pie delivers zesty citrus magic in a simple chilled dessert. Silky smooth filling and graham cracker crust combine for a refreshing treat you’ll crave all summer long.
Ingredients
- 1 9-inch graham cracker pie crust (homemade or store-bought; regular or gluten-free)
- 0.75 cup fresh lemon juice (about 3 large lemons)
- 2 tablespoons lemon zest (about 2 large lemons)
- 2 cups half and half
- 3 large egg yolks
- 0.75 cup granulated sugar
- 0.25 cup cornstarch
- 2 tbsps cold unsalted butter
- 1 tsp vanilla extract
- Whipped cream for topping (optional)
- Lemon slices (optional garnish)
- Additional lemon zest (optional garnish)
- Fresh mint (optional garnish)
Instructions
- Lemon Custard Base: In a medium non-reactive saucepan, whisk sugar, cornstarch, half and half, lemon zest, and lemon juice over medium-high heat. Stir frequently until the mixture bubbles, then reduce heat and cook for one minute, whisking vigorously to prevent scorching.
- Egg Tempering: Gradually stream hot lemon mixture into egg yolks while continuously whisking to prevent curdling. Return the combined mixture to medium heat, cooking for 90 seconds with constant stirring to develop a smooth, consistent texture.
- Flavor Enrichment: Remove from heat and fold in cold butter and vanilla extract, stirring until the butter completely dissolves, creating a silky, glossy lemon filling with a luxurious sheen.
- Pie Assembly: Pour the lemon filling into the prepared graham cracker crust, using a spatula to create an impeccably even surface. Refrigerate for a minimum of two hours, allowing the filling to set and develop its signature creamy consistency.
- Final Presentation: Before serving, embellish the pie with delicate whipped cream, elegant lemon slice accents, sprinkled zest, and optional fresh mint garnish to elevate its visual appeal and flavor profile.
Notes
- Prevent Curdling: Temper egg yolks slowly by adding hot mixture in small increments while whisking constantly to maintain smooth texture.
- Heat Management: Use medium-high heat initially, then reduce to medium to prevent scorching and ensure proper thickening of the filling.
- Butter Technique: Add cold butter off the heat and stir until completely dissolved for a silky, luxurious filling consistency.
- Chilling Crucial: Refrigerate pie for at least two hours to allow filling to set properly and develop the perfect creamy texture.
- Prep Time: 20 minutes
- Cook Time: 10 minutes
- Category: Desserts
- Method: Simmering
- Cuisine: American
Nutrition
- Serving Size: 9
- Calories: 298
- Sugar: 24 g
- Sodium: 103 mg
- Fat: 10 g
- Saturated Fat: 6 g
- Unsaturated Fat: 4 g
- Trans Fat: 0 g
- Carbohydrates: 44 g
- Fiber: 0 g
- Protein: 3 g
- Cholesterol: 100 mg
Jessica Martin
Recipe Developer & Food Writer
Expertise
Recipe Development, Food Styling and Photography, Seasonal and Local Ingredients, Vegetarian and Vegan Cuisine, Culinary Education
Education
Portland Community College
Oregon Culinary Institute
Jessica Martin is a talented food writer and recipe creator who specializes in seasonal cooking and approachable home baking.
Educated at Portland Community College with additional pastry training from Oregon Culinary Institute, Jessica’s culinary journey spans nearly a decade of creating and sharing flavorful recipes.
Her deep appreciation for local ingredients shapes each of her recipes, making them both accessible and inspiring. At Beard and Bonnet, Jessica uses her cheerful, down-to-earth writing to help readers effortlessly bring new tastes and creative dishes into their daily routines.