Velvety Cloud Buttercream Recipe: Whip Up Creamy Dream Magic
Frosting fanatics rejoice as this decadent buttercream recipe promises pure magic with its silky smooth texture.
Whipping up this creamy dream buttercream will instantly elevate your dessert game to professional levels.
Bakers of all skill levels can master this luxurious recipe with just a few simple ingredients.
The secret lies in achieving the perfect balance of butter, sugar, and subtle flavors that melt on your tongue.
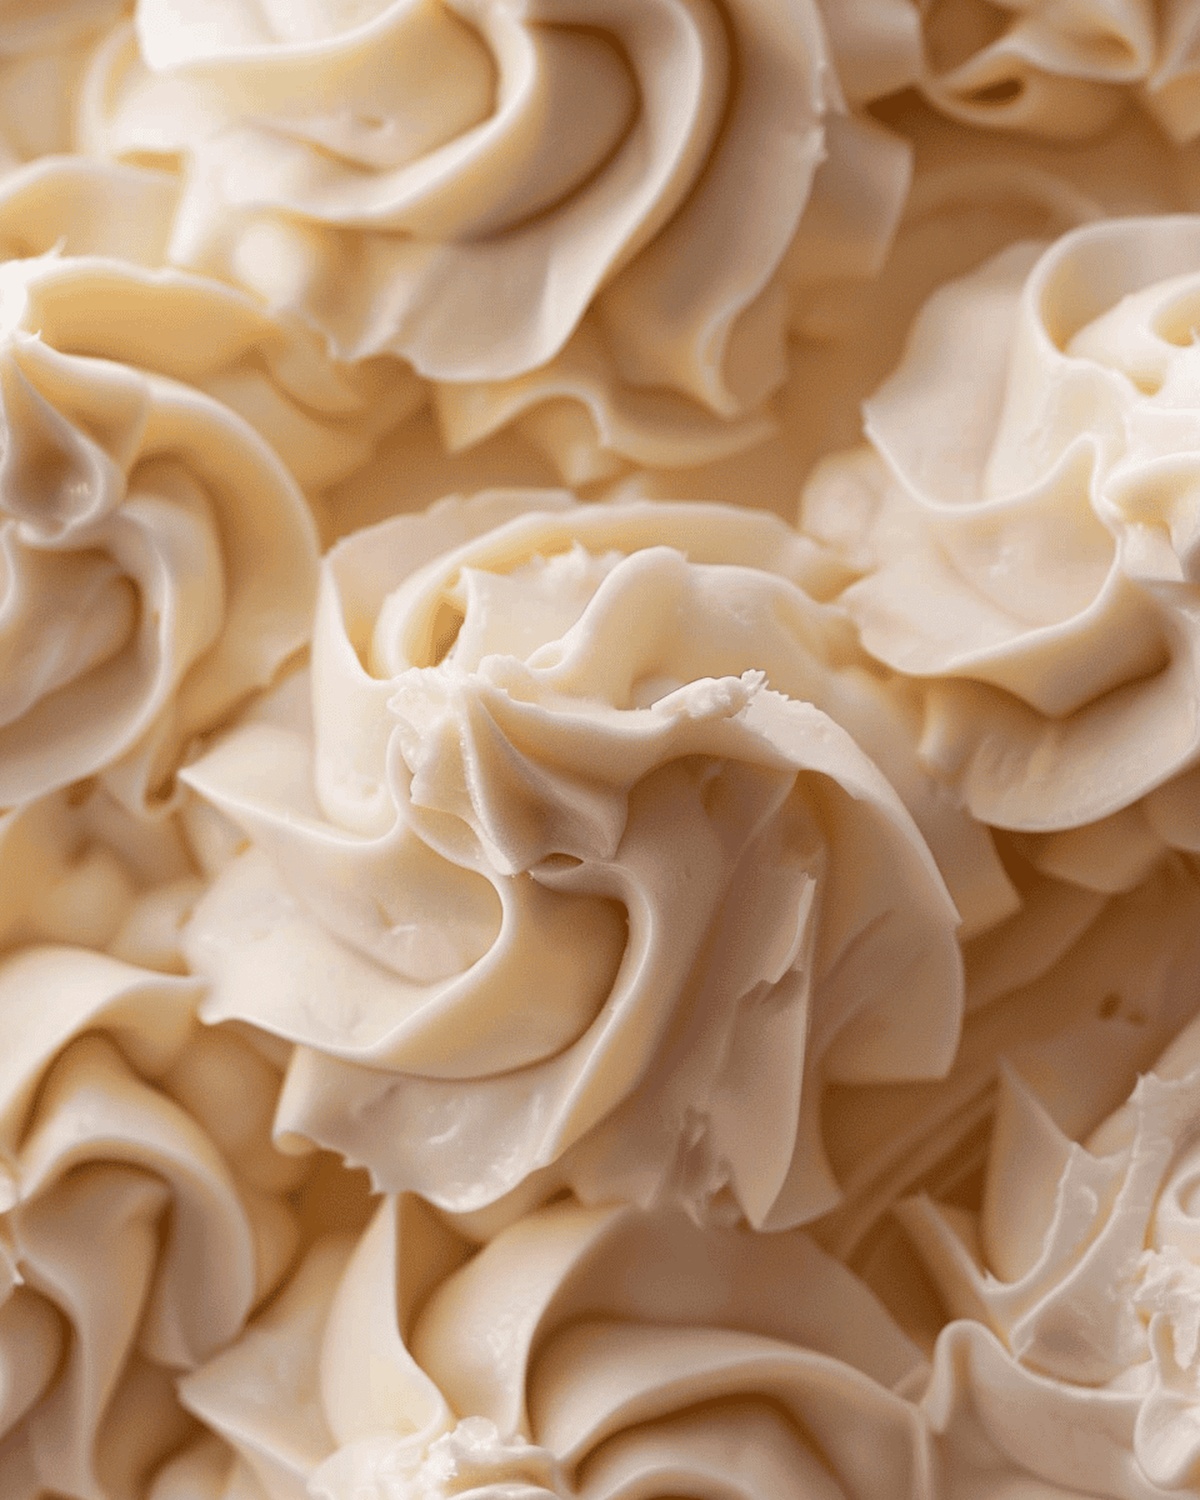
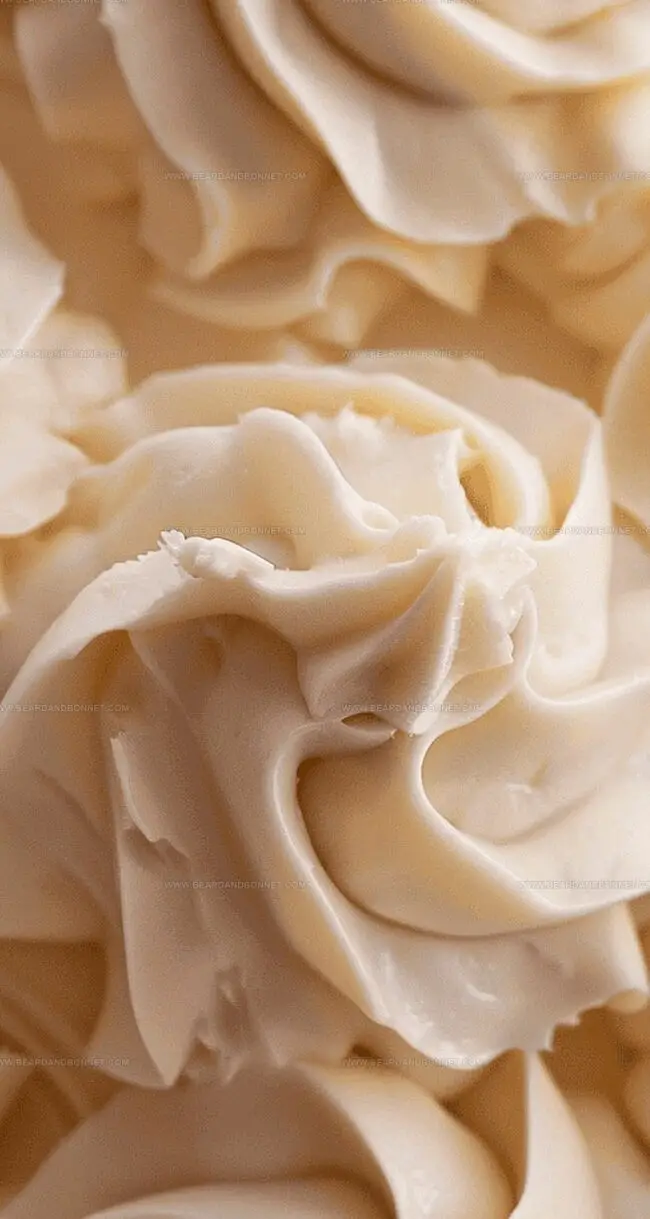
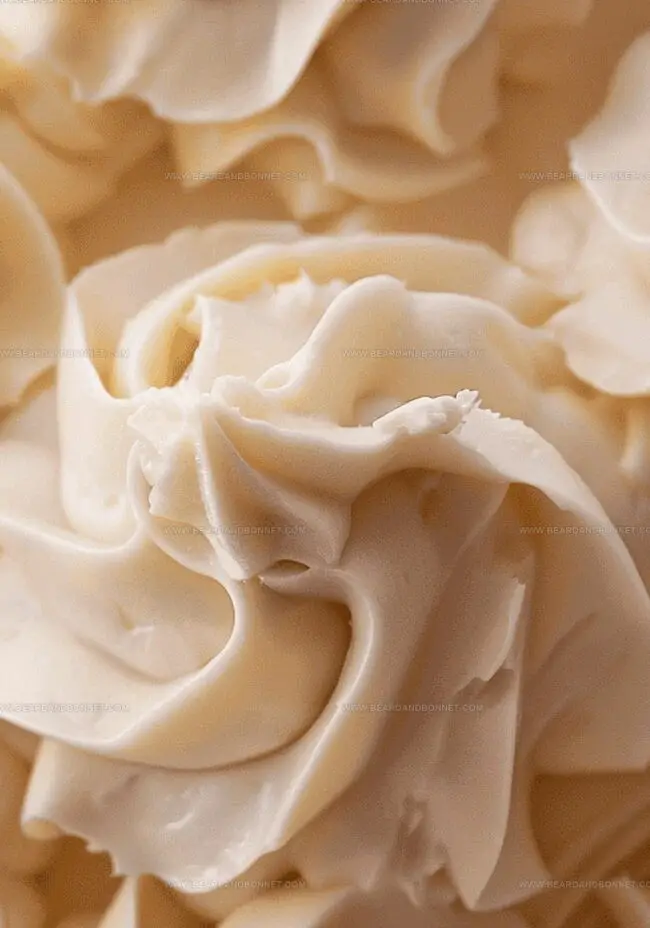
Each velvety spoonful promises a cloud-like experience that turns ordinary cakes into extraordinary masterpieces.
Rich, indulgent, and impossibly smooth, this buttercream will become your go-to recipe for every celebration.
Dive into this delightful confection and watch as your desserts become the talk of every gathering.
Quick Recipe Overview
What’s in Dreamy Buttercream Frosting
For Creamy Base:For Flavor Enhancers:Tools You’ll Need for Buttercream Success
Making Your Buttercream Fluffy and Rich
Grab your mixer and a spacious bowl. Unleash the butter into the bowl, letting it dance and transform under the paddle attachment. Watch as it becomes light, airy, and beautifully fluffy – this magic takes about three minutes of mixing.
Slowly introduce the sweetened condensed milk to your butter, starting with a gentle low-speed dance. As the ingredients get cozy together, crank up the speed and let them blend into a silky, dreamy mixture. This smooth symphony takes roughly two minutes.
Drop in vanilla extract and a pinch of kosher salt. Give everything a quick whip for half a minute, allowing the flavors to mingle and create a harmonious buttercream that’s ready to elevate any dessert. The result? A luscious, creamy topping that’ll make taste buds sing with joy.
Buttercream Tweaks and Ideas
How to Pipe or Spread Buttercream Perfectly
How to Store Buttercream the Right Way
Print
Silky Dream Buttercream Recipe
- Total Time: 15 minutes
- Yield: 9 1x
Description
Creamy dream buttercream elevates classic frosting with silky smooth texture and rich flavor profile. Professional bakers appreciate this luxurious spread that delivers perfect balance between sweetness and richness you will savor.
Ingredients
- 1 stick (113 g / 4 oz) unsalted butter, room temperature
- ⅓ cup (113 g) sweetened condensed milk
- 1 tsp pure vanilla extract
- ¼ tsp coarse kosher salt
Instructions
- Whip Foundation: In a spacious mixing bowl, use a paddle attachment to transform softened unsalted butter into a voluminous, airy consistency with pronounced peaks and exceptional lightness.
- Milk Integration: Gently introduce sweetened condensed milk at a gradual pace, allowing each portion to harmonize seamlessly with the butter base while maintaining a consistent mixing rhythm.
- Texture Transformation: Accelerate mixer speed to convert the mixture into a silky, cloud-like buttercream, ensuring absolute smoothness and comprehensive ingredient integration.
- Flavor Refinement: Incorporate pure vanilla extract and finely ground kosher salt, meticulously folding these enhancers to distribute evenly and create a nuanced flavor profile throughout the creamy composition.
- Final Fusion: Execute a brief, intense whipping technique to guarantee complete ingredient amalgamation, yielding an impeccably uniform and luxuriously smooth buttercream texture.
Notes
- Butter Temperature Matters: Use room temperature butter (around 65-70°F) for the smoothest, most luxurious buttercream consistency.
- Whipping Technique: Gradually increase mixer speed to prevent splattering and ensure proper aeration of the butter, creating a light, fluffy texture.
- Salt Balance: Add a pinch of salt to enhance the overall flavor profile and balance the sweetness of the condensed milk.
- Storage Tip: Refrigerate buttercream in an airtight container for up to a week, allowing it to come to room temperature and re-whip before use for optimal spreadability.
- Prep Time: 15 minutes
- Cook Time: 0 minutes
- Category: Desserts, Snacks
- Method: Mixing
- Cuisine: American
Nutrition
- Serving Size: 9
- Calories: 151
- Sugar: 12 g
- Sodium: 49 mg
- Fat: 10 g
- Saturated Fat: 6 g
- Unsaturated Fat: 4 g
- Trans Fat: 0 g
- Carbohydrates: 15 g
- Fiber: 0 g
- Protein: 1 g
- Cholesterol: 31 mg
Jessica Martin
Recipe Developer & Food Writer
Expertise
Recipe Development, Food Styling and Photography, Seasonal and Local Ingredients, Vegetarian and Vegan Cuisine, Culinary Education
Education
Portland Community College
Oregon Culinary Institute
Jessica Martin is a talented food writer and recipe creator who specializes in seasonal cooking and approachable home baking.
Educated at Portland Community College with additional pastry training from Oregon Culinary Institute, Jessica’s culinary journey spans nearly a decade of creating and sharing flavorful recipes.
Her deep appreciation for local ingredients shapes each of her recipes, making them both accessible and inspiring. At Beard and Bonnet, Jessica uses her cheerful, down-to-earth writing to help readers effortlessly bring new tastes and creative dishes into their daily routines.