Dreamy Homemade Cream Cheese Recipe to Try
Creamy, smooth cream cheese ranks among the most versatile spreads in culinary circles.
Crafting homemade cream cheese lets you control every delectable ingredient with precision.
Soft and tangy, this spreadable delight beats store-bought versions in both flavor and freshness.
Professional chefs and home cooks alike appreciate the pure satisfaction of creating something so simple yet remarkable.
The process requires minimal equipment and delivers maximum taste rewards.
cheese lovers will adore how quickly this recipe comes together, delivering a luxurious result that feels like a gourmet achievement.
Your kitchen will soon overflow with rich, velvety goodness that transforms ordinary meals into extraordinary experiences.
Quick Recipe Overview
Homemade Cream Cheese Ingredient List
For Base Ingredient:For Acid Activation:For Flavor Enhancement:Tools for Whipping Up Homemade Cream Cheese
Simple Instructions to Make Cream Cheese at Home
Create a warm bath for fresh milk using a sturdy pot, allowing gentle bubbles to form on the surface.
Pour a splash of citrus juice into the steaming milk, watching the magical transformation as soft white clouds emerge from the liquid.
Gently capture the white fluffy clusters using a soft cloth, letting extra moisture drip away naturally.
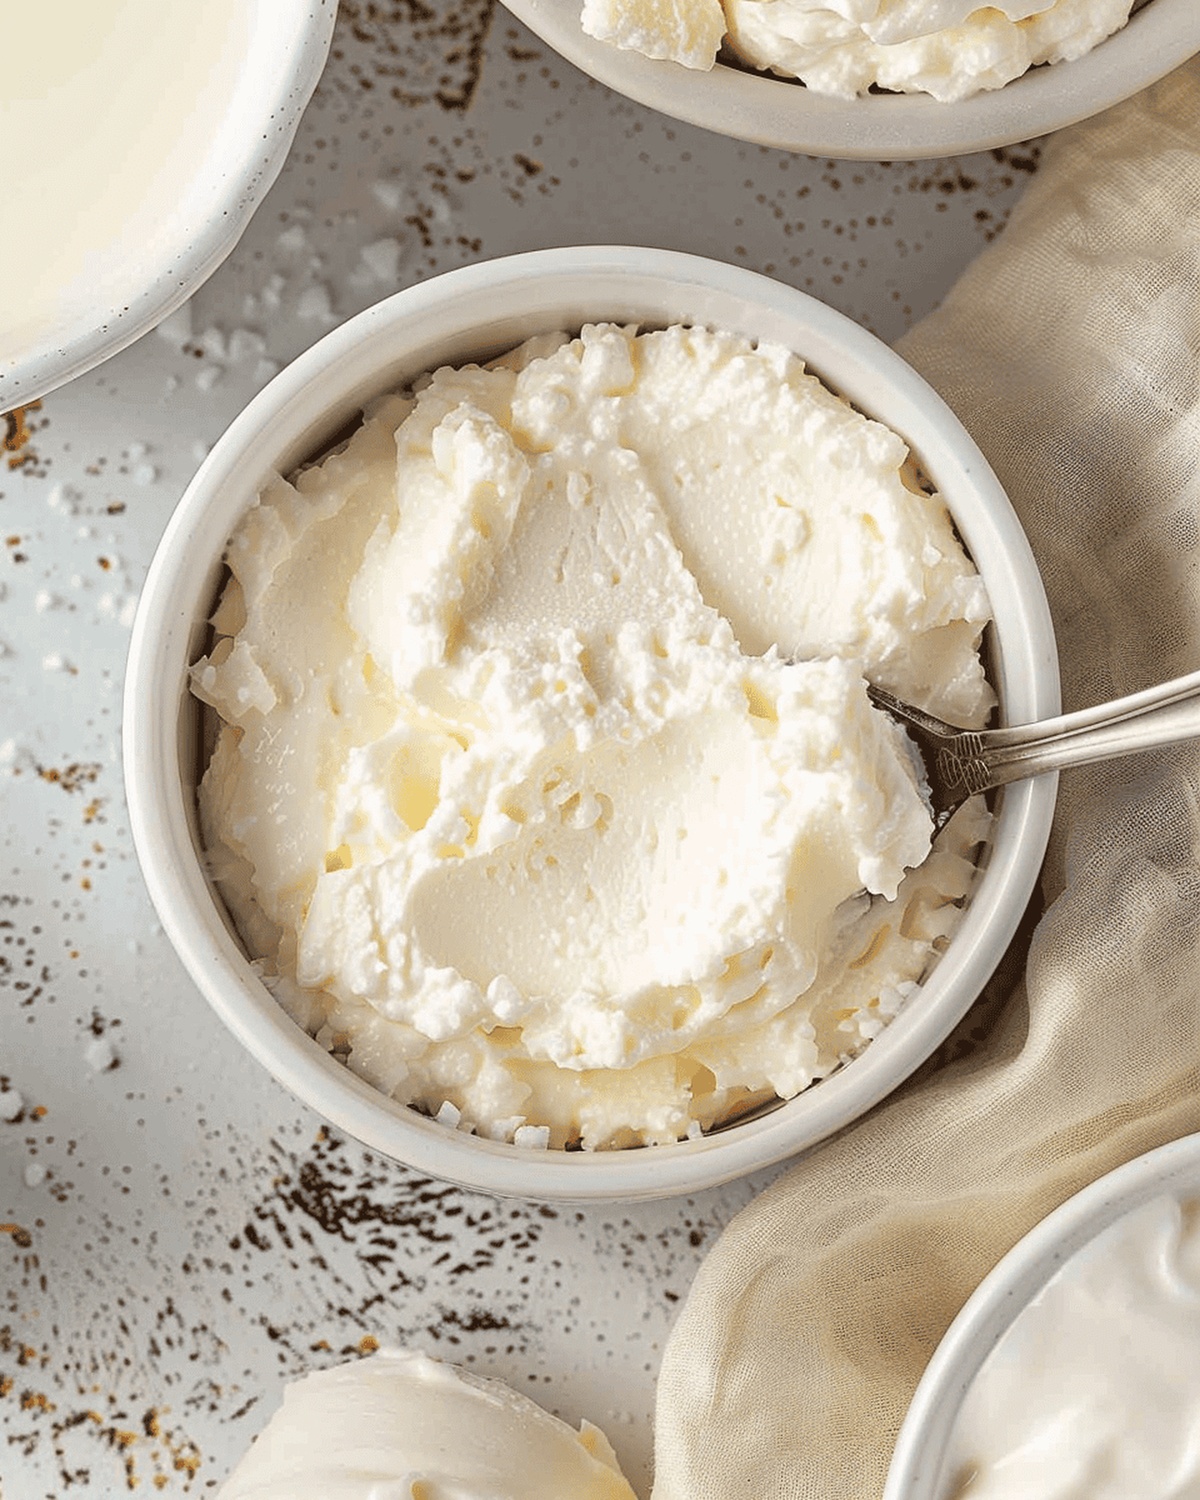
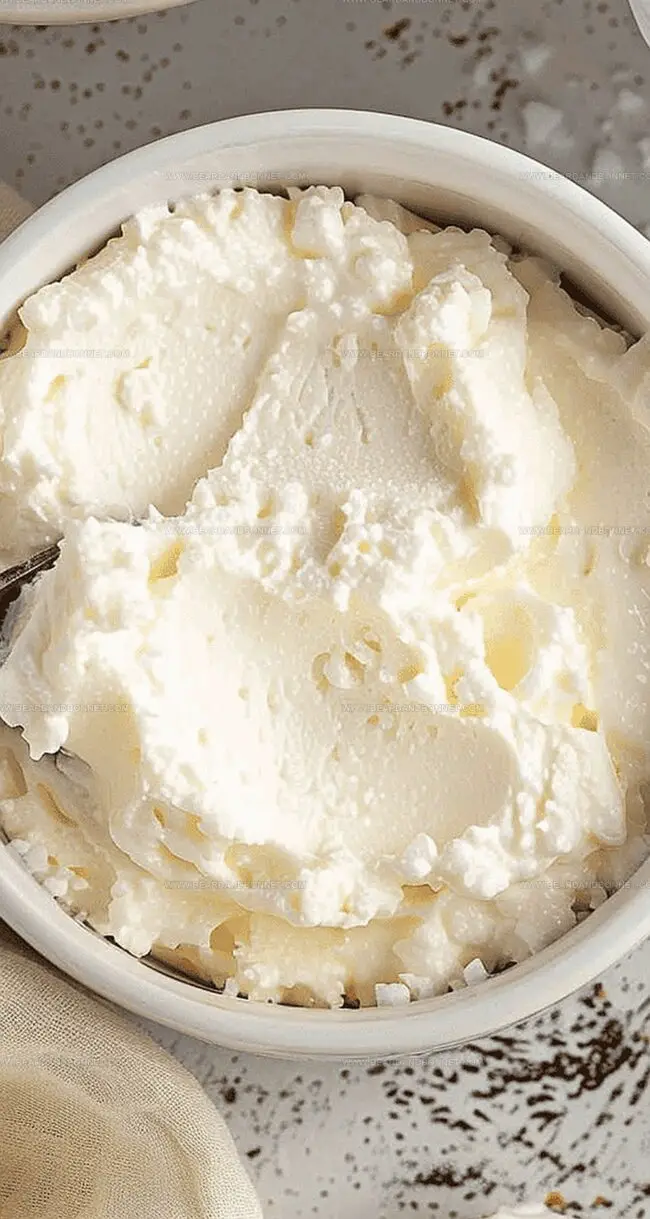
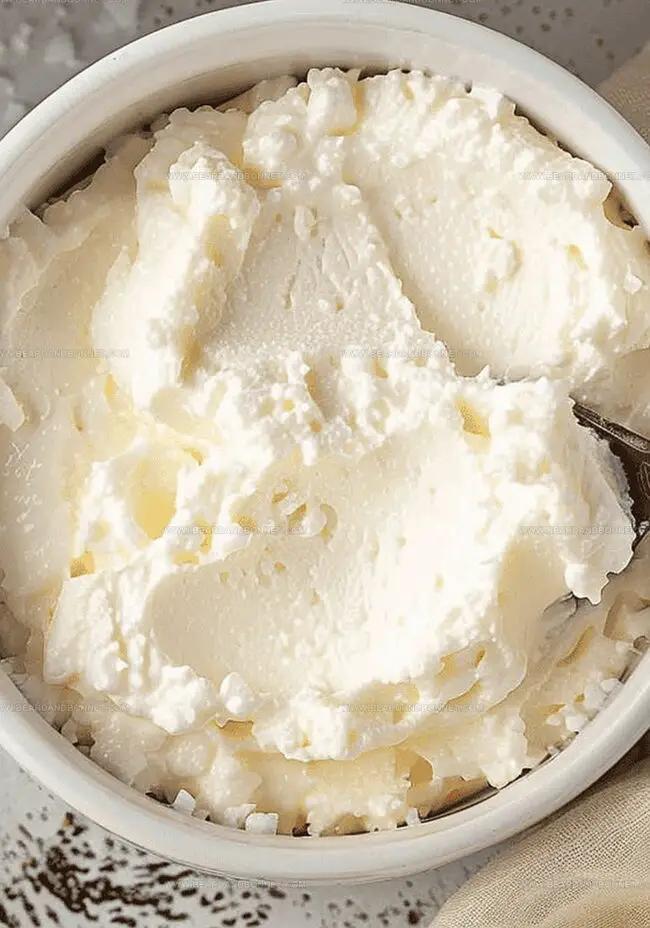
Transform the delicate curds into a velvety spread by blending with a pinch of seasoning until perfectly creamy.
Allow your fresh creation to rest in the coolness of the refrigerator, letting flavors meld and texture settle into a delightful consistency perfect for spreading on morning toast or enjoying with fresh fruits.
Flavor Variants for Homemade Cream Cheese
Serving Homemade Cream Cheese on Bagels and More
Store Homemade Cream Cheese Safely
Print
Silky Cream Cheese Recipe
- Total Time: 55 minutes
- Yield: 3 1x
Description
Creamy homemade cream cheese offers a luxurious spread with simple ingredients and minimal effort. Rich Philadelphia-style cream cheese provides a delightful base for countless culinary creations you’ll enjoy making at home.
Ingredients
- 4 cups/960 milliliters whole milk
- 3–4 tablespoons/45-60 milliliters fresh lemon juice
- 0.5 teaspoon/2.5 grams salt
Instructions
- Milk Preparation: Gently heat milk in a heavy-bottomed saucepan over medium flame, watching carefully to prevent scorching and achieve a soft, bubbling surface.
- Curd Separation: Introduce lemon juice while stirring delicately, observing instant curd formation and whey separation.
- Straining Process: Transfer milk mixture through a cheesecloth-lined strainer, allowing complete liquid drainage for 10-15 minutes, then squeeze remaining moisture using clean hands or spatula.
- Texture Development: Combine curds in a food processor with salt, pulsing and blending for 3-4 minutes while periodically scraping sides to create a smooth, creamy consistency.
- Storage and Finishing: Pack the freshly processed cream cheese into an airtight container, pressing to eliminate air pockets, then refrigerate for minimum 30 minutes to enhance flavor and firm texture.
- Consumption Guidelines: Enjoy the homemade cream cheese within 5-7 days to maintain peak freshness and optimal taste quality.
Notes
- Prevent Scorching: Monitor milk temperature carefully to avoid burning, which can ruin the entire cheese-making process.
- Curd Separation Technique: Pour lemon juice slowly and stir gently to ensure perfect curd formation without breaking delicate milk proteins.
- Draining Precision: Use a fine-meshed cheesecloth and allow sufficient time for complete whey drainage to achieve desired cream cheese texture.
- Storage and Freshness: Seal container tightly, remove air pockets, and consume within a week to maintain optimal flavor and creamy consistency.
- Prep Time: 10 minutes
- Cook Time: 15 minutes
- Category: Snacks, Breakfast
- Method: Boiling
- Cuisine: American
Nutrition
- Serving Size: 3
- Calories: 200
- Sugar: 2 g
- Sodium: 1.25 g
- Fat: 10 g
- Saturated Fat: 6 g
- Unsaturated Fat: 4 g
- Trans Fat: 0 g
- Carbohydrates: 12 g
- Fiber: 0 g
- Protein: 8 g
- Cholesterol: 40 mg
Jessica Martin
Recipe Developer & Food Writer
Expertise
Recipe Development, Food Styling and Photography, Seasonal and Local Ingredients, Vegetarian and Vegan Cuisine, Culinary Education
Education
Portland Community College
Oregon Culinary Institute
Jessica Martin is a talented food writer and recipe creator who specializes in seasonal cooking and approachable home baking.
Educated at Portland Community College with additional pastry training from Oregon Culinary Institute, Jessica’s culinary journey spans nearly a decade of creating and sharing flavorful recipes.
Her deep appreciation for local ingredients shapes each of her recipes, making them both accessible and inspiring. At Beard and Bonnet, Jessica uses her cheerful, down-to-earth writing to help readers effortlessly bring new tastes and creative dishes into their daily routines.