Rich Chocolate Custard Recipe: Luscious Homemade
Rich, velvety chocolate custard dances on taste buds with pure indulgence.
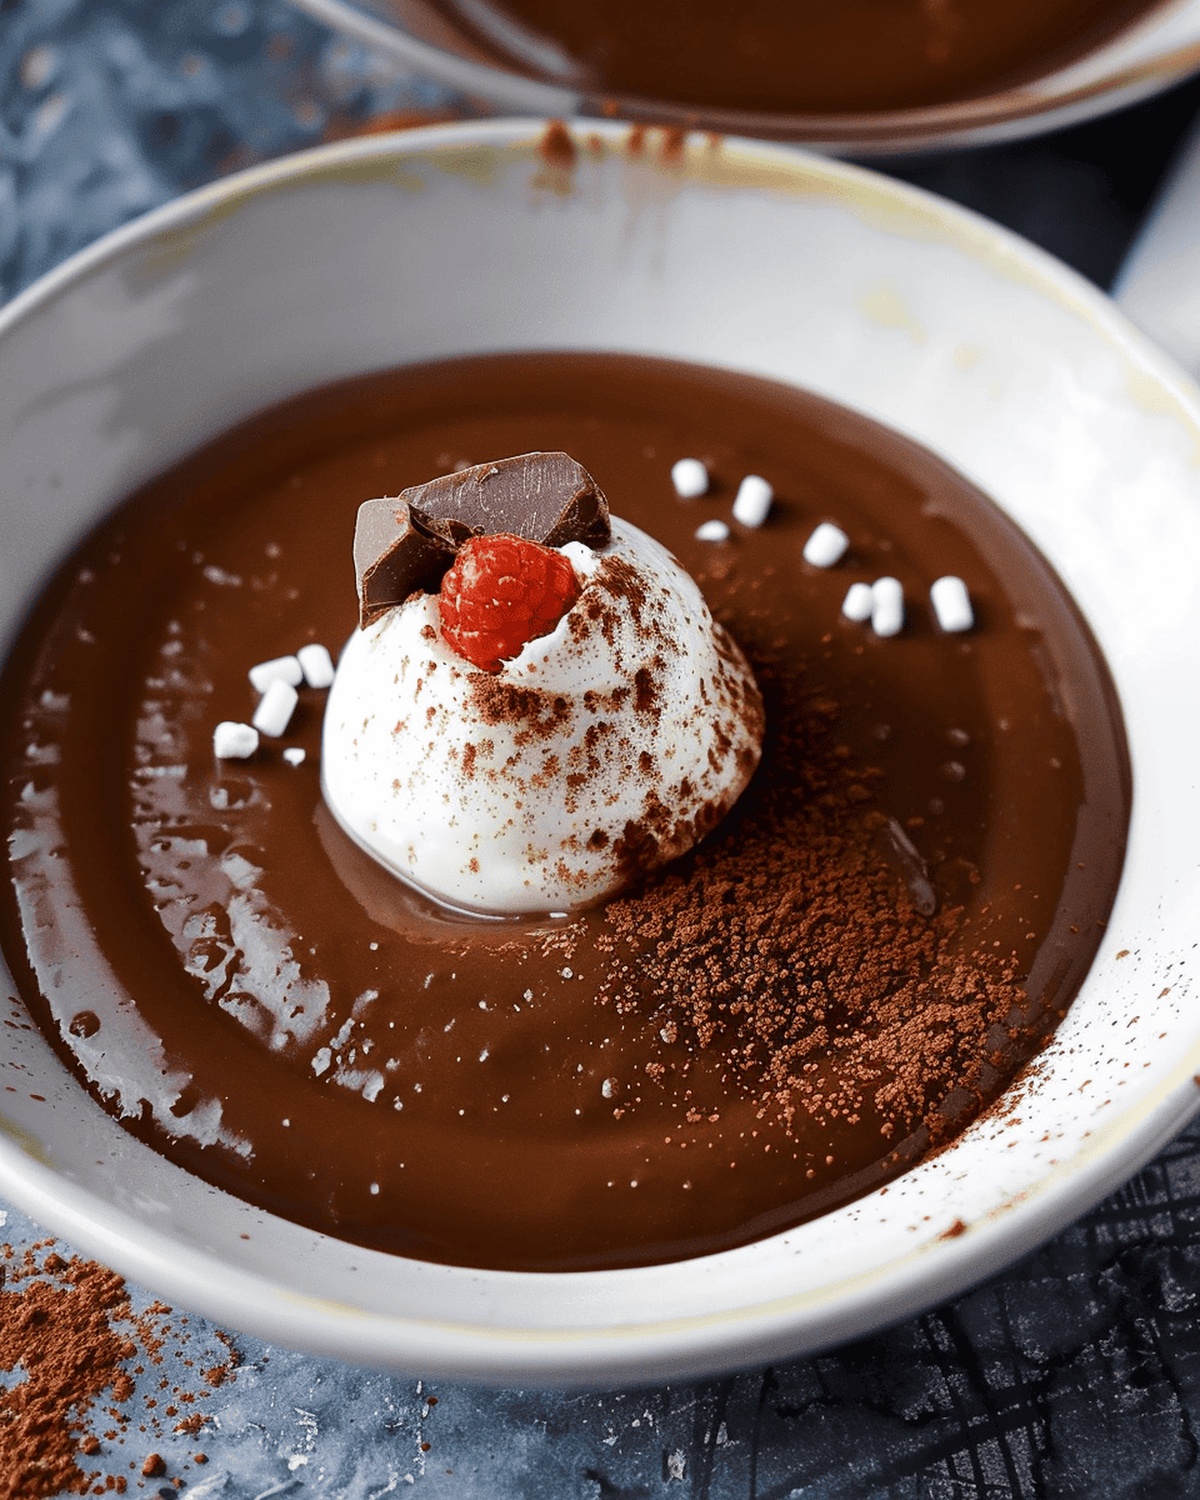
This classic chocolate custard recipe promises a silky smooth dessert that melts effortlessly in your mouth.
Creamy and luxurious, each spoonful delivers deep chocolate notes that speak to serious dessert lovers.
Crafted with simple ingredients, this custard brings restaurant-quality elegance to your home kitchen.
The technique might seem complex, but it’s surprisingly straightforward for home cooks seeking a sophisticated treat.
Thick, glossy, and intensely chocolate, this dessert transforms an ordinary evening into a gourmet experience.
Grab a spoon and surrender to chocolate bliss.
Tips to Adjust Sweetness and Texture
Serving Chocolate Custard in Cups or Bowls
Keep Custard Fresh and Smooth in the Fridge
Quick Recipe Overview
Prep Time: 10 minutes
Cook Time: 10 minutes
Total Time: 20 minutes
Calories: 230 kcal
Servings: 7
Decadent Chocolate Custard Ingredient Guide
For Dry Base:For Liquid Components:For Finishing Touches:Tools to Create a Silky Custard Finish
Making Chocolate Custard Without Stress
Grab a saucepan and create a silky smooth chocolate universe by mixing brown sugar, cornstarch, salt, and cocoa powder. Sift everything together to banish any pesky lumps and create a perfect chocolate base.
Slowly pour milk into your chocolate mixture, whisking gently. The key is patience – blend carefully to create a luxurious, lump-free liquid that promises creamy deliciousness.
Place your saucepan on medium heat, stirring constantly. Watch as your chocolate mixture begins to dance and transform, becoming thick and glossy. Keep your whisk moving to prevent any burning or sticking.
Let the mixture bubble and boil, then reduce heat. Continue stirring for about two minutes until the custard reaches a perfect, velvety thickness that coats the back of your spoon.
Pull the saucepan off the heat and swirl in butter and vanilla. These final touches will elevate your custard from good to absolutely irresistible, creating a rich, decadent dessert that’ll make taste buds sing.
Transfer your chocolate creation to a bowl, cover with plastic wrap, and let it rest in the refrigerator. As it cools, the flavors will meld and intensify, promising a dessert that’s worth every delicious moment of waiting.
Print
Rich Chocolate Custard Recipe
- Total Time: 20 minutes
- Yield: 7 1x
Description
Silky chocolate custard reveals pure indulgence from French culinary traditions. Rich ingredients blend seamlessly, promising smooth chocolate pleasure for passionate dessert enthusiasts.
Ingredients
- 4 cups (960 ml) whole milk (2% or whole)
- 1 cup (240 g) packed brown sugar
- ⅔ cup (60 g) cocoa
- 3 tbsps cornstarch
- 1/8 tsp salt
- 3 tbsps unsalted butter
- 1 tsp vanilla extract
Instructions
- Ingredient Preparation: Sift brown sugar, cornstarch, salt, and cocoa into a medium saucepan, eliminating any potential lumps for a silky-smooth foundation.
- Liquid Integration: Gradually pour milk into the dry mixture, whisking vigorously to create a uniform, glossy base that promises a luscious custard texture.
- Thermal Transformation: Ignite the burner to medium-low heat, continuously stirring the mixture to prevent scorching and ensure even heat distribution throughout the pan.
- Culinary Alchemy: As the liquid approaches a gentle bubble, reduce heat and maintain a delicate simmer, whisking persistently to develop the custard’s rich, velvety consistency.
- Flavor Enhancement: Remove from heat and swiftly incorporate butter and vanilla extract, stirring until the ingredients harmonize into a decadent, glossy custard.
- Chilling Protocol: Transfer the custard to a pristine bowl, drape plastic wrap directly on the surface to prevent skin formation, and refrigerate until thoroughly chilled and set.
Notes
- Prevent Lumps: Sift dry ingredients thoroughly and whisk milk gradually to ensure a silky-smooth custard without any unwanted clumps.
- Master Heat Control: Maintain medium to medium-low heat while stirring constantly to avoid scorching and achieve the perfect creamy consistency.
- Avoid Skin Formation: Press plastic wrap directly onto the custard’s surface when cooling to prevent a dry, unappetizing layer from developing.
- Enhance Flavor Development: Chill the custard for several hours to allow the flavors to deepen and become more complex and rich.
- Prep Time: 10 minutes
- Cook Time: 10 minutes
- Category: Desserts
- Method: Simmering
- Cuisine: French
Nutrition
- Serving Size: 7
- Calories: 230
- Sugar: 22 g
- Sodium: 60 mg
- Fat: 10 g
- Saturated Fat: 6 g
- Unsaturated Fat: 4 g
- Trans Fat: 0 g
- Carbohydrates: 34 g
- Fiber: 1 g
- Protein: 5 g
- Cholesterol: 30 mg
Jessica Martin
Recipe Developer & Food Writer
Expertise
Recipe Development, Food Styling and Photography, Seasonal and Local Ingredients, Vegetarian and Vegan Cuisine, Culinary Education
Education
Portland Community College
Oregon Culinary Institute
Jessica Martin is a talented food writer and recipe creator who specializes in seasonal cooking and approachable home baking.
Educated at Portland Community College with additional pastry training from Oregon Culinary Institute, Jessica’s culinary journey spans nearly a decade of creating and sharing flavorful recipes.
Her deep appreciation for local ingredients shapes each of her recipes, making them both accessible and inspiring. At Beard and Bonnet, Jessica uses her cheerful, down-to-earth writing to help readers effortlessly bring new tastes and creative dishes into their daily routines.