The Easiest No-Bake Ice Cream Pie Recipe for Summer Fun
Cool and creamy no-bake ice cream pie offers the ultimate summer dessert solution for busy home cooks seeking delightful refreshment.
Sweet frozen treats enhance simple ingredients into an impressive culinary masterpiece that requires zero oven time.
Layers of smooth, velvety goodness blend seamlessly with a crunchy base, creating textural magic in every single bite.
Minimal effort meets maximum flavor in this crowd-pleasing dessert that looks far more complicated than its straightforward preparation suggests.
Chilled ingredients and strategic assembly make this pie a guaranteed crowd-pleaser for gatherings, family nights, or spontaneous sugar cravings.
Versatile and adaptable, this dessert welcomes creative mix-ins, toppings, and flavor combinations that suit your personal taste preferences.
Grab your mixing bowl and a few basic pantry staples, and you’ll craft a decadent dessert that impresses without breaking a sweat.
What Makes No-Bake Ice Cream Pie So Fun to Make
No-Bake Ice Cream Pie Ingredient Guide
Crust Ingredients:Ice Cream Base:Topping and Garnish:Step-by-Step Assembly for Ice Cream Pie
Step 1: Crush Oreo Cookie Base
Grab a bunch of Oreo cookies and transform them into fine crumbs. You can smash them in a food processor or place cookies in a sealed bag and crush with a rolling pin. Mix crumbs with melted butter until completely blended.
Ingredients to mix:Tip: Press mixture firmly into a 9-inch pie plate, covering bottom and sides evenly.
Step 2: Chill Cookie Crust
Place the crust in the freezer for about 15 minutes. This helps create a solid foundation that will hold your delicious ice cream layer perfectly.
Step 3: Prepare Cookie Chunks
Roughly chop remaining Oreo cookies into bite-sized pieces. Set aside for later topping.
Step 4: Soften Ice Cream
Take cookies and cream ice cream out of the freezer. Let it sit at room temperature for 10-15 minutes until spreadable but not completely melted.
Step 5: Create First Ice Cream Layer
Spread half of the softened ice cream across the chilled crust. Make sure the layer is smooth and even.
Step 6: Add Delicious Toppings
Drizzle chocolate sauce over the first ice cream layer. Sprinkle chopped Oreo cookie pieces across the surface.
Step 7: Complete Final Ice Cream Layer
Gently spread remaining ice cream over the topping. Use a spatula to create a smooth, even surface.
Step 8: Freeze Pie
Cover the pie with plastic wrap and place in the freezer for 4-6 hours until completely firm.
Step 9: Serve and Enjoy
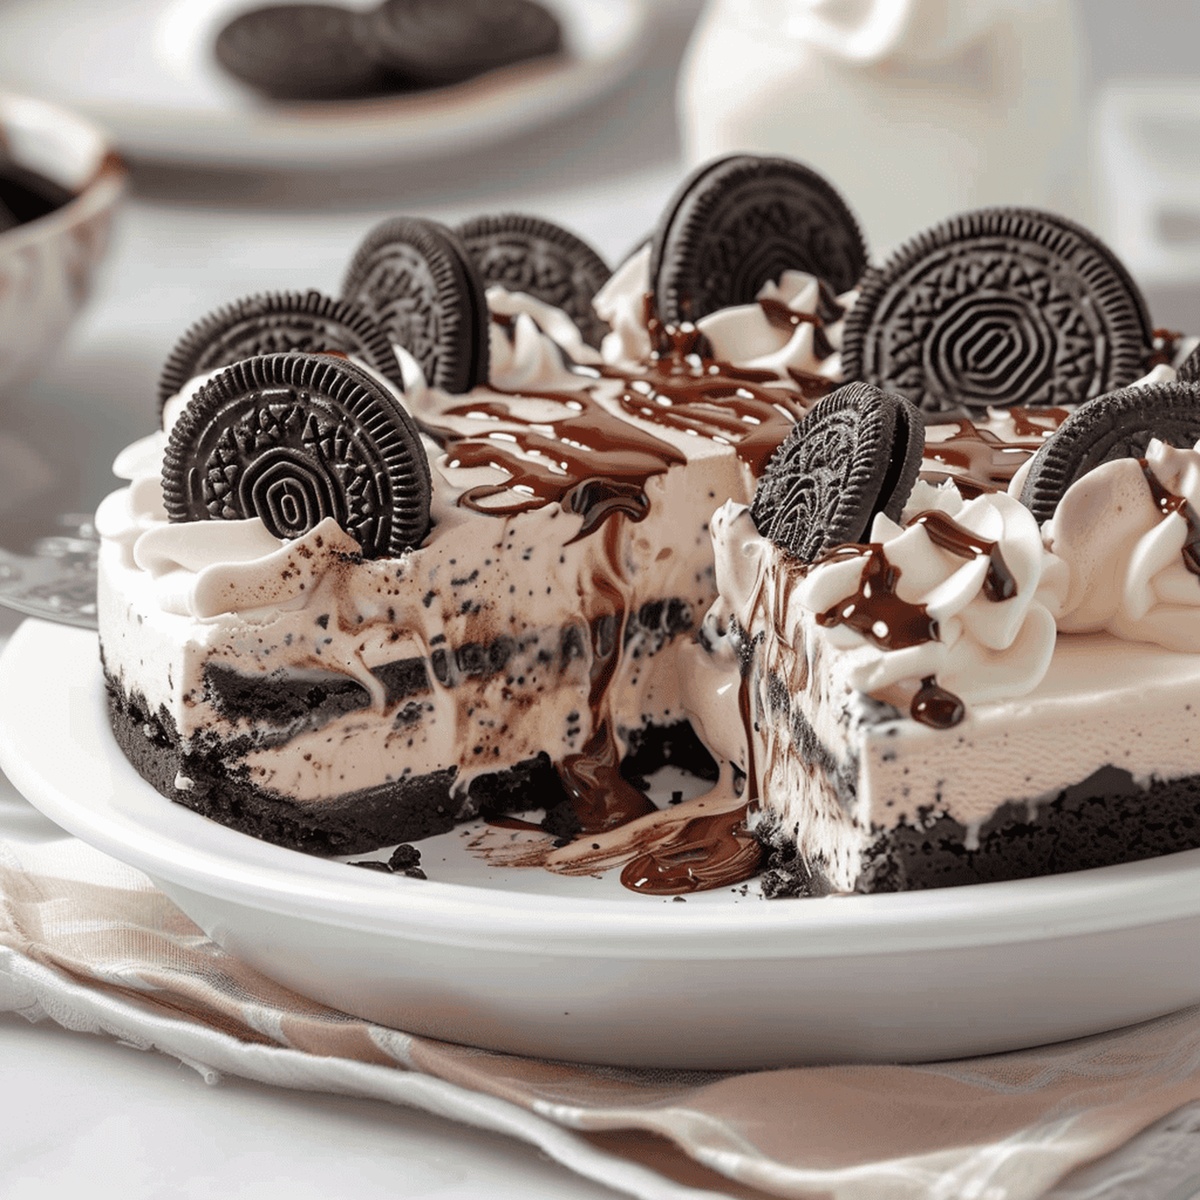
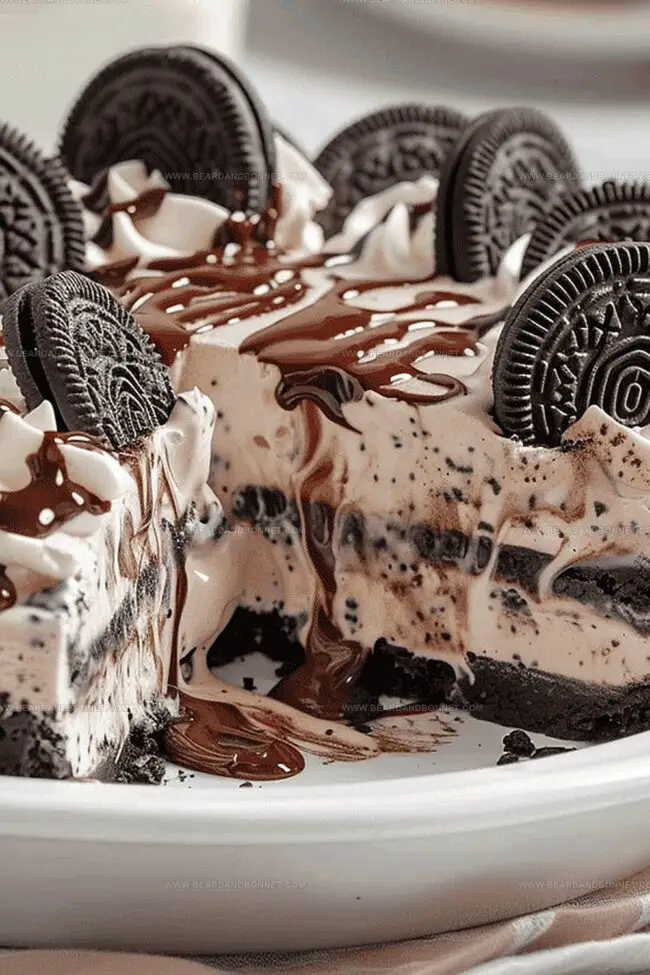
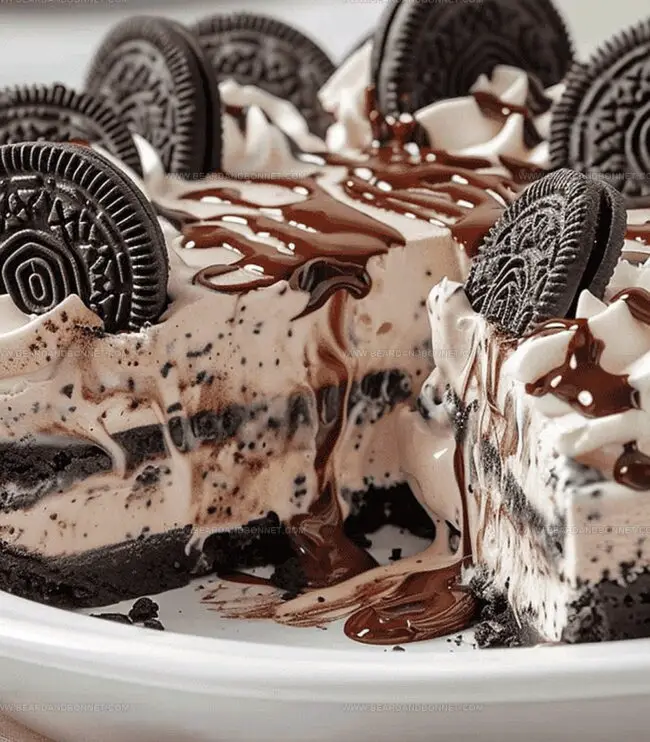
Remove pie from freezer 5 minutes before serving. Top with whipped cream and extra chocolate sauce. Slice and serve immediately.
Serving suggestions:Quick Tips for Perfect Ice Cream Pie Texture
How to Store and Serve No-Bake Ice Cream Pie
What to Enjoy Alongside Ice Cream Pie
Ice Cream Pie Variations for Any Occasion
Print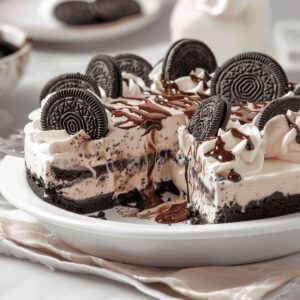
No-Bake Ice Cream Pie Recipe
- Total Time: 20 minutes
- Yield: 12 1x
Description
Creamy no-bake ice cream pie delivers a refreshing summer dessert perfect for casual gatherings. Cool graham cracker crust cradles luscious vanilla layers, promising pure indulgence with minimal kitchen effort.
Ingredients
Main Ingredients:
- 24 Oreo cookies with filling
- 48 ounces (1.4 liters) cookies and cream ice cream
- 10 Oreo cookies with filling
Crust Ingredients:
- ⅓ cup (80 milliliters) salted butter, melted and cooled
Topping Ingredients:
- ½ cup (120 milliliters) chocolate sauce
- Whipped topping
Instructions
- Pulverize Oreo cookies into ultra-fine crumbs using a food processor or by crushing inside a sealed plastic bag with a rolling pin until completely uniform in texture.
- Mix cookie crumbs with melted butter until the mixture resembles wet sand, creating a cohesive binding for the crust.
- Firmly press the crumb mixture into the entire surface of a 9-inch pie plate, ensuring an even, compact layer that reaches up the sides and bottom.
- Place the crust in the freezer to solidify while preparing the remaining ingredients, allowing it to become sturdy and crisp.
- Roughly chop the remaining cookies into uneven chunks, creating textural variety for the filling.
- Gently soften the cookies and cream ice cream by letting it rest at room temperature for approximately 10 minutes, making it malleable but not completely melted.
- Spread half of the softened ice cream across the chilled crust in a smooth, consistent layer, ensuring complete coverage.
- Drizzle chocolate sauce generously over the first ice cream layer, creating an artistic swirl pattern.
- Scatter the chopped cookie pieces across the chocolate sauce, distributing them evenly for maximum flavor distribution.
- Top with the remaining ice cream, carefully smoothing the surface to create a perfectly flat finish.
- Wrap the pie securely with plastic wrap and transfer to the freezer for a minimum of 4 hours to allow complete solidification.
- Before serving, allow the pie to rest at room temperature for 2-3 minutes to slightly soften, facilitating easier slicing.
- Garnish with a dollop of whipped topping and an additional chocolate sauce drizzle for an elegant presentation.
Notes
- Crafting this delectable no-bake dessert starts with transforming Oreo cookies into a crumbly foundation.
- Melted butter binds the cookie crumbs, creating a sturdy base that will cradle the creamy ice cream layers.
- Freezing the crust ensures a solid, crisp platform that holds the indulgent filling perfectly in place.
- Prep Time: 20 minutes
- Cook Time: 0 minutes
- Category: Desserts, Snacks
- Method: Freezing
- Cuisine: American
Nutrition
- Serving Size: 12
- Calories: 450
- Sugar: 34 g
- Sodium: 260 mg
- Fat: 22 g
- Saturated Fat: 12 g
- Unsaturated Fat: 10 g
- Trans Fat: 0 g
- Carbohydrates: 56 g
- Fiber: 2 g
- Protein: 5 g
- Cholesterol: 40 mg
Alex Reed
Founder & Lead Content Writer
Expertise
Recipe Development and Testing, Culinary Education, Food Writing and Blogging, Sustainable Cooking Practices, Global Cuisine Exploration
Education
Johnson & Wales University
Le Cordon Bleu Paris
Alex Reed is an inventive chef and food creator with a passion for dishes that balance taste, health, and sustainability.
Trained at Portland Community College and holding an Advanced Pastry Arts certificate from Oregon Culinary Institute, Alex brings more than 10 years of practical culinary experience to every recipe he develops.
His background uniquely blends traditional cooking skills with modern, mindful eating principles. As the founder of Beard and Bonnet, Alex creates recipes that encourage readers to cook confidently.