
Fluffy Jello Whipped Meringues Recipe: Airy Sweet Joy
Silky smooth Jello whipped meringue delights dance with elegance on your dessert plate, promising a sweet adventure that melts effortlessly.
Light and airy textures blend in this dreamy creation that surprises every palate.
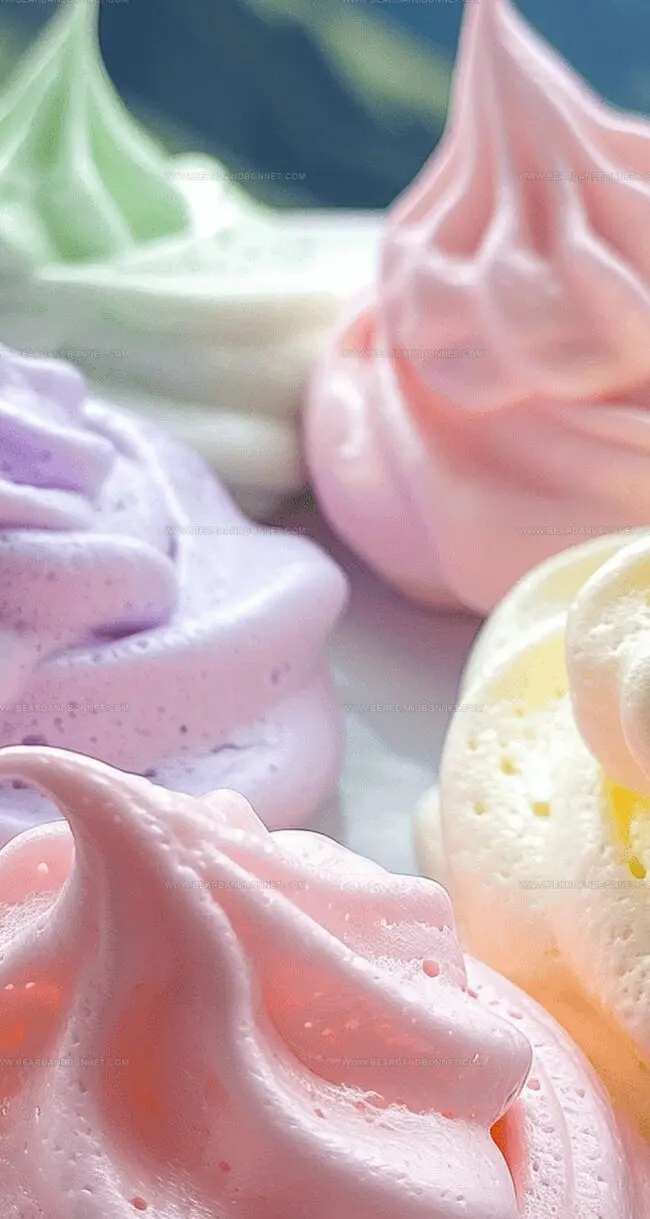
Delicate peaks of meringue swirl with vibrant Jello, creating a dessert that looks as stunning as it tastes.
Each spoonful carries a whisper of sweetness and a gentle cloud-like embrace.
The recipe combines simple ingredients into a magical treat that sparkles with color and charm.
Whip up these delightful confections and watch faces light up with pure joy.
Quick Recipe Overview
Ingredients That Make Jello Whipped Meringues Stand Out
For Whipping Base:For Sweetening and Flavoring:For Baking Preparation:Utensils for Whipping, Folding, and Piping
How to Create Whipped Jello Meringue Treats

Warm your oven to a low 225°F. Grab a baking sheet and cover it with parchment paper, creating a smooth landing zone for your delicate treats.
Grab a squeaky clean mixing bowl and pour in your egg whites. Whip them up with a mixer until they transform from clear liquid to fluffy clouds. Sprinkle in a tiny pinch of cream of tartar to help them rise beautifully.
Slowly rain sugar and Jello powder into your egg white mixture. Keep whisking with passion, watching the mixture turn glossy and vibrant. Move slowly and steadily to keep all that lovely air trapped inside.
Keep whipping until your mixture stands up in tall, proud peaks. When you lift the mixer, the mixture should create dramatic, stiff points that hold their shape like little sculptural masterpieces.
Use a fancy piping tip to create delicate swirled rosettes on your prepared baking sheet. Space them out so they have room to breathe and become crispy perfection.
Slide the baking sheet into the warm oven. Bake for one hour, then turn off the heat and let the meringues rest inside. This gentle drying process creates a crisp exterior with a dreamy, slightly soft center.
Tips for Colorful Layers and Airy Texture
Presenting Meringues in Fun Ways
Keeping These Light Treats Fresh
Print
Fluffy Jello Whipped Meringues Recipe
- Total Time: 1 hour 15 minutes
- Yield: 5 1x
Description
Creamy Jello whipped meringue delights blend sweet nostalgia with modern dessert crafting. Delicate peaks of marshmallow-like meringue and fruity gelatin create a playful, cloud-like treat you’ll adore.
Ingredients
- 4 egg whites (room temperature)
- 1 cup (240 ml/8 fl oz) sugar
- 3 tbsps (45 ml/1.5 fl oz) Jello dry powder (any flavor)
- ½ tsp (2.5 ml/0.08 fl oz) cream of tartar
- Dash of salt
Instructions
- Workspace Preparation: Position oven rack centrally and preheat to 225°F. Line baking sheet with parchment paper, ensuring a smooth surface for meringue piping.
- Egg White Transformation: Transfer egg whites to an immaculately clean mixing bowl. Activate electric mixer with whisk attachment at medium speed. Incorporate cream of tartar and salt, whipping until soft, billowy peaks materialize with cloud-like consistency.
- Sugar and Flavor Integration: Gradually introduce granulated sugar and Jello powder, adding one tablespoon at a time. Blend thoroughly, allowing each addition to fully incorporate while maintaining the meringue’s delicate structural integrity.
- Meringue Refinement: Increase mixing intensity, creating a luminous, robust mixture. Whip until peaks stand proudly and glossily, holding definitive shape when whisk is lifted.
- Artistic Piping and Baking: Fill piping bag with 1M tip, carefully crafting elegant rosette shapes on prepared parchment. Space meringues evenly to ensure uniform heat distribution. Slide baking sheet into preheated oven.
- Cooling and Crisping: Bake for one hour, then turn off oven. Leave meringues inside for an additional hour, allowing residual warmth to develop a crisp exterior while maintaining a tender, marshmallow-like core.
Notes
- Prevent Egg White Disaster: Ensure mixing bowl and whisk are completely grease-free to guarantee perfect meringue volume and stability.
- Sugar Incorporation Strategy: Add sugar gradually and slowly to prevent deflating the delicate egg white structure and maintain silky smooth texture.
- Moisture Management: Avoid making meringues on humid days, as excess atmospheric moisture can cause sticky, soft results instead of crisp peaks.
- Temperature Precision: Keep oven door closed during entire baking and cooling process to maintain consistent low heat and prevent sudden temperature changes that might crack meringues.
- Prep Time: 15 minutes
- Cook Time: 1 hour
- Category: Desserts, Snacks
- Method: Baking
- Cuisine: American
Nutrition
- Serving Size: 5
- Calories: 195
- Sugar: 38 g
- Sodium: 5 mg
- Fat: 0 g
- Saturated Fat: 0 g
- Unsaturated Fat: 0 g
- Trans Fat: 0 g
- Carbohydrates: 50 g
- Fiber: 0 g
- Protein: 4 g
- Cholesterol: 0 mg
Jessica Martin
Recipe Developer & Food Writer
Expertise
Recipe Development, Food Styling and Photography, Seasonal and Local Ingredients, Vegetarian and Vegan Cuisine, Culinary Education
Education
Portland Community College
Oregon Culinary Institute
Jessica Martin is a talented food writer and recipe creator who specializes in seasonal cooking and approachable home baking.
Educated at Portland Community College with additional pastry training from Oregon Culinary Institute, Jessica’s culinary journey spans nearly a decade of creating and sharing flavorful recipes.
Her deep appreciation for local ingredients shapes each of her recipes, making them both accessible and inspiring. At Beard and Bonnet, Jessica uses her cheerful, down-to-earth writing to help readers effortlessly bring new tastes and creative dishes into their daily routines.