Sweet holiday traditions often spark memories of cherished cherry bars that dance with festive flavors.
These delightful Christmas cherry bars recipe sparkle with nostalgic charm and buttery goodness.
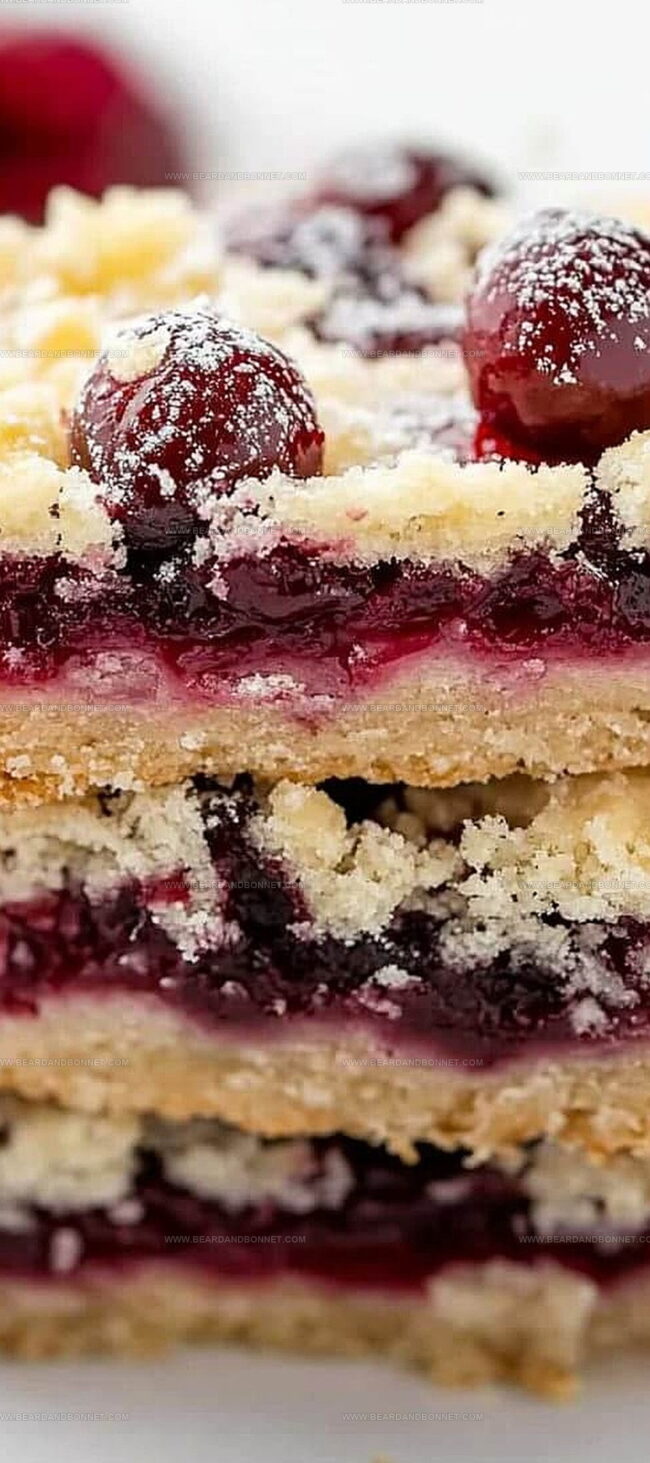
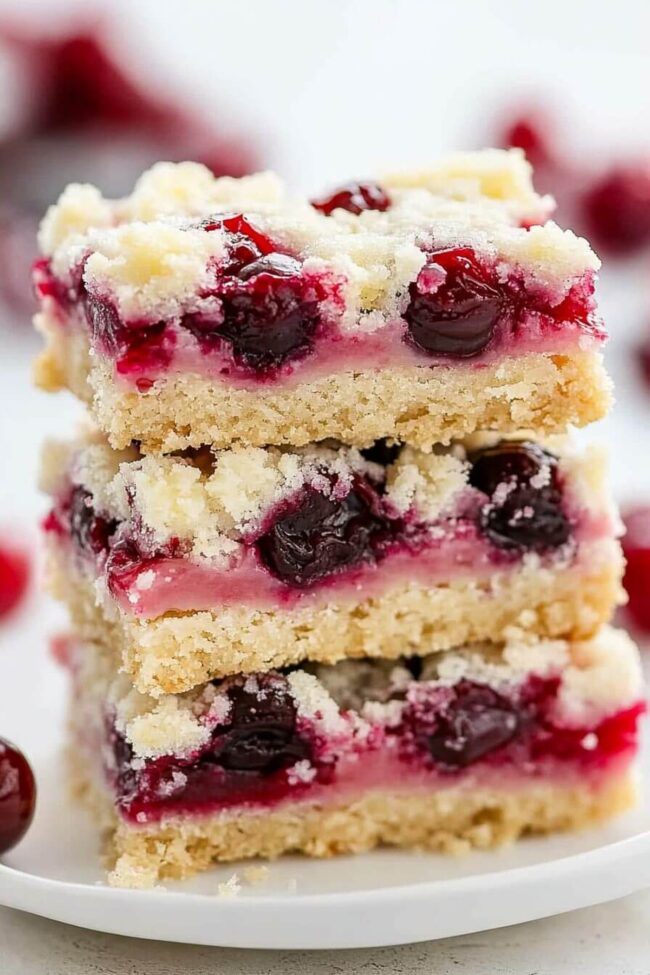
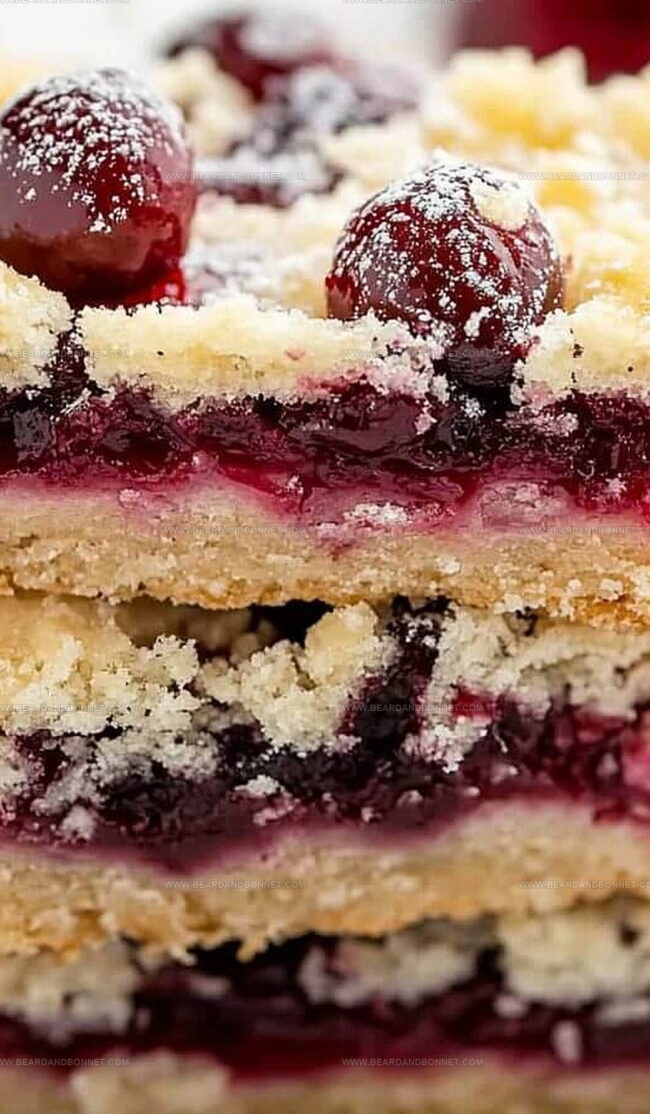
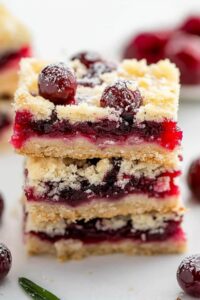
Soft, crumbly layers meld perfectly with bright red cherries, creating a dessert that lights up winter gatherings.
Rich shortbread crusts cradle vibrant fruit fillings, promising delectable bites of pure comfort.
Generations have savored this simple yet elegant treat that brings warmth to cold winter evenings.
Bakers of all skill levels can craft these irresistible bars with just a few pantry staples.
Invite joy to your holiday table with this delightful dessert that turns ordinary moments into sweet celebrations.
Quick Recipe Overview
Prep Time: 15 minutes
Cook Time: 40 minutes
Total Time: 55 minutes
Calories: 236 kcal
Servings: 25
Christmas Cherry Bars – What You’ll Need
For The Base:
Butter: Provides rich, creamy foundation that helps create a tender, melt-in-your-mouth texture. Choose unsalted butter for better flavor control.
Sugar: Sweetens and helps create a golden, crisp exterior. Opt for granulated white sugar for consistent results.
Eggs: Bind ingredients together and add structure to the bars. Select fresh, room-temperature eggs for smooth mixing.
Vanilla Extract: Enhances overall flavor with warm, aromatic notes. Use pure vanilla extract for the best taste.
For The Structure:
All-Purpose Flour: Creates the fundamental structure of the bars. Look for unbleached flour for better texture and flavor.
Salt: Balances sweetness and elevates the overall taste profile. Use fine table salt for even distribution.
For The Topping:
Cherry Pie Filling: Adds vibrant fruity layer and festive color. Select high-quality filling with plump, glossy cherries.
Powdered Sugar: Creates smooth, glossy glaze that adds sweetness. Sift to prevent lumps in the final drizzle.
Milk: Thins the glaze and helps achieve perfect drizzling consistency. Whole milk provides the best texture.
Tools for Baking Christmas Cherry Bars
Mixing Bowls: Large bowls for creaming butter and mixing ingredients.
Electric Mixer or Whisk: Essential for beating butter, sugar, and eggs until fluffy.
9×13-inch Baking Pan: Greased pan for spreading batter and baking bars.
Wire Rack: Allows bars to cool evenly after baking.
Measuring Cups and Spoons: Precise measurements for ingredients.
Toothpick: Checks doneness by testing center of bars.
Spatula or Wooden Spoon: Helps spread batter and mix ingredients.
Whisk: Useful for creating smooth glaze.
Making Christmas Cherry Bars – Directions
Festive Cherry Delight
Oven Preparation Warm up your oven and grab a baking pan, getting everything ready for a sweet adventure.
Creamy Base Blend butter and sugar into a dreamy mixture, creating a soft and silky foundation that’ll make your taste buds dance.
Flour Magic Gently fold flour into the creamy mixture, creating a smooth batter that promises deliciousness.
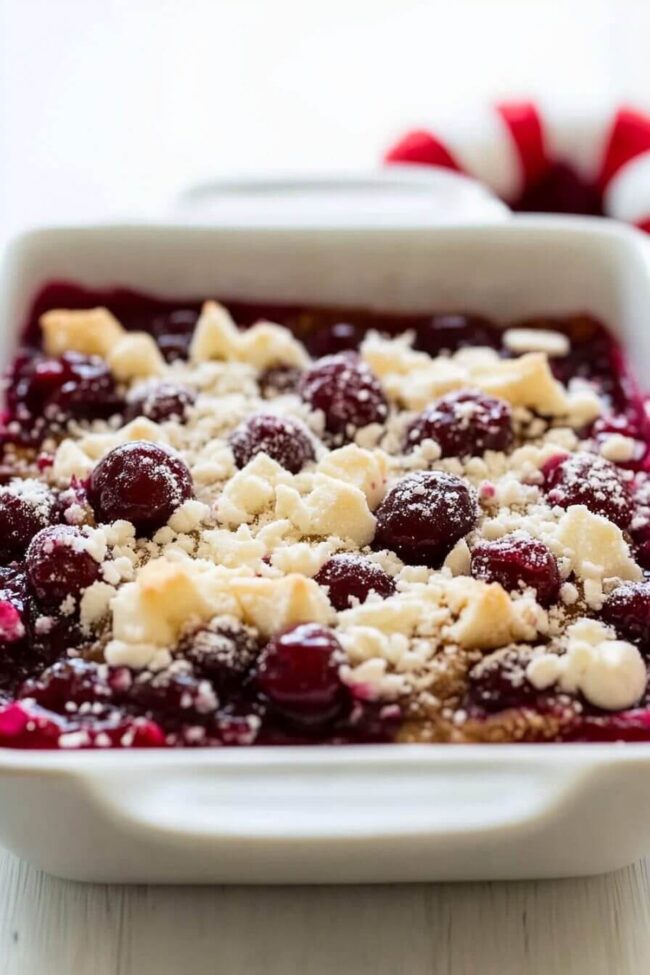
Cherry Layer Spread the batter across the pan, then generously scatter cherry filling like colorful confetti. Top with playful dollops of remaining batter.
Baking Transformation Send your creation into the oven, watching it transform into a golden masterpiece. Listen for the quiet sizzle and watch the edges turn a beautiful golden brown.
Cooling Moment Let your bars rest and cool completely, allowing flavors to mingle and settle into a perfect harmony.
Glaze Glory Whip up a silky glaze, drizzling it across the bars like elegant winter snowflakes, adding a final touch of sweetness.
Celebration Time Slice your bars and share the joy, creating delightful moments of happiness with every bite.
Cherry Bar Tips and Holiday Variations
Festive Flavor Boosters: Cherry Bar Magic
Fruit Swap Magic: Replace cherry pie filling with other seasonal favorites like raspberry, blueberry, or cranberry preserves for a delightful twist on the classic recipe.
Make-Ahead Masterpiece: Prepare the bars a day ahead and store them in an airtight container at room temperature. The flavors will blend beautifully, making them even more delicious.
Texture Triumph: For extra crunch, sprinkle chopped nuts like almonds or pecans over the top before baking. This adds a delightful crackle and nutty depth to each bite.
Glaze Game Changer: Experiment with different glaze flavors by adding a touch of almond extract, orange zest, or a splash of amaretto to create a unique and memorable dessert experience.
Holiday Decoration Hack: Dust the finished bars with festive colored sugar or sprinkle crushed candy canes on top for a stunning Christmas presentation that will wow your guests.
Presenting Christmas Cherry Bars Beautifully
Festive Party Platter: Create a gorgeous holiday dessert tray by arranging these cherry bars alongside other seasonal treats like chocolate truffles and peppermint cookies for a stunning display.
Holiday Gift Packaging: Wrap individual bars in clear cellophane with festive ribbons, making them perfect homemade gifts for neighbors, teachers, or family friends during Christmas celebrations.
Complementary Beverage Pairing: Serve these cherry bars with warm mulled wine, creamy hot chocolate, or a classic cup of coffee to enhance the rich, sweet flavors and create a cozy winter experience.
Dessert Presentation Tip: Dust the bars lightly with powdered sugar or garnish with fresh mint leaves to add an elegant touch that makes the dessert look even more appealing and professional.
Keeping Christmas Cherry Bars Fresh
Tasty Storage Solutions: Keep these delightful Christmas Cherry Bars fresh and delicious with these smart tips.
Refrigeration Magic: Store bars in an airtight container in the refrigerator for up to 5 days, maintaining their soft texture and preventing moisture loss.
Freezing Freedom: Wrap individual bars tightly in plastic wrap, then place in a freezer-safe container. They’ll stay delectable for 2-3 months, ready for sudden sweet cravings.
Counter Comfort: If enjoying within 2 days, leave bars in a sealed container at room temperature. Cover with a clean kitchen towel to keep them moist and tempting.
Glaze Pro Tip: Always add the glaze just before serving to prevent softening and maintain that perfect crisp-sweet finish that makes these bars irresistible.
Magical Christmas cherry bars bring festive cheer with sweet and tangy layers of buttery shortbread and rich cherry filling. Holiday bakers will love this simple dessert that delivers classic comfort and seasonal joy.
Ingredients
Scale
1 can (21 oz / 595 g) cherry pie filling
1 cup (227 g) butter, softened
3 cups all-purpose flour
2 cups sugar
4 eggs
1 tsp vanilla extract
1 tsp salt
1 cup (120 g) powdered sugar
2 tbsps milk
½ tsp vanilla extract
Instructions
Preheating: Configure the oven to 350°F and lightly grease a 9×13-inch baking pan to facilitate easy removal.
Creaming: Whip butter and sugar into a light, fluffy texture. Incorporate eggs one at a time, mixing thoroughly after each addition, then blend in vanilla extract for depth of flavor.
Dry Ingredients: Sift together flour and salt, then gradually fold into the butter mixture, ensuring a smooth, homogeneous batter.
Layering: Spread three-quarters of the batter evenly across the pan’s base. Gently pour cherry pie filling over the initial layer, then dot the remaining batter in small, uneven patches across the fruity surface.
Baking: Slide the pan into the preheated oven and bake for 35-40 minutes. Look for a golden-brown color and verify doneness by inserting a toothpick into the center, which should come out clean.
Cooling and Glazing: Remove from oven and place on a cooling rack until completely cool. Whisk powdered sugar, milk, and vanilla extract into a smooth glaze, then elegantly drizzle over the bars.
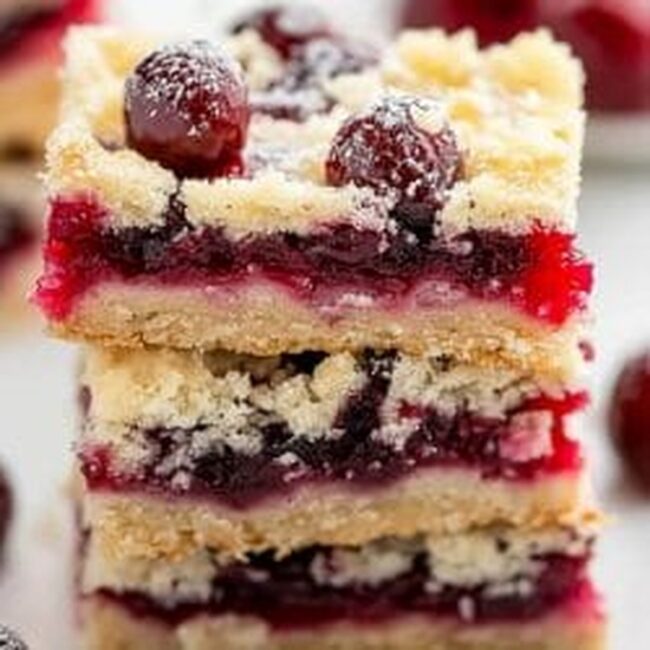
Serving: Allow the glaze to set, then slice into individual servings, revealing the festive, layered interior.
Notes
Precise Pan Preparation: Ensure complete pan coverage with grease to prevent sticking and guarantee easy bar removal.
Creaming Technique: Whip butter and sugar until light and fluffy for a tender, delicate bar texture that melts in your mouth.
Layering Strategy: Distribute batter carefully, creating an even base and strategic top layer to showcase beautiful cherry filling.
Glaze Consistency Check: Adjust powdered sugar and milk quantities to achieve a smooth, drizzleable glaze that sets perfectly without being too thick or runny.
Recipe Development, Food Styling and Photography, Seasonal and Local Ingredients, Vegetarian and Vegan Cuisine, Culinary Education
Education
Portland Community College
Degree: Associate of Applied Science in Culinary Arts
Focus: Comprehensive training in culinary techniques, kitchen management, and food safety. Gained hands-on experience in preparing diverse cuisines and understanding flavor profiles
Oregon Culinary Institute
Program: Baking and Pastry Certificate
Focus: Specialized education in baking fundamentals, pastry arts, and dessert presentation. Emphasized creativity and precision in crafting baked goods.
Jessica Martin is a talented food writer and recipe creator who specializes in seasonal cooking and approachable home baking.
Educated at Portland Community College with additional pastry training from Oregon Culinary Institute, Jessica’s culinary journey spans nearly a decade of creating and sharing flavorful recipes.
Her deep appreciation for local ingredients shapes each of her recipes, making them both accessible and inspiring. At Beard and Bonnet, Jessica uses her cheerful, down-to-earth writing to help readers effortlessly bring new tastes and creative dishes into their daily routines.


Jessica Martin
Recipe Developer & Food Writer
Expertise
Recipe Development, Food Styling and Photography, Seasonal and Local Ingredients, Vegetarian and Vegan Cuisine, Culinary Education
Education
Portland Community College
Oregon Culinary Institute
Jessica Martin is a talented food writer and recipe creator who specializes in seasonal cooking and approachable home baking.
Educated at Portland Community College with additional pastry training from Oregon Culinary Institute, Jessica’s culinary journey spans nearly a decade of creating and sharing flavorful recipes.
Her deep appreciation for local ingredients shapes each of her recipes, making them both accessible and inspiring. At Beard and Bonnet, Jessica uses her cheerful, down-to-earth writing to help readers effortlessly bring new tastes and creative dishes into their daily routines.