
Zesty Cheeseburger Spring Rolls Recipe – Fun Twist on Classics
Crispy, golden spring rolls bursting with classic cheeseburger flavors merge two beloved culinary worlds into one irresistible appetizer.
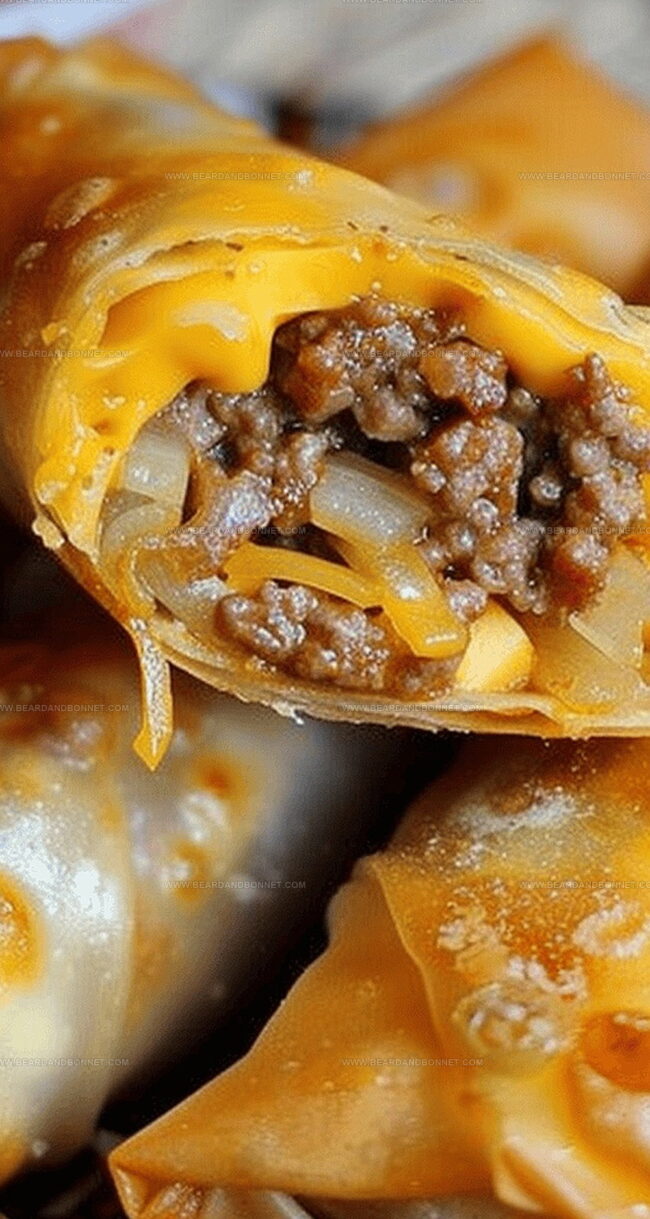
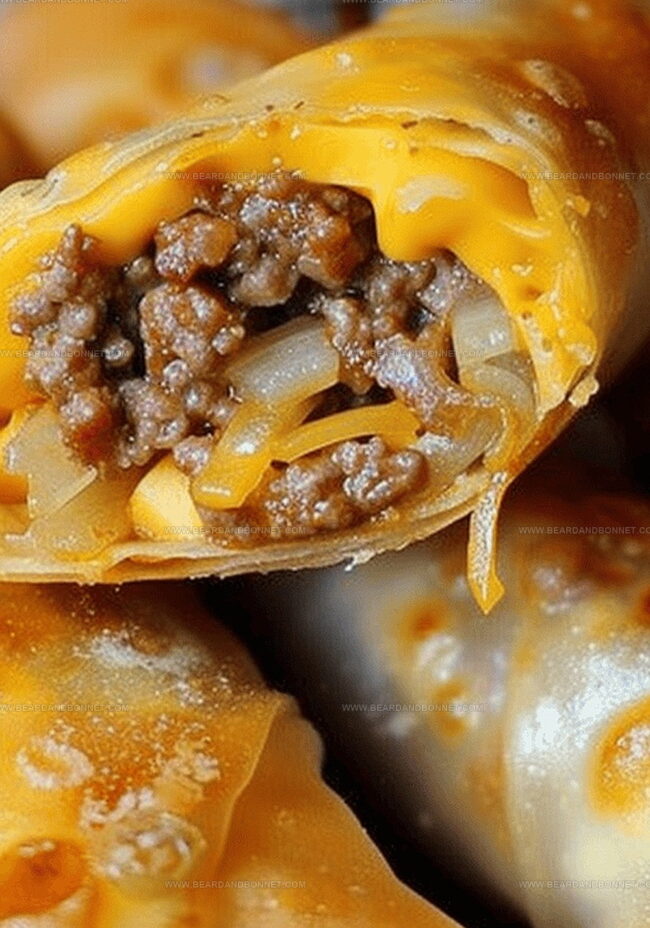
These handheld delights pack all the meaty, cheesy goodness you love into a crunchy wrapper that shatters with each delectable bite.
Melted cheese, seasoned ground beef, and hints of classic burger condiments dance together in perfect harmony.
The fusion creates a playful twist on traditional spring rolls that will spark conversation at any gathering.
Unexpected yet familiar, these rolls blend Asian technique with American comfort food.
Guests will be reaching for seconds before you can say “delicious.” Dive into this crowd-pleasing recipe that promises to become your new favorite party snack.
Quick Recipe Overview
Ingredients That Fill Cheeseburger Spring Rolls
For Protein and Main Filling:For Flavor Enhancers:For Wrapping and Cooking:What You’ll Use to Roll and Fry Spring Rolls
How to Assemble Cheeseburger Spring Rolls Like a Pro
Brown ground beef in a skillet, ensuring it’s fully cooked and drained of excess grease. Let the meat cool slightly before mixing.
Blend cooked beef with cheddar cheese, red onions, and dill pickles in a mixing bowl. Combine ingredients thoroughly to create a delicious filling.
Position beef mixture in the center of spring roll wrappers. Carefully fold and seal edges, creating compact pockets that prevent filling from escaping.
Heat oil in a deep skillet until shimmering. Check readiness by dropping a wrapper piece that should immediately sizzle and bubble.
Gently lower spring rolls into hot oil, frying until each side turns a gorgeous golden brown. Work in small batches to maintain optimal cooking conditions.
Transfer spring rolls to paper towels to absorb excess oil. Plate immediately and serve with a tangy ketchup or zesty dipping sauce for maximum enjoyment.
Tips for Keeping the Shells and Golden
Dipping and Serving Options for Spring Rolls
Reheating Spring Rolls While Maintaining Texture
Print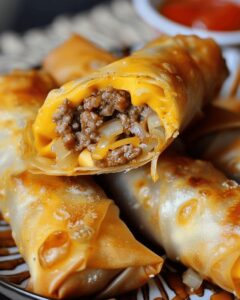
Crispy Cheeseburger Spring Rolls Recipe
- Total Time: 40 minutes
- Yield: 5 1x
Description
Delightful cheeseburger spring rolls combine classic American burger flavors with crispy Asian-style wrappers. Crisp exterior gives way to melted cheese and seasoned ground beef, creating an irresistible fusion appetizer you’ll crave at every gathering.
Ingredients
- 1 lb ground beef (or turkey)
- 1 cup shredded cheddar cheese
- ½ cup diced red onions
- ½ cup diced dill pickles
- 12 spring roll wrappers
- Vegetable oil or canola oil for frying
- Ketchup or preferred dipping sauce for serving
Instructions
- Meat Preparation: Brown ground beef in a skillet until fully cooked, removing excess fat. Cool the meat slightly to facilitate handling.
- Filling Creation: Combine cooled beef with cheddar cheese, red onions, and dill pickles in a mixing bowl. Mix thoroughly to distribute ingredients evenly.
- Wrapping Technique: Place spring roll wrapper on a flat surface, positioning beef mixture in the center. Fold wrapper carefully, enclosing filling completely and sealing edges with water to prevent leakage.
- Oil Heating: Fill a deep frying pan with oil, heating to an optimal temperature where a test piece sizzles instantly. Maintain consistent heat for perfect frying.
- Frying Process: Submerge spring rolls in hot oil in small batches, rotating to achieve uniform golden-brown coloration and crispy exterior. Monitor oil temperature to ensure even cooking.
- Finishing Touch: Remove spring rolls with a slotted spoon, draining excess oil on paper towels. Plate and serve with ketchup or preferred dipping sauce for enhanced flavor profile.
Notes
- Meat Precision: Brown ground beef completely to eliminate raw spots and drain excess fat for a cleaner, safer filling.
- Filling Balance: Mix ingredients thoroughly to distribute flavors evenly, ensuring each bite delivers consistent taste.
- Wrapper Technique: Seal edges carefully with water to prevent filling leakage during frying, creating a tight, intact spring roll.
- Oil Temperature Control: Maintain consistent oil heat around 350-375°F for crispy exterior and prevent greasy absorption, using a thermometer for accuracy.
- Prep Time: 10 minutes
- Cook Time: 30 minutes
- Category: Appetizer, Snacks
- Method: Frying
- Cuisine: American
Nutrition
- Serving Size: 5
- Calories: 320
- Sugar: 2 g
- Sodium: 600 mg
- Fat: 18 g
- Saturated Fat: 8 g
- Unsaturated Fat: 9 g
- Trans Fat: 0 g
- Carbohydrates: 28 g
- Fiber: 1 g
- Protein: 15 g
- Cholesterol: 50 mg
Jessica Martin
Recipe Developer & Food Writer
Expertise
Recipe Development, Food Styling and Photography, Seasonal and Local Ingredients, Vegetarian and Vegan Cuisine, Culinary Education
Education
Portland Community College
Oregon Culinary Institute
Jessica Martin is a talented food writer and recipe creator who specializes in seasonal cooking and approachable home baking.
Educated at Portland Community College with additional pastry training from Oregon Culinary Institute, Jessica’s culinary journey spans nearly a decade of creating and sharing flavorful recipes.
Her deep appreciation for local ingredients shapes each of her recipes, making them both accessible and inspiring. At Beard and Bonnet, Jessica uses her cheerful, down-to-earth writing to help readers effortlessly bring new tastes and creative dishes into their daily routines.