
Crispy Waffle Iron Queso Frito Recipe: Easy Cheesy Delight
Golden, crispy, and irresistibly cheesy, this waffle iron fried cheese bursts with delightful flavor that transforms ordinary snacking.
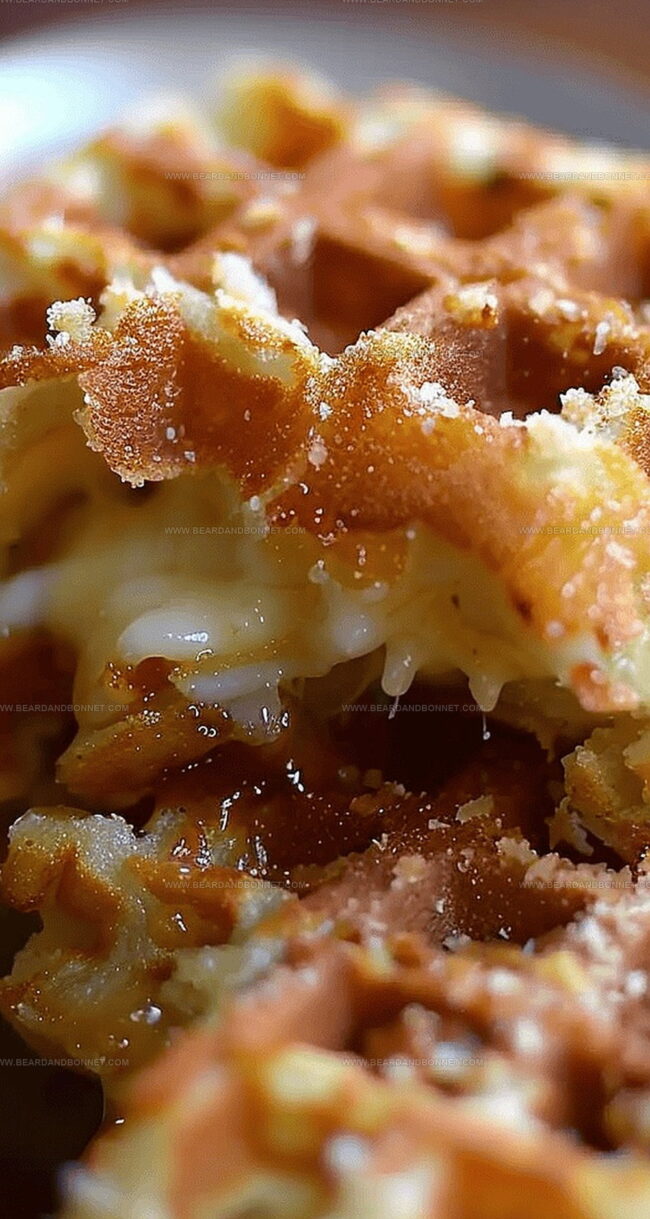
The technique of using a waffle iron creates an unexpected crunch that elevates simple queso frito to a whole new level of deliciousness.
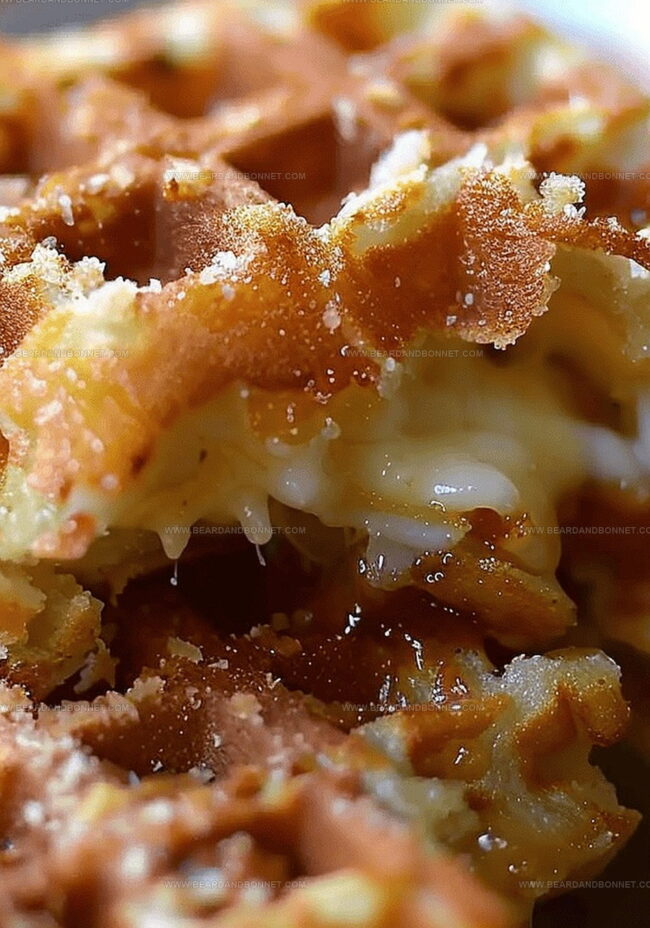
Melted cheese develops a gorgeous golden-brown exterior while maintaining a soft, gooey center that melts in your mouth.
Latin American cuisine offers incredible ways to enjoy cheese, and this method brings a playful twist to traditional preparation.
The waffle iron provides perfect ridges and pockets that capture every bit of cheesy goodness.
You’ll love how quickly this recipe comes together with minimal ingredients and maximum flavor.
Serve these crispy cheese squares as an appetizer or quick snack that will have everyone asking for seconds.
Quick Recipe Overview
Ingredients for Waffle Iron “Fried” Cheese (Queso Frito)
For Coating Mixture:For Cheese Base:For Binding and Preparation:For Serving:Tools That Help Cook Waffle Iron “Fried” Cheese Perfectly
How to Make Waffle Iron “Fried” Cheese Crisp and Gooey
Crispy Cheese Waffle Delight
Get your waffle iron ready by plugging it in and heating to medium. A well-heated surface ensures that golden, crunchy exterior we’re aiming for.
Set up three shallow dishes: one with seasoned flour, another with beaten eggs, and the last with bread crumbs. This station will transform plain cheese into a crispy sensation.
Gently dunk each cheese slice through the flour, egg, and bread crumb stations. Make sure every inch gets a luxurious coating that’ll crisp up beautifully.
Spray the waffle iron with nonstick spray. Carefully place coated cheese slices inside, closing the lid. In about a minute, you’ll have crispy, melty cheese squares that’ll make taste buds dance.
Transfer your golden cheese squares to a plate. Pair with zesty salsa or your favorite dipping sauce for an extra flavor punch.
Variations for Waffle Iron “Fried” Cheese You’ll Love
How to Serve Waffle Iron “Fried” Cheese in Style
Store Waffle Iron “Fried” Cheese to Keep It Crisp
Print
Crispy Waffle Iron Fried Cheese
- Total Time: 11 minutes
- Yield: 5 1x
Description
Colombian queso frito tempts cheese enthusiasts with crispy golden exteriors and molten centers. Sizzling directly from waffle iron to plate, this simple street snack delivers pure comfort for hungry diners seeking authentic Latin American flavors.
Ingredients
- ½ lb (226 g) mozzarella, sliced about ½ inch thick
- 2 large eggs, beaten
- ½ cup (60 g) bread crumbs
- 3 tbsps (24 g) all-purpose flour
- ½ tsp paprika, or a pinch of cayenne pepper
- Nonstick cooking spray
- Salsa, for serving (optional)
Instructions
- Preparation: Preheat waffle iron to medium heat, lightly spraying with nonstick coating to prevent cheese adhesion.
- Coating Setup: Arrange three distinct stations – seasoned flour, whisked eggs, and crisp bread crumbs – for comprehensive cheese coverage.
- Dredging Process: Carefully coat mozzarella slices in flour, shaking off excess, then delicately dip into eggs, ensuring minimal dripping before rolling in bread crumbs for a uniform, crispy exterior.
- Waffle Iron Placement: Position breaded cheese slices strategically inside the waffle iron, maintaining adequate spacing to guarantee even cooking and optimal crispiness.
- Cooking Technique: Close waffle iron lid and cook for 60-90 seconds, monitoring until cheese achieves a rich golden-brown color and begins to melt enticingly.
- Serving and Presentation: Carefully extract crispy cheese using heat-resistant utensils, transferring to a serving plate that showcases the melted edges and inviting texture.
- Flavor Enhancement: Pair with zesty salsa or preferred dipping sauce to elevate the cheese’s rich flavor profile, and consider experimenting with alternative cheese varieties like cheddar or gouda for diverse taste experiences.
Notes
- Preheat Precisely: Ensure waffle iron reaches medium heat for consistent, golden-brown cheese crust without burning.
- Coating Technique: Layer flour, eggs, and breadcrumbs thoroughly to create a crispy, even exterior that locks in melted cheese.
- Space Strategically: Avoid overcrowding the waffle iron to guarantee uniform cooking and maximum crispiness for each cheese slice.
- Serve Immediately: Enjoy right after cooking to experience the perfect balance of crunchy exterior and gooey, melted cheese interior.
- Prep Time: 10 minutes
- Cook Time: 1 minutes
- Category: Snacks, Appetizer
- Method: Frying
- Cuisine: Mexican
Nutrition
- Serving Size: 5
- Calories: 203
- Sugar: 1 g
- Sodium: 460 mg
- Fat: 13 g
- Saturated Fat: 7 g
- Unsaturated Fat: 6 g
- Trans Fat: 0 g
- Carbohydrates: 10 g
- Fiber: 1 g
- Protein: 14 g
- Cholesterol: 147 mg
Jessica Martin
Recipe Developer & Food Writer
Expertise
Recipe Development, Food Styling and Photography, Seasonal and Local Ingredients, Vegetarian and Vegan Cuisine, Culinary Education
Education
Portland Community College
Oregon Culinary Institute
Jessica Martin is a talented food writer and recipe creator who specializes in seasonal cooking and approachable home baking.
Educated at Portland Community College with additional pastry training from Oregon Culinary Institute, Jessica’s culinary journey spans nearly a decade of creating and sharing flavorful recipes.
Her deep appreciation for local ingredients shapes each of her recipes, making them both accessible and inspiring. At Beard and Bonnet, Jessica uses her cheerful, down-to-earth writing to help readers effortlessly bring new tastes and creative dishes into their daily routines.