
Crispy Homemade Goldfish Crackers Recipe: Snack Magic
Crispy, cheesy, and downright addictive, these homemade goldfish crackers dance with nostalgic flavor that store-bought versions can’t match.
Crafting these delightful snacks in your own kitchen brings a fresh twist to the classic childhood treat.
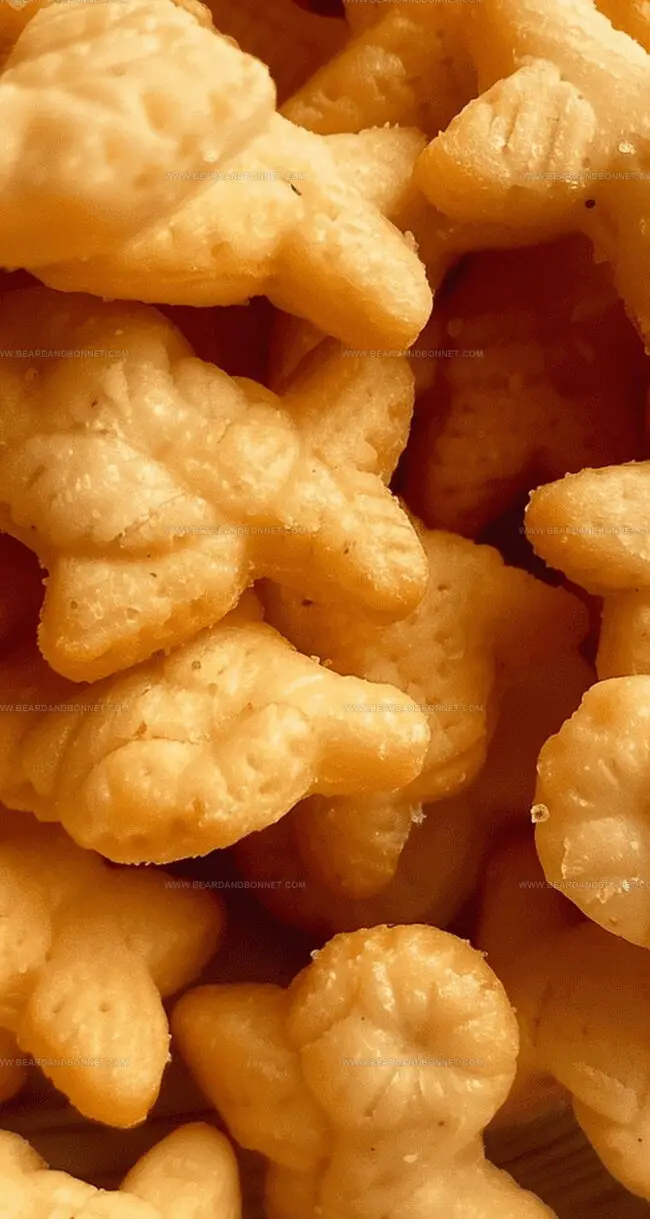
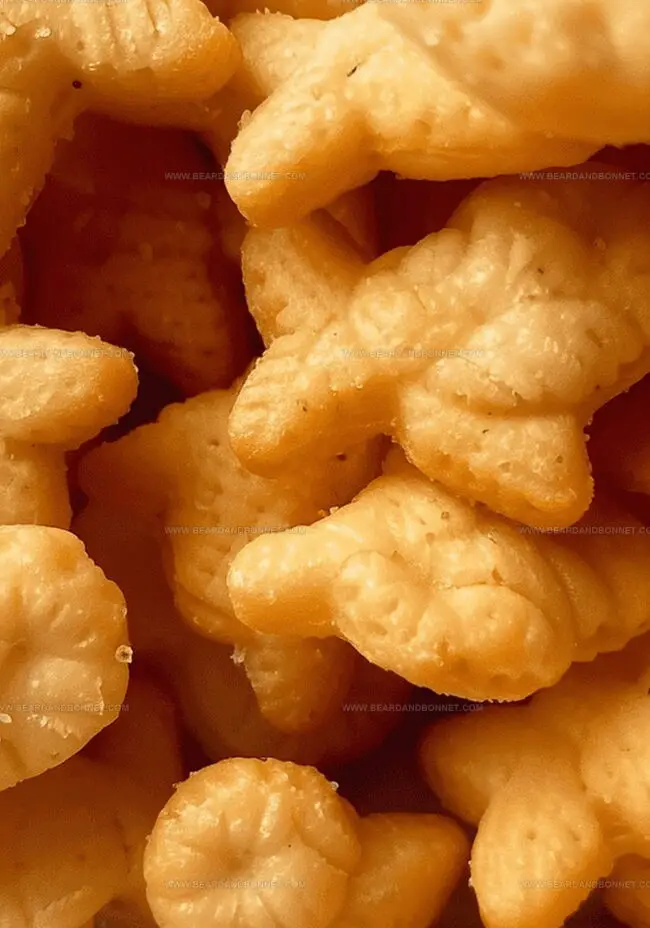
Small golden crackers packed with sharp cheddar cheese emerge from your oven, crackling with irresistible charm.
Each bite delivers a perfect balance of buttery richness and zesty cheese that makes snacking an adventure.
You’ll love how simple ingredients combine to create something so much more delicious than packaged alternatives.
The process is surprisingly straightforward, requiring just a few pantry staples and a dash of culinary creativity.
Dive into this recipe and transform ordinary ingredients into a snack that will have everyone reaching for more.
Quick Recipe Overview
What Goes Into Homemade Goldfish Crackers
For Flavor Base:For Dry Ingredients:For Binding and Richness:Tools That Shape and Bake Each Piece Easily
Step-by-Step Instructions for Crunchy Cheese Snacks
Gather your food processor and blend cheese, flour, and chilled butter until the mixture looks like coarse sand. Add a splash of icy water and pulse gently until the dough starts to form.
Shape the dough into a smooth disc, wrap it snugly in plastic, and let it rest in the refrigerator for half an hour. This helps the flavors mingle and makes the dough easier to handle.
Dust your work surface with flour and roll out the dough to a thin, even layer. Grab a small cookie cutter or pizza slicer to create adorable bite-sized shapes. Don’t waste those leftover dough bits – re-roll and cut again!
Arrange your cute cracker shapes on a parchment-lined baking sheet. Slide them into a preheated oven and bake until the edges turn a delightful golden brown. Watch them closely to prevent burning. Let the crackers cool completely before diving in for a crunchy snack.
Seasoning Twists to Give Them More Personality
Serve These Snacks to Kids or Guests Anytime
Save Crackers in a Tin to Keep Them Crisp
Print
Crispy Goldfish Crackers
- Total Time: 40 minutes
- Yield: 9 1x
Description
Crispy homemade goldfish crackers delight snack enthusiasts with their cheesy, crunchy goodness. Baking these playful crackers brings nostalgic charm and satisfying flavors you’ll savor with each delightful bite.
Ingredients
- 2 cups (226 grams / 8 oz) shredded cheddar cheese
- 1 cup (120 grams / 4.2 oz) all-purpose flour
- 4 tablespoons (56 grams / 2 oz) unsalted butter, cold
- 1–2 tablespoons (15–30 milliliters / 0.5–1 fluid oz) ice water, as needed
Instructions
- Mixing: Pulse cheese, flour, and chilled butter in a food processor until achieving a sandy consistency, creating the foundational cracker base.
- Dough Formation: Gradually introduce ice water while pulsing minimally to bind the mixture, ensuring the dough coheres without becoming overworked, then transfer to a clean surface and shape into a disc.
- Chilling: Wrap the dough in plastic and refrigerate for 30 minutes to stabilize and enhance its structural integrity.
- Rolling and Cutting: On a floured surface, roll the chilled dough to a uniform ⅛ to ¼ inch thickness, then craft fish-shaped or square crackers using cookie cutters or a pizza cutter, re-rolling scraps to maximize dough usage.
- Preparation for Baking: Carefully arrange the shaped crackers on a parchment-lined baking sheet, maintaining slight separation between pieces to promote even cooking.
- Baking: Position the sheet in a preheated 350°F (180°C) oven and bake for approximately 10 minutes, watching for a golden-brown edge that indicates perfect crispness.
- Cooling and Serving: Extract from the oven and allow crackers to cool completely, ensuring a satisfyingly crisp texture before presenting.
Notes
- Butter Temperature Tip: Keep butter extremely cold and chilled for flakiest, most delicate cracker texture.
- Dough Handling Warning: Minimize hand contact to prevent warming butter, which can make crackers tough and dense.
- Pulsing Technique: Use short, quick pulses in food processor to avoid overworking dough, maintaining delicate crumbly consistency.
- Rolling Precision: Aim for consistent ⅛-inch thickness to ensure even baking and uniform crispness across all crackers.
- Prep Time: 30 minutes
- Cook Time: 10 minutes
- Category: Snacks, Appetizer
- Method: Baking
- Cuisine: American
Nutrition
- Serving Size: 9
- Calories: 192
- Sugar: 0 g
- Sodium: 0 mg
- Fat: 12 g
- Saturated Fat: 7 g
- Unsaturated Fat: 4 g
- Trans Fat: 0 g
- Carbohydrates: 18 g
- Fiber: 0 g
- Protein: 6 g
- Cholesterol: 30 mg
Jessica Martin
Recipe Developer & Food Writer
Expertise
Recipe Development, Food Styling and Photography, Seasonal and Local Ingredients, Vegetarian and Vegan Cuisine, Culinary Education
Education
Portland Community College
Oregon Culinary Institute
Jessica Martin is a talented food writer and recipe creator who specializes in seasonal cooking and approachable home baking.
Educated at Portland Community College with additional pastry training from Oregon Culinary Institute, Jessica’s culinary journey spans nearly a decade of creating and sharing flavorful recipes.
Her deep appreciation for local ingredients shapes each of her recipes, making them both accessible and inspiring. At Beard and Bonnet, Jessica uses her cheerful, down-to-earth writing to help readers effortlessly bring new tastes and creative dishes into their daily routines.