Crispy Golden Fried Mushrooms Recipe: A Savory Delight
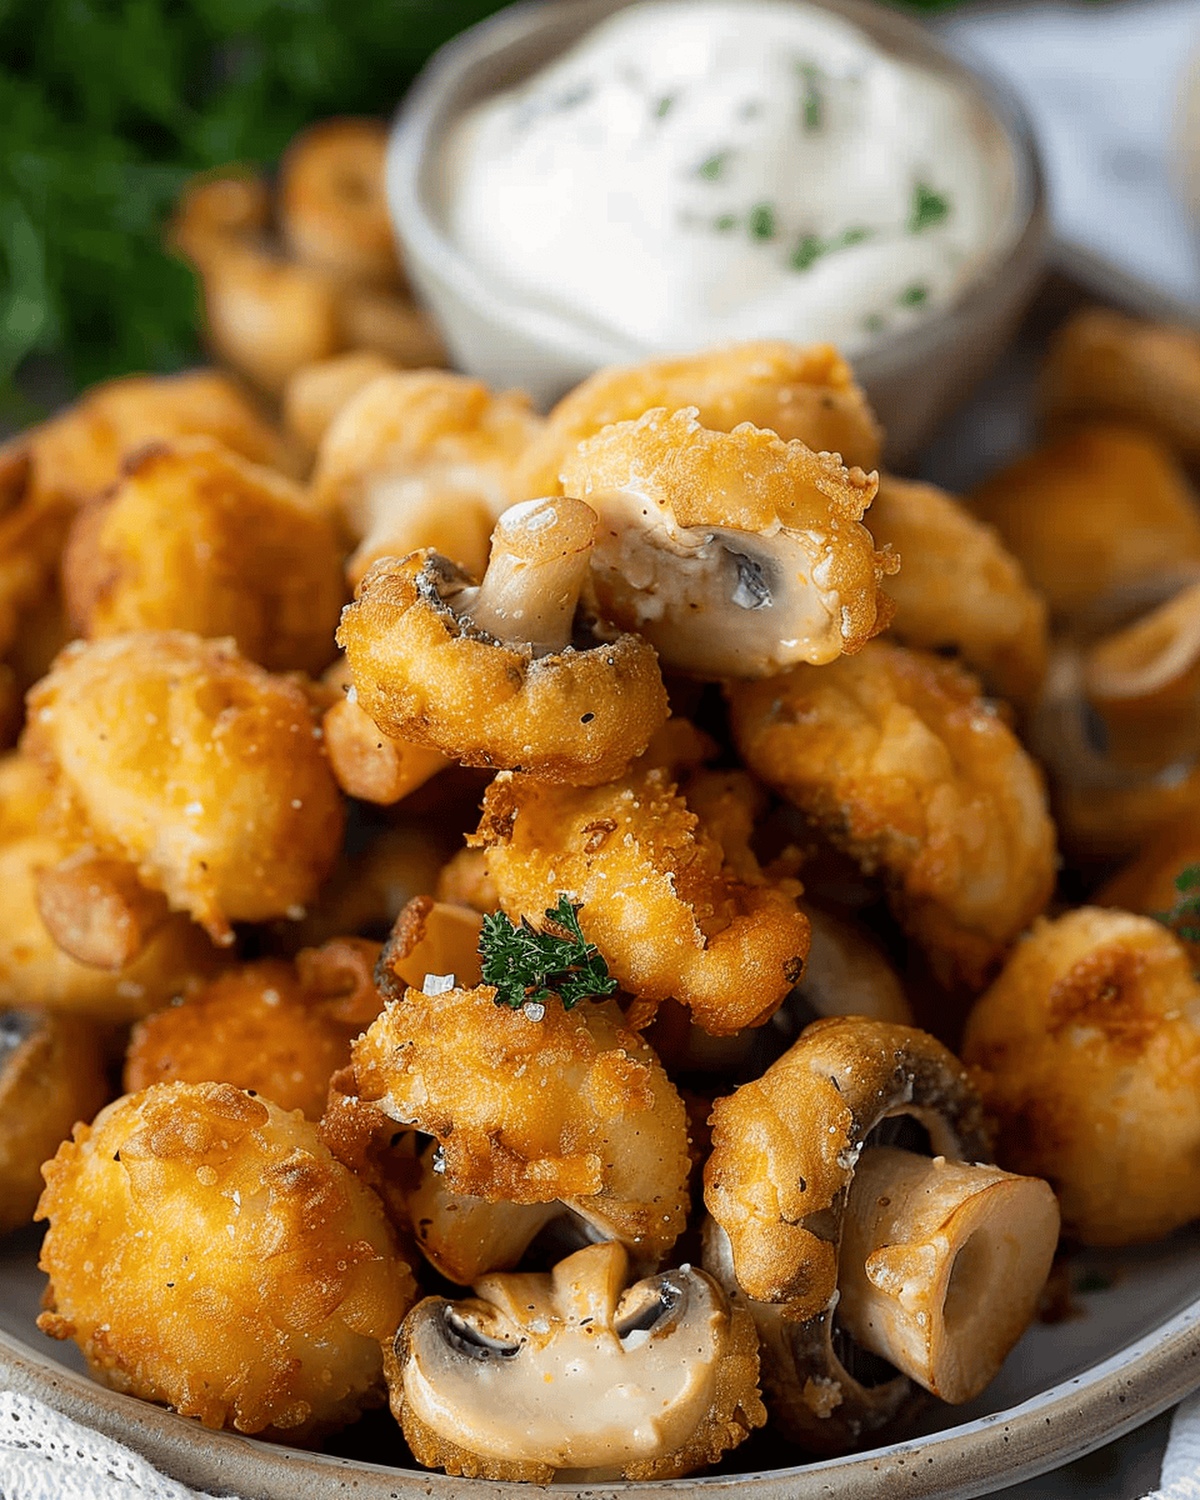
Crispy, golden-brown fried mushrooms beckon with an irresistible aroma that promises pure culinary delight.
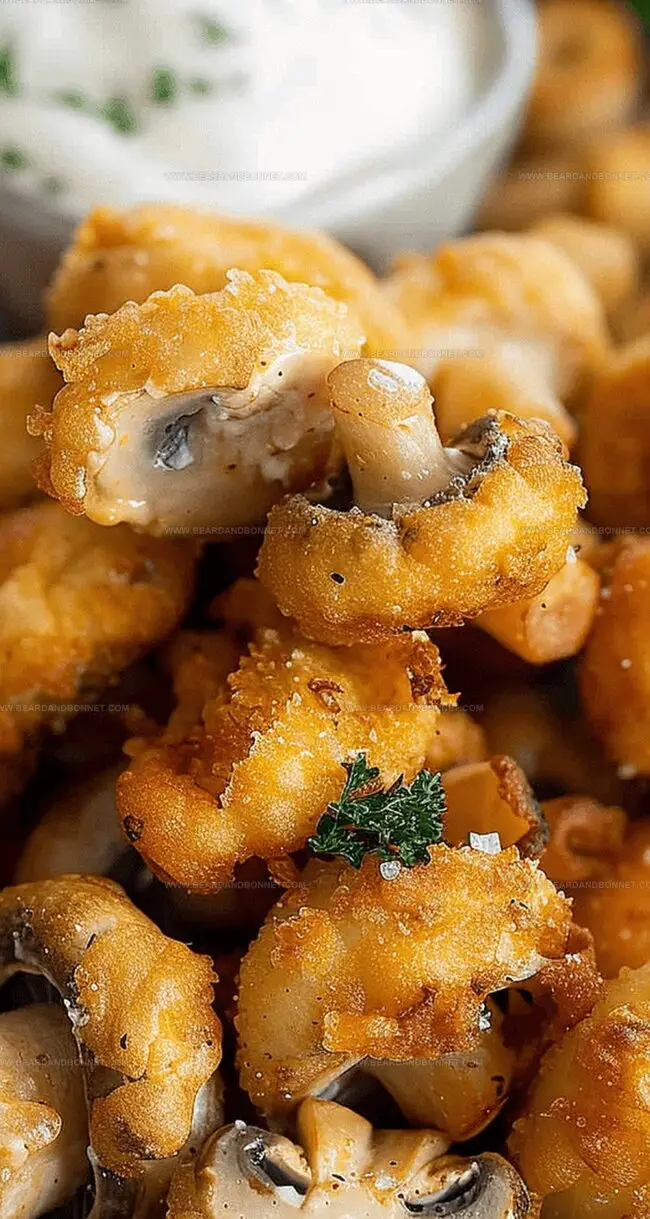
These delectable morsels sizzle with mouthwatering potential in every single bite.
Simple ingredients and basic cooking techniques create a spectacular side dish or appetizer that everyone loves.
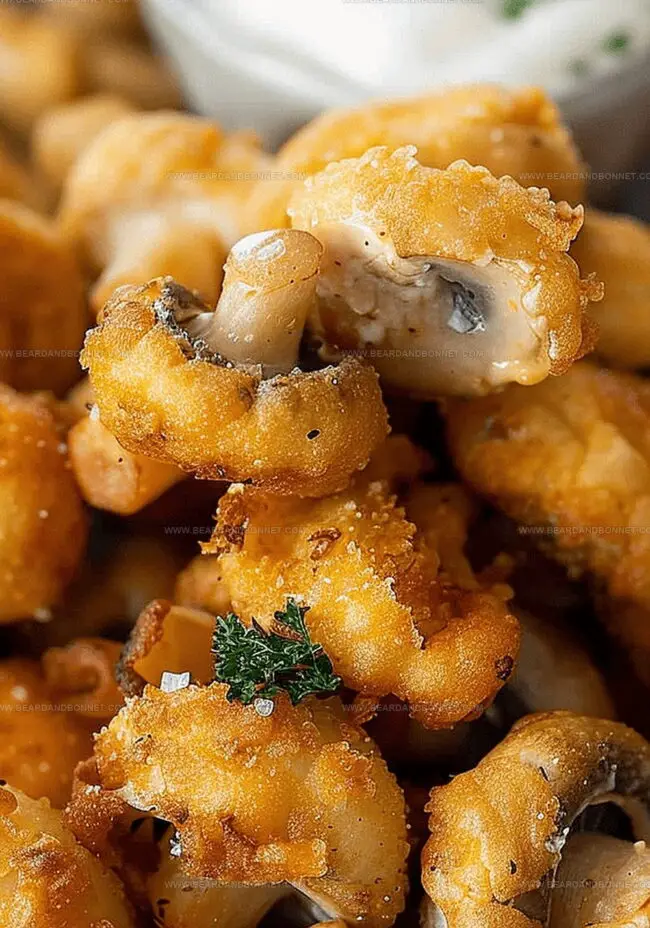
Earthy mushrooms get coated in a perfectly seasoned crispy batter that delivers maximum flavor and crunch.
Each bite brings a delightful texture that dances between crisp exterior and tender interior.
The recipe works magic with different mushroom varieties, from button to shiitake.
You’ll want to serve these addictive fried mushrooms straight from the pan, when they’re at their most irresistible and golden-brown glory.
Quick Recipe Overview
What You’ll Need to Make Fried Mushrooms
For Coating and Flavor:For Liquid Binder:For Finishing and Garnish:Tools for Frying Mushrooms to Crispy Perfection
How to Cook Fried Mushrooms from Start to Finish
Heat a deep pot with oil to create the perfect frying environment. The temperature should be hot enough to create crispy, golden results.
Toss mushrooms in flour, ensuring each piece is evenly and lightly covered. Gently shake off any extra flour to create a smooth surface.
Whisk together flour with beer and seasonings until the mixture becomes silky and uniform, creating a light and flavorful coating.
Carefully submerge each flour-dusted mushroom into the beer batter, allowing excess liquid to drip away naturally.
Gently lower battered mushrooms into hot oil, cooking in small batches. Watch for a beautiful golden-brown color that signals perfect crispiness.
Transfer crispy mushrooms to paper towels to absorb extra oil. Sprinkle with fresh herbs just before serving for a burst of color and flavor.
Ways to Add Flavor to Your Fried Mushrooms
Serving Ideas for Hot and Fresh Fried Mushrooms
Best Way to Store Fried Mushrooms After Frying
Print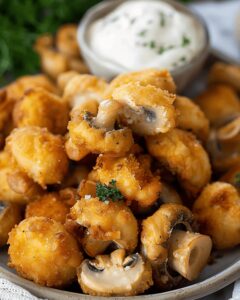
Crispy Fried Mushrooms Recipe
- Total Time: 22 minutes
- Yield: 5 1x
Description
Crispy golden Parmesan-crusted fried mushrooms deliver irresistible flavor with simple ingredients. Home cooks can easily create this delightful appetizer with a quick dredging technique and hot oil for perfect crunch.
Ingredients
- 2 ½ tsps kosher salt
- 1 ½ cups (180 g) all-purpose flour
- 1 pound (454 g) small button mushrooms
- ¾ tsp black pepper
- 1 cup (240 ml) beer
- ¼ tsp garlic powder
- ¼ tsp onion powder
- Oil for frying
- 1 tablespoon fresh parsley, chopped
Instructions
- Oil Preparation: Heat oil in a deep pot to a precise 375°F (190°C), creating the ideal frying environment for crispy results.
- Mushroom Coating: Dust mushrooms evenly with flour, carefully shaking off any clumped excess to ensure a light, uniform layer.
- Batter Creation: Whisk together flour, beer, salt, pepper, garlic powder, and onion powder until the mixture becomes a smooth, lump-free liquid with consistent texture.
- Batter Dipping: Immerse each flour-coated mushroom into the beer batter, allowing excess to drip back into the mixing bowl for an optimal coating.
- Frying Process: Carefully lower 4-5 mushroom pieces into the hot oil, maintaining safe distance to prevent dangerous splashing while ensuring even cooking.
- Cooking and Draining: Fry mushrooms until they achieve a rich golden-brown color and crisp exterior (approximately 7 minutes), then transfer to paper towels to absorb excess oil.
- Finishing Touch: Complete the batch cooking, maintaining consistent oil temperature, and garnish with freshly chopped parsley just before serving to preserve maximum crunchiness and warmth.
Notes
- Maintain Precise Oil Temperature: Keep oil consistently at 375°F to ensure crispy, evenly cooked mushrooms without burning or absorbing excess grease.
- Shake Off Excess Flour: Remove clumpy flour before batter coating to achieve a light, even, and crisp golden exterior.
- Whisk Batter Thoroughly: Eliminate lumps completely for a smooth, consistent coating that adheres perfectly to mushroom surfaces.
- Fry in Small Batches: Cook 4-5 mushroom pieces at a time to maintain oil temperature and prevent overcrowding, ensuring maximum crispiness.
- Prep Time: 15 minutes
- Cook Time: 7 minutes
- Category: Appetizer, Snacks
- Method: Frying
- Cuisine: American
Nutrition
- Serving Size: 5
- Calories: 320
- Sugar: 1 g
- Sodium: 500 mg
- Fat: 15 g
- Saturated Fat: 2 g
- Unsaturated Fat: 13 g
- Trans Fat: 0 g
- Carbohydrates: 42 g
- Fiber: 2 g
- Protein: 6 g
- Cholesterol: 0 mg
Jessica Martin
Recipe Developer & Food Writer
Expertise
Recipe Development, Food Styling and Photography, Seasonal and Local Ingredients, Vegetarian and Vegan Cuisine, Culinary Education
Education
Portland Community College
Oregon Culinary Institute
Jessica Martin is a talented food writer and recipe creator who specializes in seasonal cooking and approachable home baking.
Educated at Portland Community College with additional pastry training from Oregon Culinary Institute, Jessica’s culinary journey spans nearly a decade of creating and sharing flavorful recipes.
Her deep appreciation for local ingredients shapes each of her recipes, making them both accessible and inspiring. At Beard and Bonnet, Jessica uses her cheerful, down-to-earth writing to help readers effortlessly bring new tastes and creative dishes into their daily routines.