
Sweet & Crispy Fried Apple Hand Pies Recipe for Warm Smiles
Weekends call for sweet, golden-brown fried apple hand pies that burst with homemade comfort.
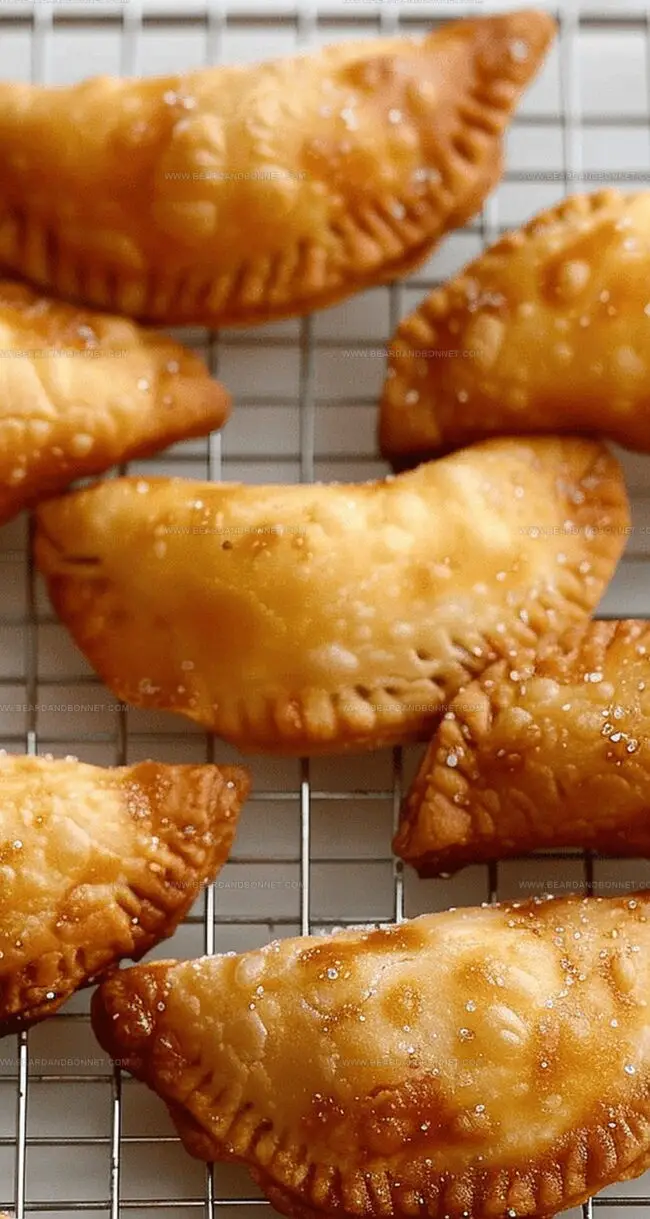
Southern kitchens have perfected these crispy, handheld treats bursting with warm spiced apple filling.
Grandmothers across the South have long cherished this simple yet delectable dessert that combines flaky pastry with rich, caramelized apple goodness.
Each bite delivers a delightful crunch and soft, gooey center that melts in your mouth.
The aroma of cinnamon and buttery crust will draw everyone to the kitchen, eager to sample these irresistible little pies.
Perfectly portable and utterly delicious, these hand pies transform ordinary apples into a spectacular dessert that celebrates classic American baking.
Dive into this recipe and create a batch of pure, nostalgic happiness.
Quick Recipe Overview
What You’ll Need for Fried Apple Hand Pies
For The Pastry Base:For The Apple Filling:For Frying:Tools to Make Hand Pies Perfect
Frying Apple Hand Pies Golden and Crisp

Create a soft, crumbly pastry mixture by blending flour and cold shortening until texture resembles tiny pebbles. Slowly introduce chilled water, gently mixing until dough forms a cohesive ball. Wrap and chill in refrigerator for half an hour to relax the gluten.
Combine diced apples with sweet spices in a saucepan, cooking slowly until fruit softens and transforms into a rich, fragrant compote. Allow mixture to cool completely before assembling pies.
Roll pastry on lightly dusted surface until thin and delicate. Cut circular shapes, then carefully spoon apple mixture onto one half of each round. Fold pastry over, creating crescent-like pockets, and crimp edges with fork tines to seal delicious contents inside.
Heat oil in deep pan until shimmering and hot. Carefully lower hand pies into bubbling oil, cooking until exterior turns golden and crisp. Gently remove and let excess oil drain on absorbent paper, creating perfectly crunchy exterior with soft, warm filling.
Ideas to Sweeten or Spice Up Your Pies
Serving Tips for Warm Apple Hand Pies
Storing Fried Pies for Freshness and Crunch
Print
Crispy Fried Apple Hand Pies Recipe
- Total Time: 51 minutes
- Yield: 9 1x
Description
Southern Fried Apple Hand Pies deliver classic comfort in a crispy golden pastry pocket filled with sweet cinnamon-spiced apple goodness. Warm pies straight from the skillet offer pure homestyle deliciousness you’ll savor with each delightful bite.
Ingredients
- 2 cups all-purpose flour
- 2 apples (peeled, cored, and diced)
- 1 quart (0.95 liters) oil for frying
- ½ cup chilled shortening
- ½ cup cold water
- ¼ cup white sugar (or to taste)
- 1 tsp salt
- 1/8 tsp ground cinnamon (or to taste)
Instructions
- Dough Preparation: Sift flour and salt into a mixing bowl. Cut chilled shortening into the dry ingredients using pastry blades until the mixture resembles coarse, uneven crumbs.
- Dough Forming: Add cold water and fold gently with a fork until the dough forms a cohesive ball. Wrap in plastic and refrigerate for 30 minutes to rest and firm up.
- Apple Filling Creation: Combine diced apples, sugar, and cinnamon in a saucepan. Simmer covered over low heat, stirring intermittently until apples break down completely into a thick, rustic compote. Allow to cool to room temperature.
- Dough Rolling and Cutting: Flour a work surface and roll the chilled dough to a thin 1/8-inch thickness. Cut eight 4-inch circular shapes using a round cutter.
- Pie Assembly and Sealing: Spoon cooled apple filling onto the center of each dough round. Moisten edges with water, fold into half-moon shapes, and crimp edges firmly with a fork to seal completely.
- Frying Process: Heat oil in a deep fryer or heavy pot to 375 degrees F. Carefully lower hand pies into hot oil in small batches, frying until golden and crispy, approximately 2-3 minutes per side. Rotate midway to ensure even browning.
- Finishing: Drain fried pies on paper towels to remove excess oil. Allow to cool slightly before serving, ensuring a crisp exterior and warm, gooey filling.
Notes
- Master Dough Technique: Achieve flaky texture by using ice-cold shortening and minimal handling to prevent gluten development.
- Apple Filling Consistency: Cook apples slowly to create a thick, spreadable compote without excess liquid that could compromise pie sealing.
- Precise Oil Temperature: Maintain exact 375°F for perfect golden-brown crust without burning or undercooking the delicate pastry.
- Sealing Strategy: Press fork edges firmly and evenly to create a tight seal that prevents filling leakage during high-heat frying.
- Prep Time: 45 minutes
- Cook Time: 6 minutes (per batch)
- Category: Desserts, Snacks
- Method: Frying
- Cuisine: American
Nutrition
- Serving Size: 9
- Calories: 250
- Sugar: 6 g
- Sodium: 150 mg
- Fat: 12 g
- Saturated Fat: 3 g
- Unsaturated Fat: 8 g
- Trans Fat: 0 g
- Carbohydrates: 36 g
- Fiber: 1 g
- Protein: 2 g
- Cholesterol: 0 mg
Jessica Martin
Recipe Developer & Food Writer
Expertise
Recipe Development, Food Styling and Photography, Seasonal and Local Ingredients, Vegetarian and Vegan Cuisine, Culinary Education
Education
Portland Community College
Oregon Culinary Institute
Jessica Martin is a talented food writer and recipe creator who specializes in seasonal cooking and approachable home baking.
Educated at Portland Community College with additional pastry training from Oregon Culinary Institute, Jessica’s culinary journey spans nearly a decade of creating and sharing flavorful recipes.
Her deep appreciation for local ingredients shapes each of her recipes, making them both accessible and inspiring. At Beard and Bonnet, Jessica uses her cheerful, down-to-earth writing to help readers effortlessly bring new tastes and creative dishes into their daily routines.