Whip Up a Dreamy No Bake Pumpkin Dream Recipe Fast
Fall’s sweet embrace arrives with this no bake pumpkin dream delight that melts hearts faster than autumn leaves drift to the ground.
Creamy layers of smooth pumpkin goodness create a dessert so irresistible, you’ll want to savor every single bite.
Cool and decadent, this recipe combines classic seasonal flavors with minimal effort and maximum satisfaction.
Graham cracker crusts provide a delightful crunch while whipped cream and pumpkin spice dance across your palate.
Minimal ingredients and zero oven time make this dessert a stress-free treat for any gathering.
Chilled to perfection, each spoonful promises a luxurious escape into pure dessert bliss.
Dive into this simple yet spectacular no-bake sensation that celebrates the best of autumn’s sweet treasures.
Quick Recipe Overview

Ingredients for No Bake Pumpkin Dream
For Crust:For Cream Cheese Layer:For Pumpkin Filling:For Topping:Kitchen Tools for No Bake Pumpkin Layers
How to Assemble a No Bake Pumpkin Dream

Craft a delectable pecan crust that forms the base of your dreamy dessert. Bake according to package guidance and let it cool completely.
Whip up a heavenly mixture of Dream Whip, blending it smoothly with cream cheese and a touch of sweetness. This layer will create a luscious, velvety texture.
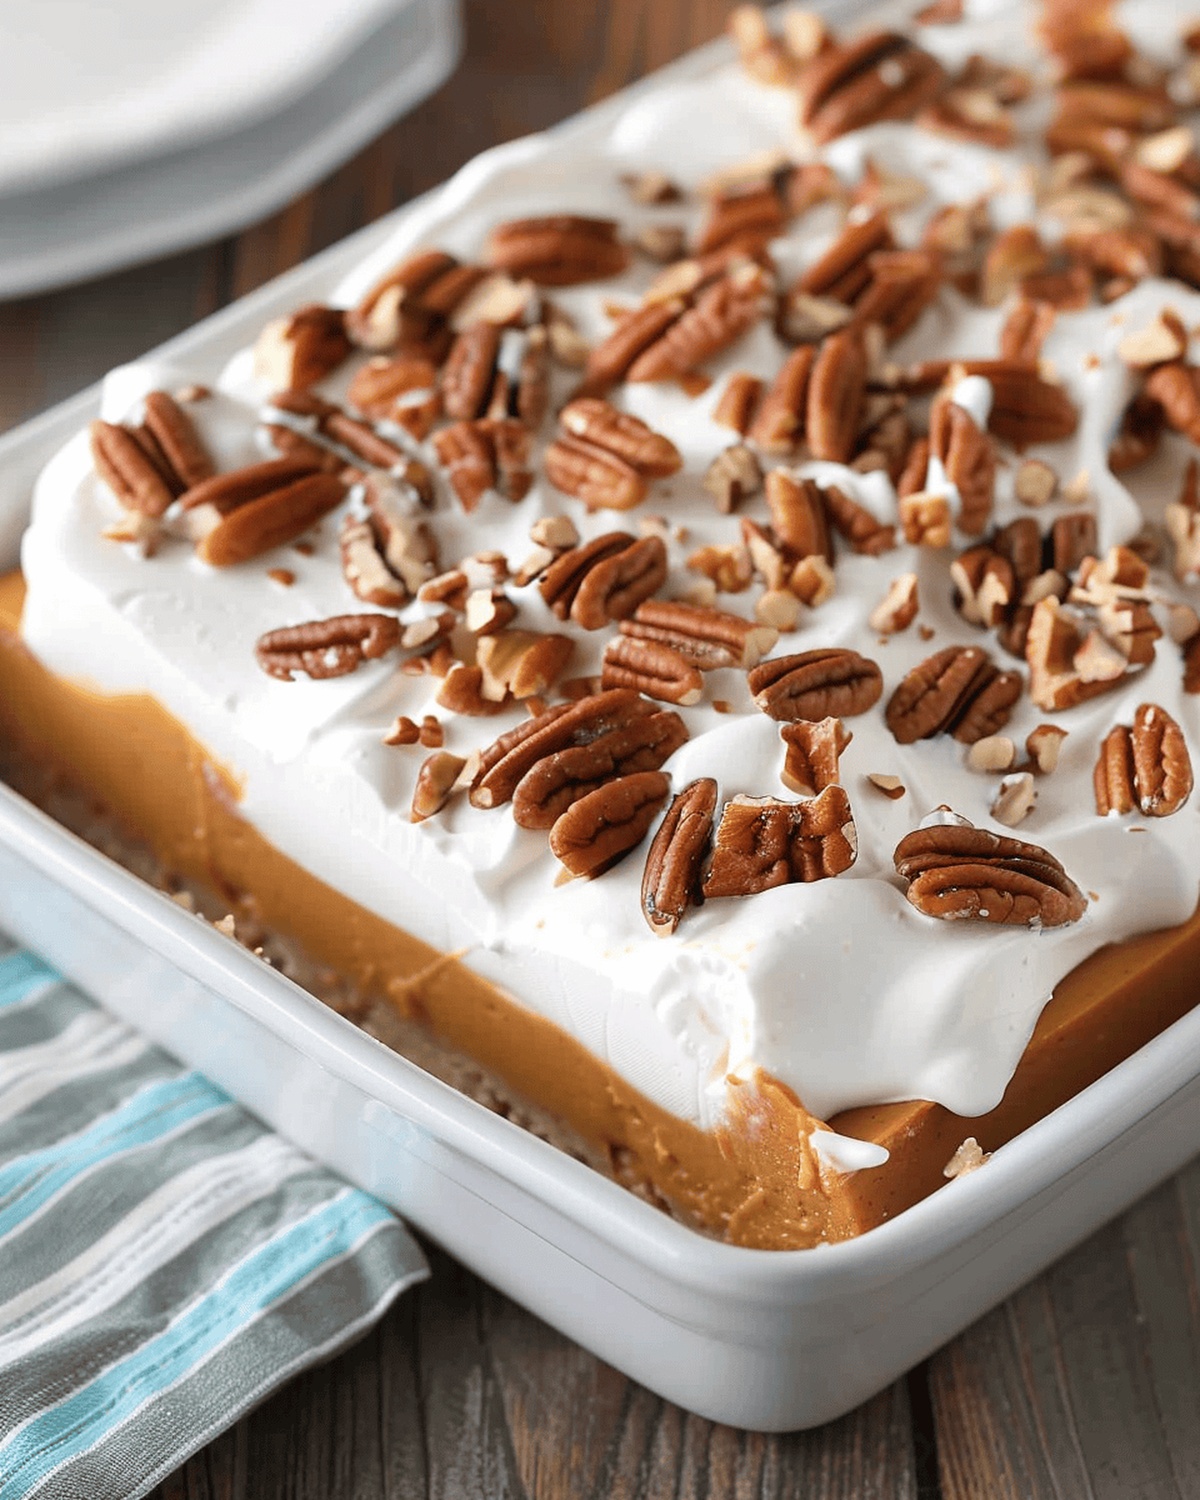
Blend pumpkin purée with vanilla pudding mix and warm spices, creating a rich, autumnal filling that dances with flavor. Spread this gorgeous mixture over the cream cheese base.
Crown your creation with a delicate layer of Dream Whip and sprinkle with crunchy pecan pieces. Tuck the dessert into the refrigerator, allowing all the flavors to mingle and settle.
Let your pumpkin dream delight rest in the cool embrace of the refrigerator for several hours or overnight. This waiting period transforms your dessert into a sublime, silky masterpiece ready to enchant every palate.
Pumpkin Dream Flavor Boosting Tips
Serve No Bake Pumpkin Dream at Fall Parties
How to Keep No Bake Pumpkin Fresh & Fabulous
Print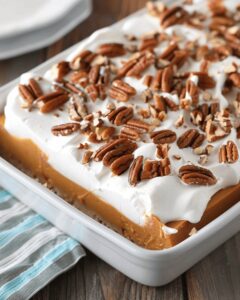
Creamy No Bake Pumpkin Dream Recipe
- Total Time: 30 minutes
- Yield: 13 1x
Description
Pumpkin dream delight delivers creamy autumn magic straight from refrigerated paradise. Silky layers of graham cracker crust and spiced pumpkin filling invite seasonal comfort without heating an oven.
Ingredients
- 1 pre-prepared pecan nut pie crust
- 16 oz (454 grams) cream cheese, softened
- 15 oz (425 grams) pumpkin purée
- 6.8 oz (193 grams) vanilla pudding mix
- 1 cup (240 ml) whole milk
- ¾ cup (180 ml) whole milk
- 1 box (2 small packets) dream whip
- 1 cup (240 ml) dream whip
- 2 cups (240 grams) powdered sugar
- 1 tsp vanilla extract
- 2 tsps pumpkin pie spice
- 1 cup (100 grams) chopped pecans
Instructions
- Crust Preparation: Construct the pecan nut pie crust according to package instructions, ensuring complete cooling to establish a robust base for the dessert.
- Whipped Foundation: Blend Dream Whip, milk, and vanilla until achieving a light, billowy texture with elegant peaks.
- Cream Cheese Transformation: Whisk softened cream cheese into a luxuriously smooth consistency, eliminating any potential lumps.
- Creamy Integration: Harmoniously fold the whipped Dream Whip into the cream cheese mixture, incorporating powdered sugar until achieving a velvety, uniform cream layer.
- Initial Layering: Spread the cream cheese mixture evenly across the cooled pecan crust, creating a pristine foundation for subsequent layers.
- Pumpkin Filling Creation: Whisk pumpkin purée, vanilla pudding mix, milk, and pumpkin pie spice until developing a silky, homogeneous filling with impeccable smoothness.
- Flavor Stratification: Gently pour the pumpkin filling over the cream cheese layer, ensuring balanced and precise coverage.
- Final Embellishment: Top the dessert with remaining Dream Whip and garnish with delicately chopped pecans, adding textural complexity and visual intrigue.
- Flavor Development: Securely cover and refrigerate the assembled dessert for a minimum of 4 hours, allowing flavors to meld and intensify, with overnight chilling recommended for optimal taste experience.
Notes
- Crust Cooling Tip: Let the pecan nut pie crust cool completely to prevent soggy layers and maintain a crisp, sturdy base for the dessert.
- Whipping Technique: Achieve light, airy peaks when whipping Dream Whip by using cold milk and whisking with steady, consistent strokes.
- Flavor Infusion: Allow the dessert to chill overnight to enhance the pumpkin spice blend and create a more intense, harmonious taste profile.
- Texture Perfection: Mix ingredients thoroughly to eliminate lumps and ensure a smooth, creamy consistency throughout the dessert layers.
- Prep Time: 30 minutes
- Cook Time: 0 minutes
- Category: Desserts, Snacks
- Method: Mixing
- Cuisine: American
Nutrition
- Serving Size: 13
- Calories: 384
- Sugar: 35 g
- Sodium: 258 mg
- Fat: 24 g
- Saturated Fat: 10 g
- Unsaturated Fat: 12 g
- Trans Fat: 0 g
- Carbohydrates: 38 g
- Fiber: 2 g
- Protein: 5 g
- Cholesterol: 48 mg
Jessica Martin
Recipe Developer & Food Writer
Expertise
Recipe Development, Food Styling and Photography, Seasonal and Local Ingredients, Vegetarian and Vegan Cuisine, Culinary Education
Education
Portland Community College
Oregon Culinary Institute
Jessica Martin is a talented food writer and recipe creator who specializes in seasonal cooking and approachable home baking.
Educated at Portland Community College with additional pastry training from Oregon Culinary Institute, Jessica’s culinary journey spans nearly a decade of creating and sharing flavorful recipes.
Her deep appreciation for local ingredients shapes each of her recipes, making them both accessible and inspiring. At Beard and Bonnet, Jessica uses her cheerful, down-to-earth writing to help readers effortlessly bring new tastes and creative dishes into their daily routines.