Easy Classic Apple Crisp Recipe: Warm & Cozy Fall Comfort
Apple crisp tantalizes taste buds with its warm, comforting essence of autumn’s bounty.
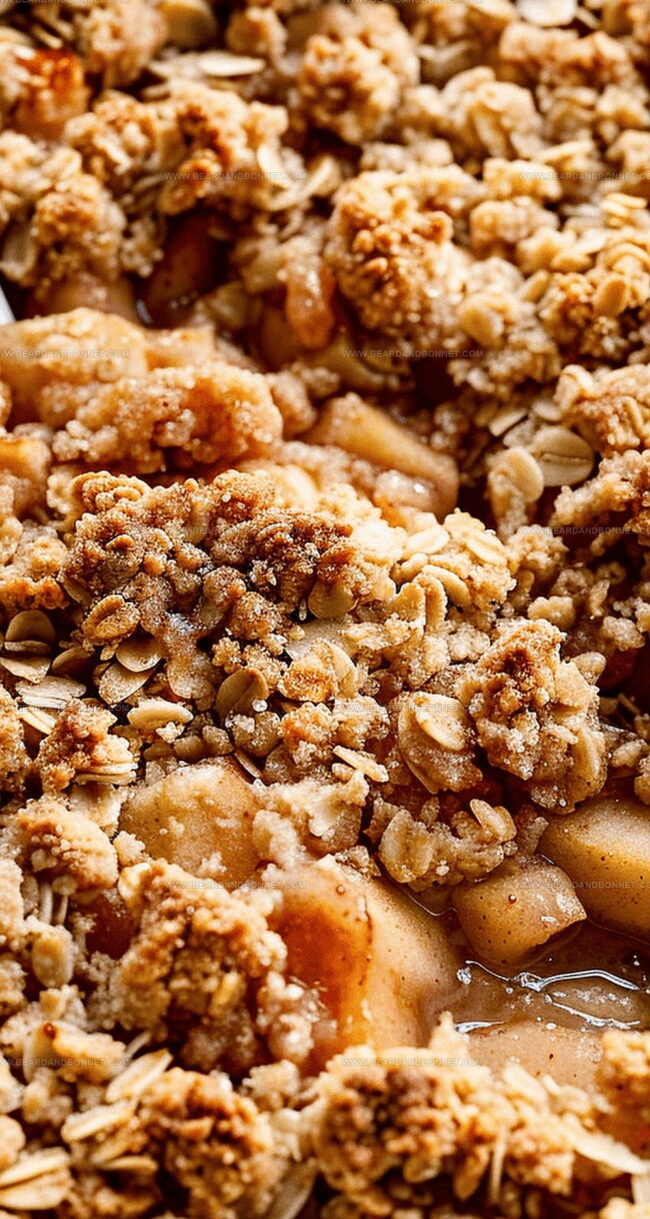
Sweet fruit nestles beneath a golden, crumbly blanket of buttery goodness.
Layers of complex flavors meld together in a delightful symphony that awakens nostalgic memories.
Seasonal ingredients enhance simple components into a magical dessert that speaks directly to the soul.
Rustic and unpretentious, this beloved treat celebrates the natural sweetness of ripe fruit enhanced by a crunchy topping.
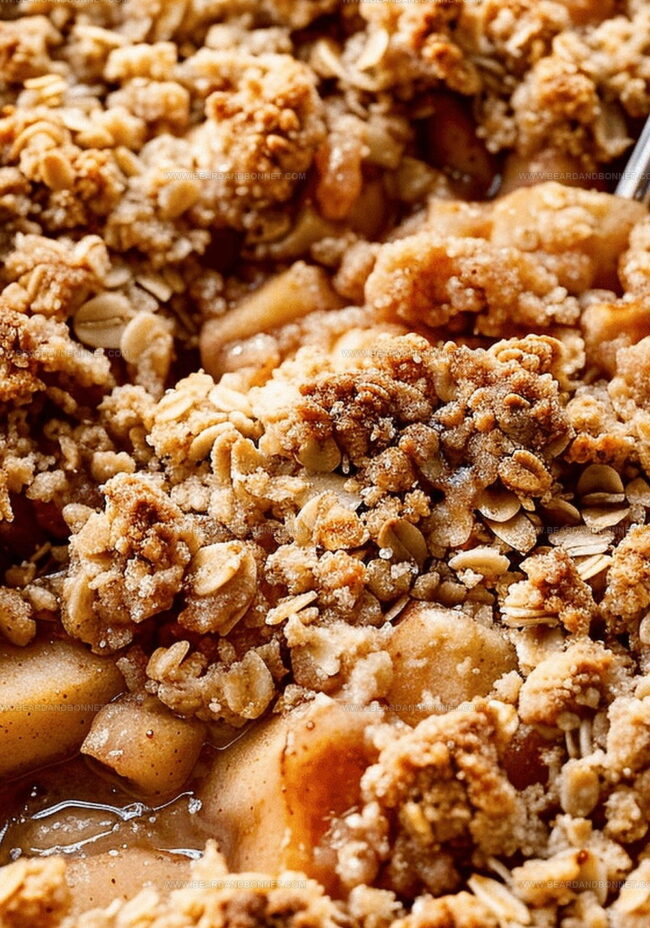
Textures contrast brilliantly between soft, caramelized fruit and crisp, buttery crumble.
Homemade comfort radiates from every spoonful, promising a heartwarming experience that connects you to cherished culinary traditions.
Reasons to Keep This Classic Apple Crisp Recipe on Repeat
Must-Have Ingredients for Classic Apple Crisp
Fruit Base:Filling Enhancers:Crisp Topping:Apple Crisp: How to Make It the Traditional Way
Step 1: Warm Up the Cooking Space
Crank the oven to a cozy 350°F. Grab a 9×13-inch baking dish and give it a quick spray of cooking oil to prevent sticking.
Step 2: Prepare the Fruity Base
Grab these apple-licious ingredients:Toss everything in a big mixing bowl. Stir until each apple slice gets a tasty coating. Spread this delightful mixture into your prepped baking dish.
Step 3: Craft the Crunchy Topping
Collect your topping treasures:Whisk flour, sugar, and cinnamon together. Slice in the chilly butter using a pastry cutter until the mixture looks like sandy crumbs. Sprinkle oats throughout and mix gently.
Step 4: Create the Delicious Layer
Shower the crispy topping evenly over the apple mixture. Make sure every inch gets some love!
Step 5: Bake to Golden Perfection
Slide the dish into the heated oven. Let it bake for 45 minutes until the top turns a gorgeous golden brown and fruit juices bubble around the edges.
Step 6: Cool and Serve
Pull the crisp out and let it rest on a cooling rack for 5 minutes. Serve up this warm, comforting dessert.
Classic Apple Crisp Tips for Golden Results
Store and Reheat Classic Apple Crisp with Care
Apple Crisp Accompaniments Worth Serving
Ways to Personalize Classic Apple Crisp
Print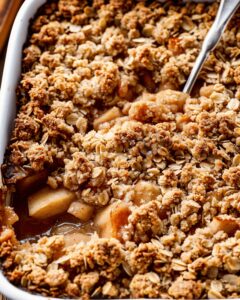
Classic Apple Crisp Recipe
- Total Time: 1 hour
- Yield: 8 1x
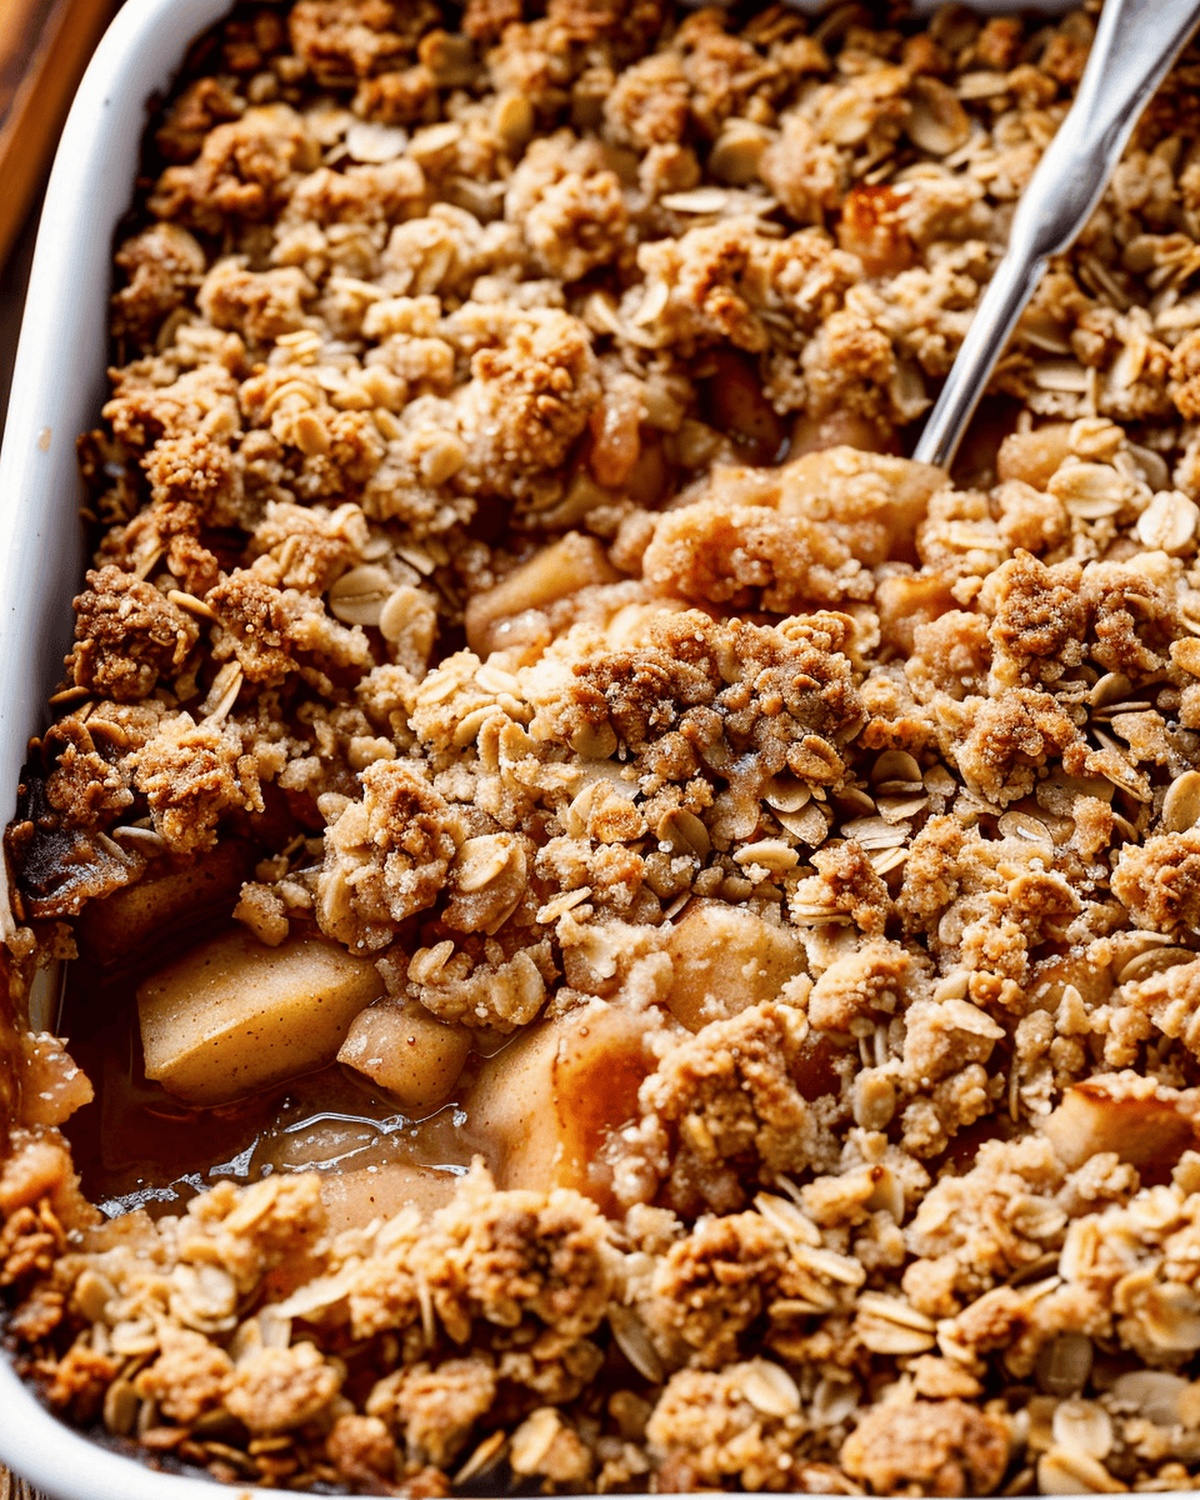
Description
Homemade classic apple crisp delivers warm comfort straight from grandma’s kitchen. Buttery oat crumble nestles perfectly atop tender spiced apples, creating a dessert that promises sweet memories with each delightful spoonful.
Ingredients
Fruit:
- 8 medium apples, peeled and cut into 1-inch chunks (about 10 cups or 1200 grams / 42.3 ounces)
Filling Ingredients:
- 0.5 cup (100 grams / 3.5 ounces) packed light or dark brown sugar
- 0.25 cup (31 grams / 1.1 ounces) all-purpose flour
- 1 teaspoon pure vanilla extract
- 1 teaspoon ground cinnamon
- 0.5 teaspoon ground nutmeg
- 0.25 teaspoon salt
Topping Ingredients:
- 0.75 cup (94 grams / 3.3 ounces) all-purpose flour
- 0.75 cup (150 grams / 5.3 ounces) packed light or dark brown sugar
- 1 teaspoon ground cinnamon
- 0.5 cup (113 grams / 4 ounces) unsalted butter, cold and cubed
- 1 cup (85 grams / 3 ounces) old-fashioned whole rolled oats
Optional Serving Suggestions:
- Salted caramel
- Vanilla ice cream
Instructions
- Warm up the oven to 350°F and lightly coat a 9×13-inch baking vessel with a thin layer of grease to prevent sticking.
- Slice apples into uniform pieces, ensuring consistent cooking and texture throughout the dessert.
- Mix apple slices with brown sugar, creating a sweet base that will caramelize during baking and enhance the natural fruit flavors.
- Incorporate flour into the apple mixture to help thicken the juices and create a luscious, cohesive filling.
- Add vanilla extract, cinnamon, nutmeg, and a pinch of salt to elevate the apple mixture’s depth and complexity of flavor.
- Transfer the seasoned apple blend into the prepared baking dish, spreading it evenly to ensure uniform cooking.
- Combine flour, brown sugar, and cinnamon in a separate mixing bowl to create the crisp’s signature crumbly topping.
- Work cold butter into the dry ingredients using a pastry cutter or fingertips until the mixture resembles coarse, sandy crumbs.
- Fold rolled oats into the butter mixture, providing a hearty, textural component to the crisp’s topping.
- Generously distribute the oat-butter crumble over the apple filling, covering the surface completely.
- Place the baking dish in the preheated oven and bake for approximately 45 minutes, watching for a golden-brown topping and bubbling fruit edges.
- Remove from the oven and allow the crisp to rest for 5-10 minutes, letting the filling settle and cool slightly.
- Serve warm or at room temperature, optionally accompanied by a scoop of vanilla ice cream or a drizzle of salted caramel for extra indulgence.
Notes
- Select ripe, firm apples like Granny Smith or Honeycrisp for the perfect balance of sweetness and tartness.
- Slice apples uniformly to ensure even cooking and consistent texture throughout the dessert.
- Keep butter cold when making the crumble topping to create those delightful, crispy, golden-brown clusters.
- Allow the crisp to rest briefly after baking, letting the juices settle and flavors meld together for a more intense taste experience.
- Store leftovers covered in the refrigerator for up to 3-4 days, reheating gently to maintain the topping’s delicious crunch.
- Elevate the dessert with a scoop of vanilla ice cream or a drizzle of salted caramel for an indulgent finishing touch.
- Prep Time: 15 minutes
- Cook Time: 45 minutes
- Category: Desserts, Snacks
- Method: Baking
- Cuisine: American
Nutrition
- Serving Size: 8
- Calories: 305
- Sugar: 26g
- Sodium: 137mg
- Fat: 14g
- Saturated Fat: 8g
- Unsaturated Fat: 6g
- Trans Fat: 0g
- Carbohydrates: 45g
- Fiber: 4g
- Protein: 3g
- Cholesterol: 31mg
Alex Reed
Founder & Lead Content Writer
Expertise
Recipe Development and Testing, Culinary Education, Food Writing and Blogging, Sustainable Cooking Practices, Global Cuisine Exploration
Education
Johnson & Wales University
Le Cordon Bleu Paris
Alex Reed is an inventive chef and food creator with a passion for dishes that balance taste, health, and sustainability.
Trained at Portland Community College and holding an Advanced Pastry Arts certificate from Oregon Culinary Institute, Alex brings more than 10 years of practical culinary experience to every recipe he develops.
His background uniquely blends traditional cooking skills with modern, mindful eating principles. As the founder of Beard and Bonnet, Alex creates recipes that encourage readers to cook confidently.