
Frosty Joy: The Icebox Cookies Recipe You’ll Love
Sweet memories flood back with every bite of these classic icebox delight cookies that have graced family gatherings for generations.
These no-bake treats blend creamy textures with rich chocolate and graham cracker magic.
Layers of silky pudding and whipped cream create a dessert that melts in you mouth with pure nostalgia.
Simple ingredients dance together to form an irresistible dessert that takes minimal effort.
Cool and smooth, these cookies require zero baking and deliver maximum satisfaction.
Chilled to perfection, this dessert promises to become your new favorite go-to sweet indulgence.
One taste, and you’ll understand why this recipe has been a beloved staple in kitchens across America.
Quick Recipe Overview
What’s in the Mix for Icebox Cookies
For Dry Ingredients:For Wet Ingredients:For Optional Finishing:What to Pull Out Before Making Icebox Cookies
Quick Steps to Put Together Icebox Cookies
Create a smooth mixture of dry ingredients, whisking gently until perfectly blended.
Transform softened butter and sugar into a cloud-like, creamy texture using a mixer.
Carefully fold dry ingredients into the butter mixture, creating a soft and tender cookie base.
Shape the dough into elegant cylindrical logs, rolling them in sparkling sugar for extra charm.
Wrap the dough logs in plastic and let them rest in the refrigerator, allowing flavors to develop and texture to firm up.
Heat the oven to a warm 375°F, creating the perfect environment for cookie transformation.
Cut the chilled logs into delicate rounds and arrange them on a parchment-lined baking sheet.
Bake until the cookie edges turn a beautiful golden color, filling the kitchen with irresistible aroma.
Let the cookies rest briefly on the baking tray before transferring to a cooling rack, completing their delicious journey.
Tips to Improve Your Icebox Cookies
Serving Icebox Cookies at Their Best
Smart Storage for Icebox Cookies
Print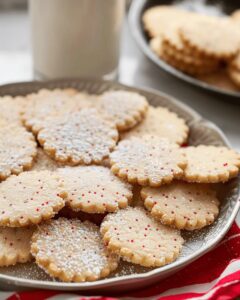
Chilled Icebox Cookies Recipe
- Total Time: 32 minutes
- Yield: 25 1x
Description
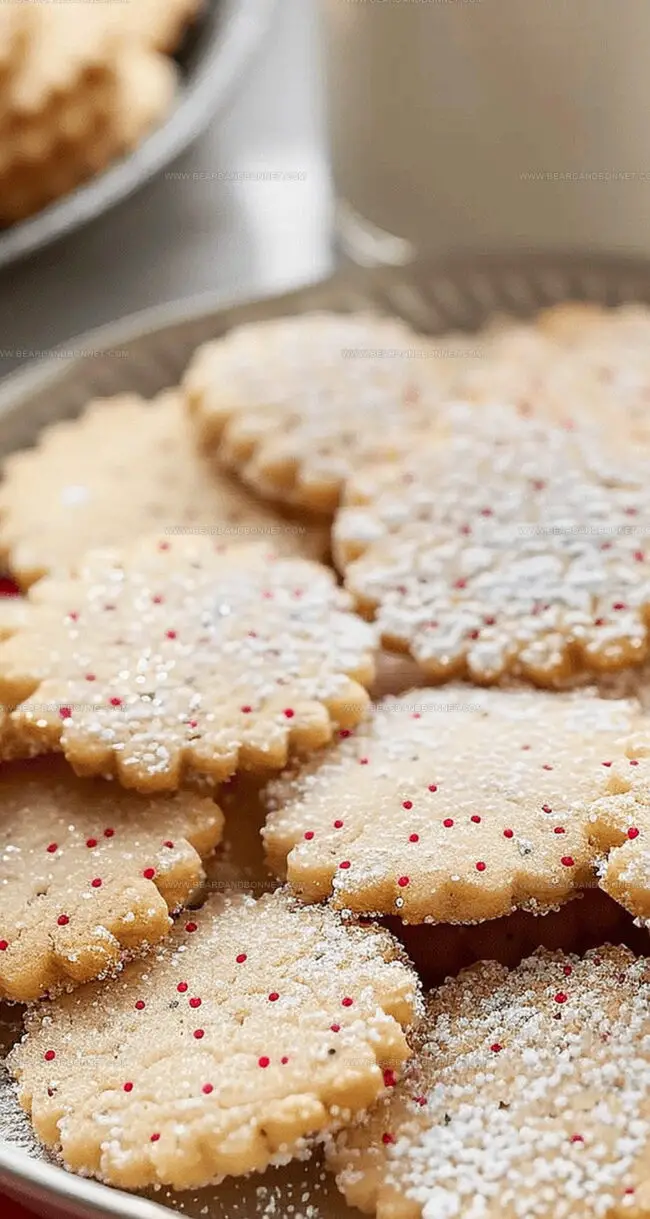
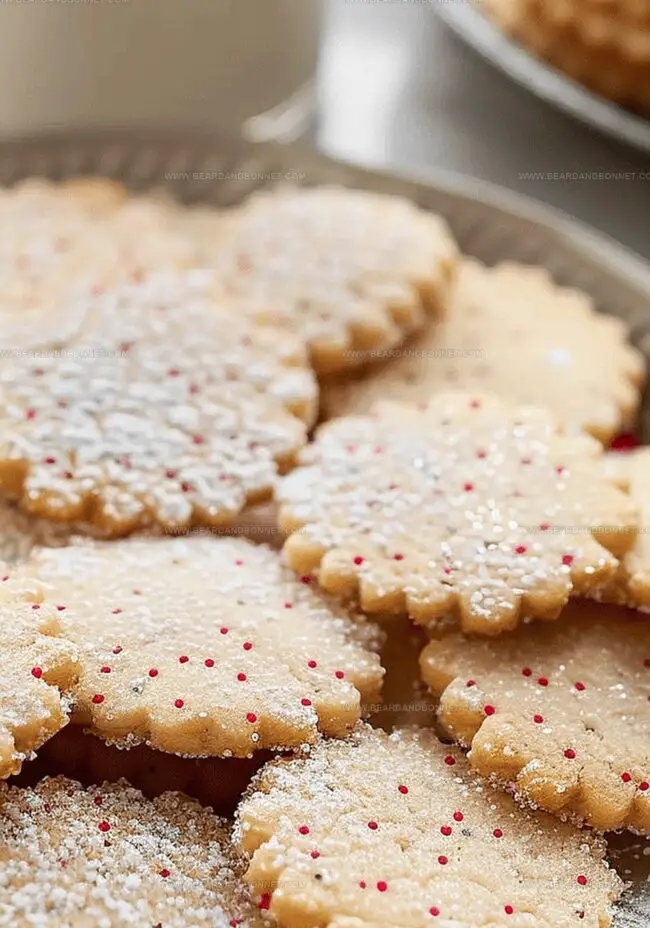
Grandma’s icebox delight cookies combine nostalgic family flavors with simple ingredients that tell a sweet story. Crisp edges and creamy centers make these classic treats irresistible when you bite into their perfectly balanced texture.
Ingredients
- 1 cup (237 ml) unsalted butter, softened
- 1 cup (200 g) granulated sugar
- 2¼ cups (540 ml/540 g) all-purpose flour
- 1 large egg
- 1 tsp baking powder
- 1 tsp vanilla extract
- ½ tsp salt
Instructions
- Dry Ingredient Fusion: Thoroughly blend flour, baking powder, and salt in a mixing bowl, ensuring a consistent dry mixture that will form the structural foundation of the cookies.
- Butter-Sugar Transformation: Cream softened butter and granulated sugar using an electric mixer until the mixture becomes light, fluffy, and substantially voluminous.
- Dough Consolidation: Delicately incorporate the dry ingredients into the butter-sugar mixture, stirring minimally to preserve the dough’s tender composition and prevent over-mixing.
- Log Preparation: Divide the dough into two symmetrical logs approximately 2 inches in diameter, optionally rolling the exterior in granulated sugar for added texture and sweetness.
- Chilling Protocol: Wrap each dough log securely in plastic wrap and refrigerate for a minimum of 2 hours, allowing flavors to intensify and the dough structure to stabilize.
- Oven Calibration: Preheat the oven to 375°F (190°C) and line a baking sheet with parchment paper, creating an optimal baking environment.
- Precision Slicing and Placement: Remove chilled logs, slice into 1/4-inch rounds, and arrange methodically on the prepared baking sheet with adequate spacing between cookies.
- Baking Transformation: Position the cookie-laden tray in the preheated oven, baking for 10-12 minutes until edges achieve a delicate golden-brown hue.
- Cooling Refinement: Allow cookies to rest briefly on the baking sheet before transferring to a cooling rack, enabling them to develop a perfectly crisp yet tender texture.
Notes
- Chill Dough Strategically: Refrigerate logs for at least 2 hours to enhance flavor development and prevent spreading during baking.
- Sugar Coating Technique: Roll logs in granulated sugar before chilling for an extra crispy, sweet exterior that caramelizes beautifully.
- Slice with Precision: Use a sharp knife to cut 1/4-inch rounds for consistent baking and attractive, uniform cookie presentation.
- Cooling is Crucial: Allow cookies to rest on the baking sheet briefly before transferring to a cooling rack to set their perfect texture.
- Prep Time: 20 minutes (not including refrigeration)
- Cook Time: 12 minutes (per batch)
- Category: Desserts, Snacks
- Method: Baking
- Cuisine: American
Nutrition
- Serving Size: 25
- Calories: 158
- Sugar: 7 g
- Sodium: 56 mg
- Fat: 8 g
- Saturated Fat: 5 g
- Unsaturated Fat: 3 g
- Trans Fat: 0 g
- Carbohydrates: 22 g
- Fiber: 0.5 g
- Protein: 2 g
- Cholesterol: 19 mg
Jessica Martin
Recipe Developer & Food Writer
Expertise
Recipe Development, Food Styling and Photography, Seasonal and Local Ingredients, Vegetarian and Vegan Cuisine, Culinary Education
Education
Portland Community College
Oregon Culinary Institute
Jessica Martin is a talented food writer and recipe creator who specializes in seasonal cooking and approachable home baking.
Educated at Portland Community College with additional pastry training from Oregon Culinary Institute, Jessica’s culinary journey spans nearly a decade of creating and sharing flavorful recipes.
Her deep appreciation for local ingredients shapes each of her recipes, making them both accessible and inspiring. At Beard and Bonnet, Jessica uses her cheerful, down-to-earth writing to help readers effortlessly bring new tastes and creative dishes into their daily routines.