Quick & Creamy Cheesy Bean Fiesta Dip Recipe Everyone Loves
Fiery flavors dance through this cheesy bean fiesta dip, promising a culinary adventure that tantalizes taste buds and sparks excitement.
Layers of creamy textures blend seamlessly with zesty seasonings, creating a crowd-pleasing appetizer that demands attention.
Vibrant ingredients reimagine an ordinary snack into an extraordinary celebration of southwestern-inspired cuisine.
Bold spices weave through rich, melted cheese and hearty beans, offering a mouthwatering experience that feels both comforting and exotic.
Unexpected combinations elevate this dip from standard party fare to a memorable crowd favorite.
Home cooks and party hosts appreciate how quickly this recipe comes together, making it perfect for spontaneous gatherings.
Weekend warriors and casual entertainers will find this dip irresistibly delicious and impressively simple to assemble.
Why This Dip Is Always a Party Favorite
Must-Have Ingredients for Fiesta Dip
Base Ingredients:Cheese Components:Garnish Elements:Making the Cheesy Bean Dip Everyone Loves
Step 1: Warm Up The Oven
Crank your oven to a toasty 350°F (175°C) and get ready for deliciousness.
Step 2: Create Creamy Bean Blend
Grab a large mixing bowl and toss in these tasty ingredients:Stir everything together until it looks like a smooth, tangy mixture.
Step 3: Spread The Love
Pour the bean blend into a 9″ x 9″ baking dish, making sure it’s evenly spread. Sprinkle an extra layer of cheddar cheese on top for mega cheesy goodness.
Step 4: Bake To Perfection
Slide the dish into the preheated oven and bake for about 30 minutes. You’ll know it’s ready when the cheese turns golden and bubbly.
Step 5: Add Fresh Finishing Touches
Dress up your dip with colorful toppings:Step 6: Serve And Enjoy
Pull out the dip while it’s hot and steamy. Grab some tortilla chips, veggie sticks, or pita bread, and dive right in! This crowd-pleaser will vanish in minutes.
Tips for a Richer, Creamier Dip
How to Save and Reheat This Flavor Bomb
Refrigerate: Store leftover dip in an airtight container within 2 hours of cooking, keeping it fresh in the refrigerator for up to 3-4 days.
Reheat in Oven: Preheat oven to 350°F, place dip in an oven-safe dish, and warm for 15-20 minutes until heated through, ensuring cheese melts evenly.
Microwave Option: For quick reheating, zap dip in microwave-safe container for 1-2 minutes, stirring halfway to distribute heat and maintain creamy texture.
What Snacks Work Best with Fiesta Dip
Spicy and Cheesy Twists to Try
Print
Cheesy Bean Fiesta Dip Recipe
- Total Time: 40 minutes
- Yield: 12 1x
Description
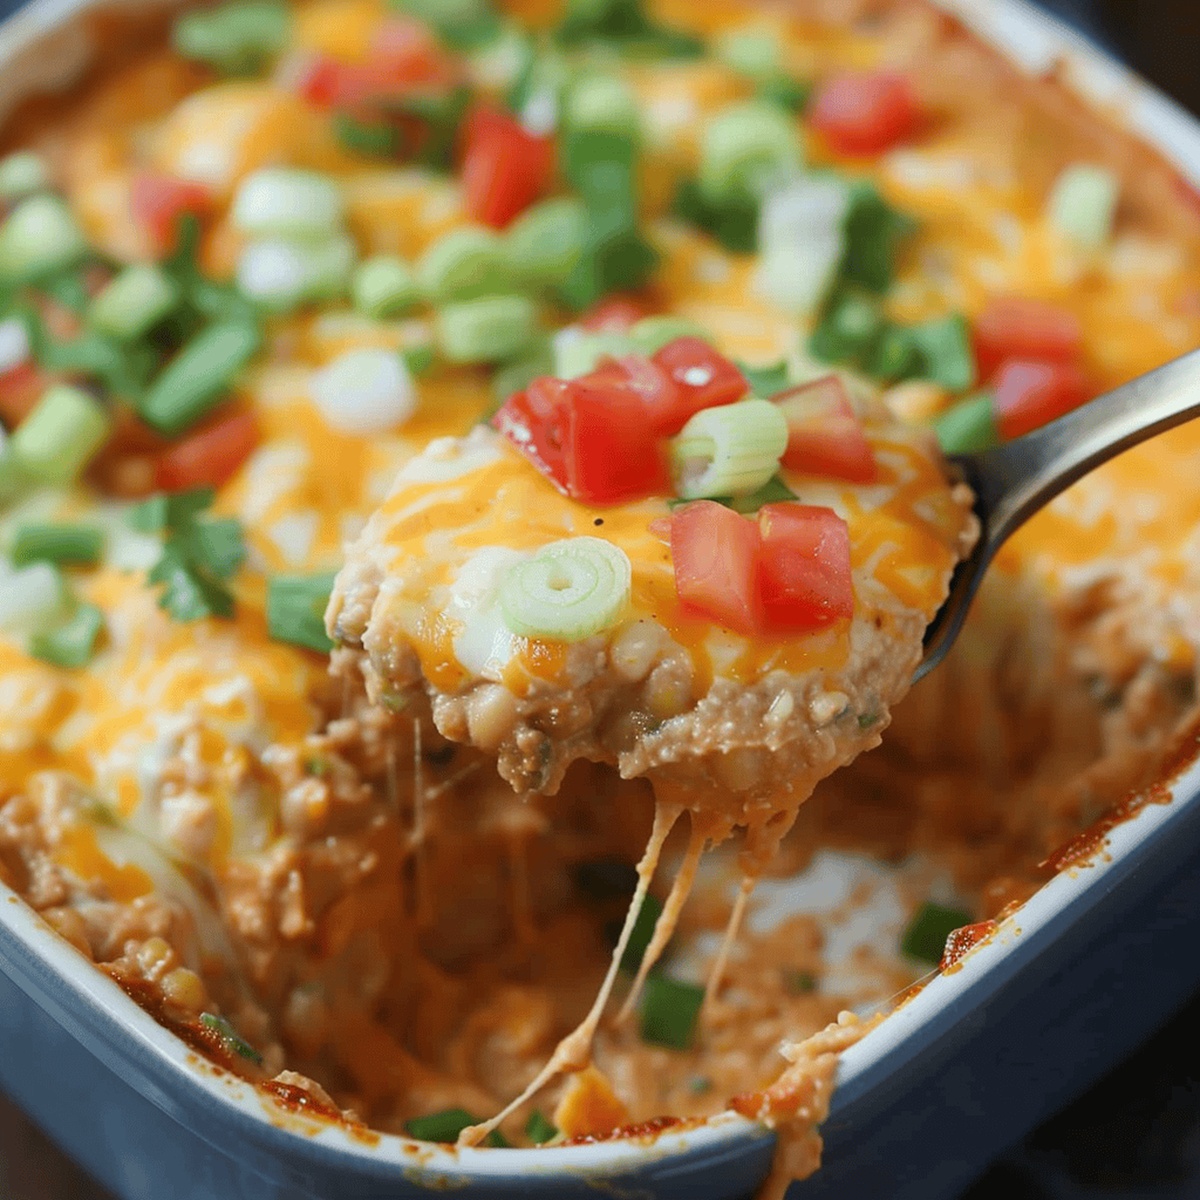
Mexican-inspired cheesy bean fiesta dip brings zesty excitement to any gathering. Creamy beans, melted cheese, and bold spices create an irresistible party starter that guests will devour with eager enthusiasm.
Ingredients
Protein and Dairy:
- 30 ounces (850 grams) Refried Beans
- 8 ounces (225 grams) Cream Cheese
- 3 cups Shredded Cheddar Cheese
- ½ cup Sour Cream
Flavor Enhancers:
- ½ cup Salsa
- 1 tablespoon Taco Seasoning
Garnish:
- ½ cup Diced Tomatoes
- 2 large Green Onions
Instructions
- Warm the oven to a cozy 350°F, creating the perfect environment for melting cheesy goodness.
- In a spacious mixing vessel, unite refried beans, cream cheese, vibrant salsa, creamy sour cream, tangy cheddar, and zesty taco seasoning into a harmonious blend.
- Gently transfer the velvety mixture into a 9″ x 9″ baking vessel, carefully spreading it into an even landscape.
- Shower the surface with a lavish blanket of remaining cheddar, ensuring complete coverage.
- Slide the dish into the preheated oven, allowing the ingredients to meld and transform for approximately 30 minutes until the cheese becomes golden and effervescent.
- Once emerged from the oven, crown the dip with jewel-like diced tomatoes and emerald green onion ribbons for a burst of color and freshness.
- Serve immediately while molten and inviting, accompanied by crisp tortilla chips, crunchy vegetable sticks, or soft pita bread for the ultimate dipping experience.
Notes
- Transforming simple ingredients into a crowd-pleasing dip that bursts with Tex-Mex flavors and cheesy goodness.
- Customize this recipe by swapping salsa types or adding jalapeños for extra kick, making it perfect for game day or casual gatherings.
- Leftovers can be refrigerated and reheated, maintaining delicious taste and creamy texture for up to 3 days in an airtight container.
- Prep Time: 10 minutes
- Cook Time: 30 minutes
- Category: Appetizer, Snacks
- Method: Baking
- Cuisine: Mexican
Nutrition
- Serving Size: 12
- Calories: 295
- Sugar: 2 g
- Sodium: 650 mg
- Fat: 19 g
- Saturated Fat: 10 g
- Unsaturated Fat: 8 g
- Trans Fat: 0 g
- Carbohydrates: 22 g
- Fiber: 6 g
- Protein: 12 g
- Cholesterol: 45 mg
Alex Reed
Founder & Lead Content Writer
Expertise
Recipe Development and Testing, Culinary Education, Food Writing and Blogging, Sustainable Cooking Practices, Global Cuisine Exploration
Education
Johnson & Wales University
Le Cordon Bleu Paris
Alex Reed is an inventive chef and food creator with a passion for dishes that balance taste, health, and sustainability.
Trained at Portland Community College and holding an Advanced Pastry Arts certificate from Oregon Culinary Institute, Alex brings more than 10 years of practical culinary experience to every recipe he develops.
His background uniquely blends traditional cooking skills with modern, mindful eating principles. As the founder of Beard and Bonnet, Alex creates recipes that encourage readers to cook confidently.