Classic Charm: Grandma’s Old Fashioned Fudge Recipe Revealed
Sweet memories of childhood gatherings dance around this classic old fashioned fudge recipe that melts hearts faster than butter in a warm pan.
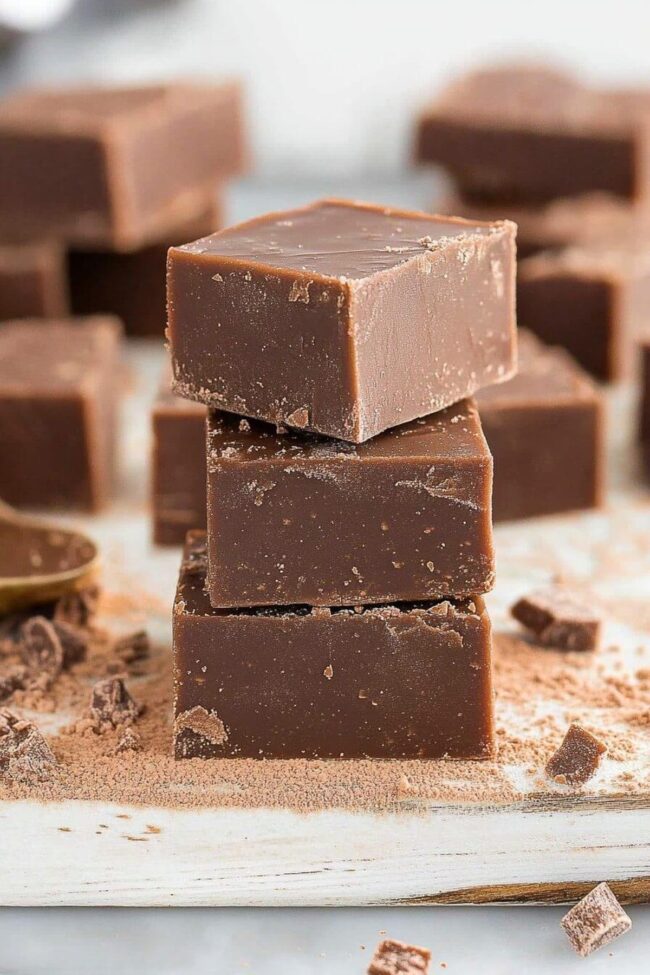
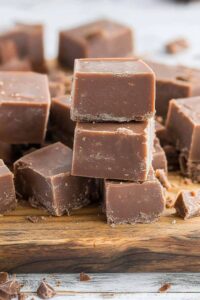
Generations have cherished these rich, creamy chocolate squares that bring comfort in every bite.
Smooth chocolate blends with sugar and milk to create a nostalgic treat that whispers stories of grandma’s kitchen.
The simplicity of this recipe belies its deep, luxurious flavor that captures pure dessert magic.
Warm memories and rich chocolate merge in a confection that turns ordinary moments into celebration.
Each square promises a decadent journey back to simpler times when desserts were made with love and patience.
Dive into this timeless recipe and recreate a sweet slice of culinary heritage.
Quick Recipe Overview
Ingredients for Old Fashioned Fudge
Tools for Old Fashioned Fudge Perfection
Instructions to Make Old Fashioned Fudge
Chocolate Heaven Creation
Tips & Flavor Ideas for Old Fashioned Fudge
Serve Old Fashioned Fudge for Any Occasion
Store Old Fashioned Fudge Properly
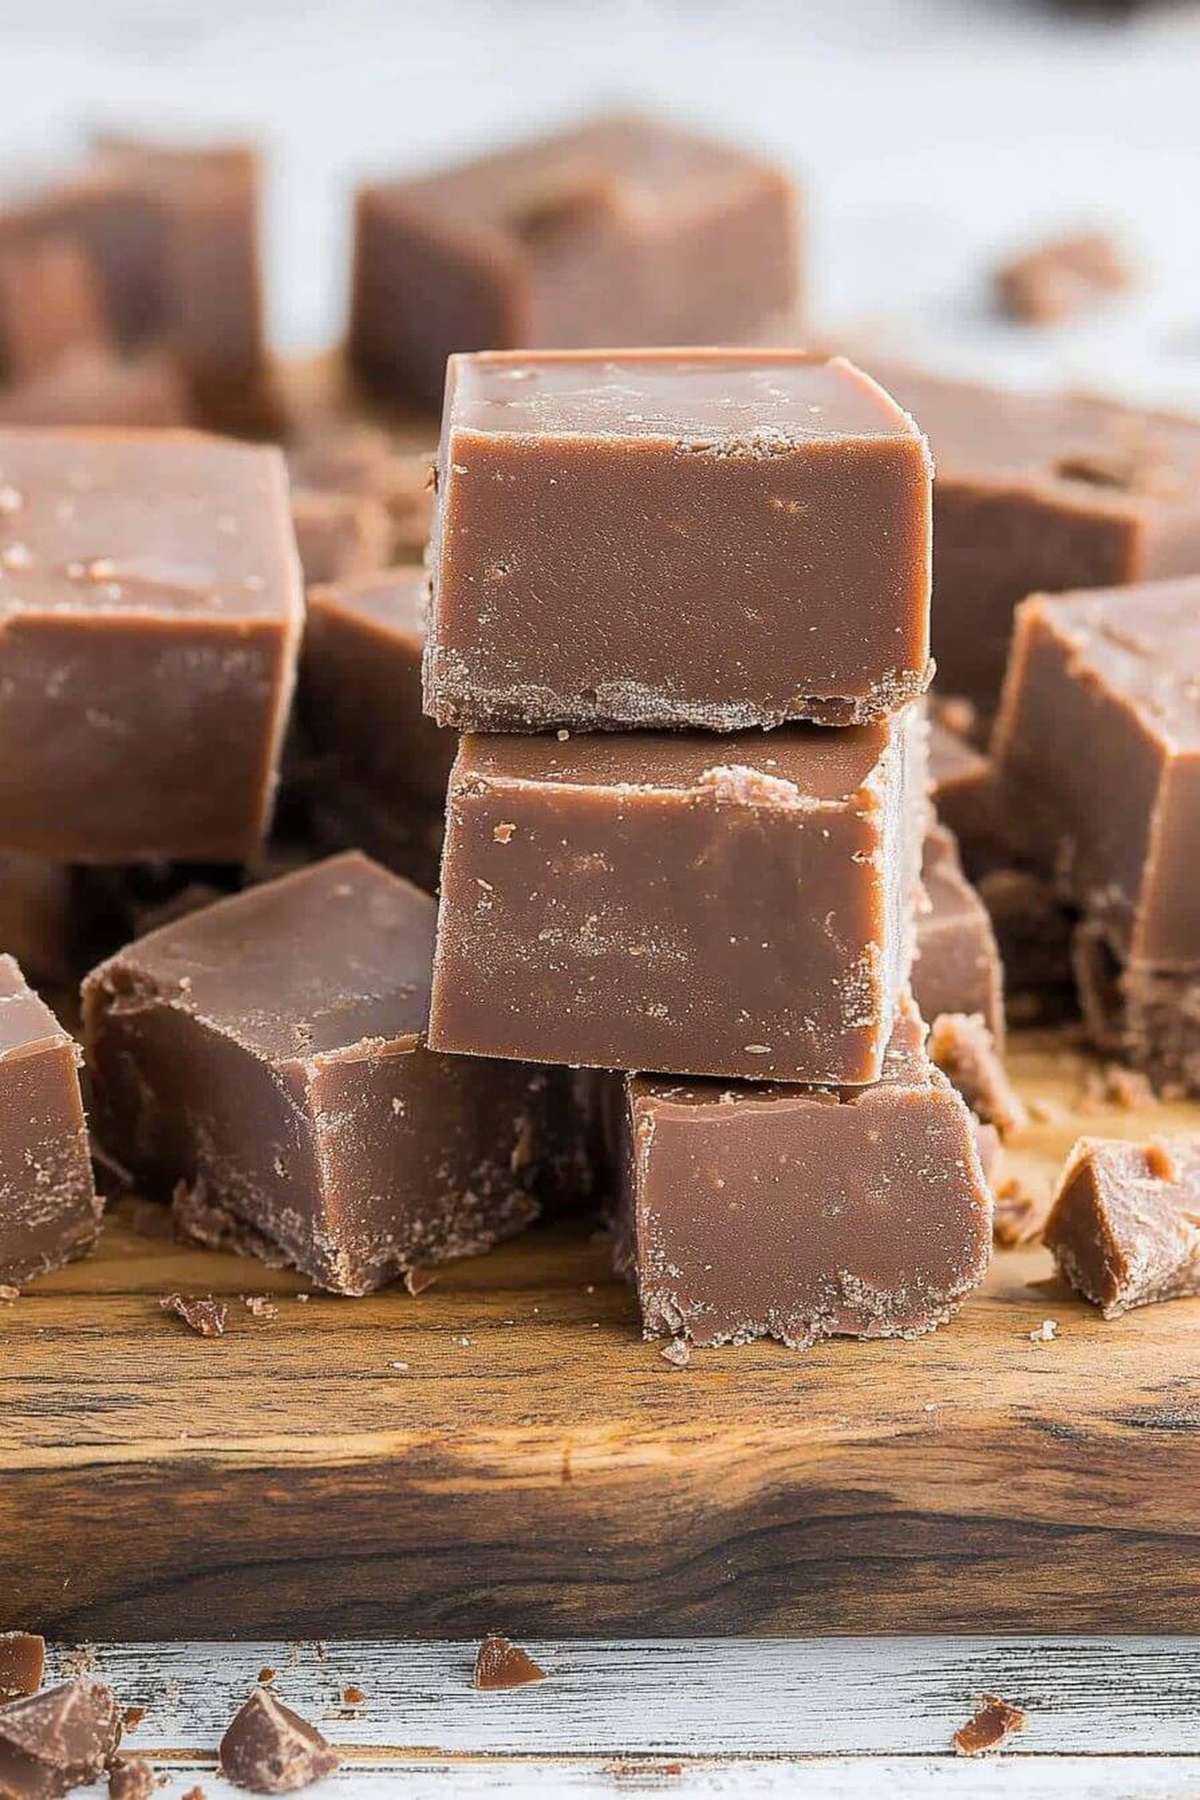
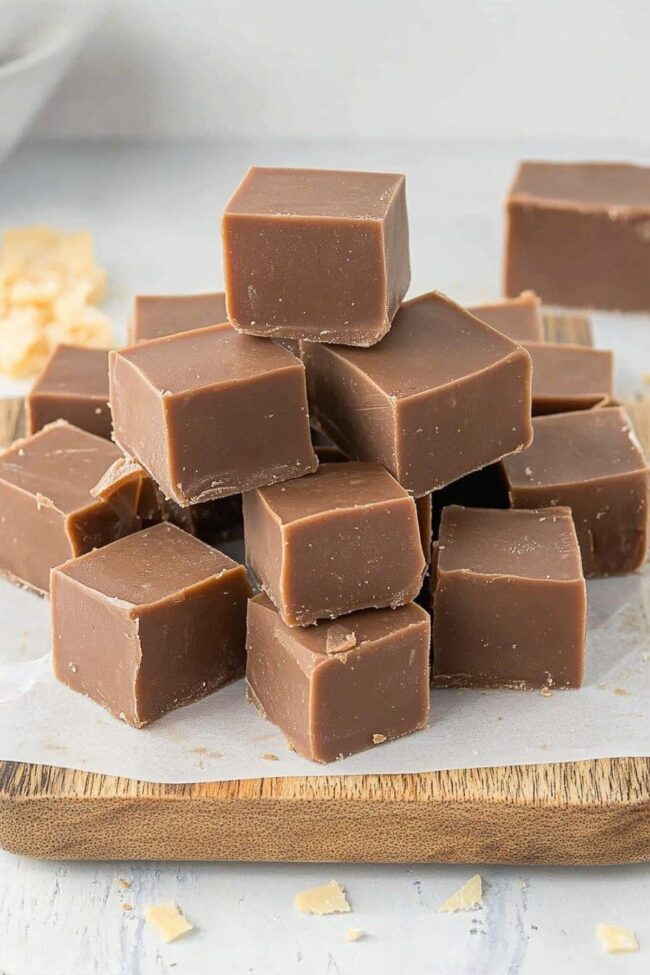
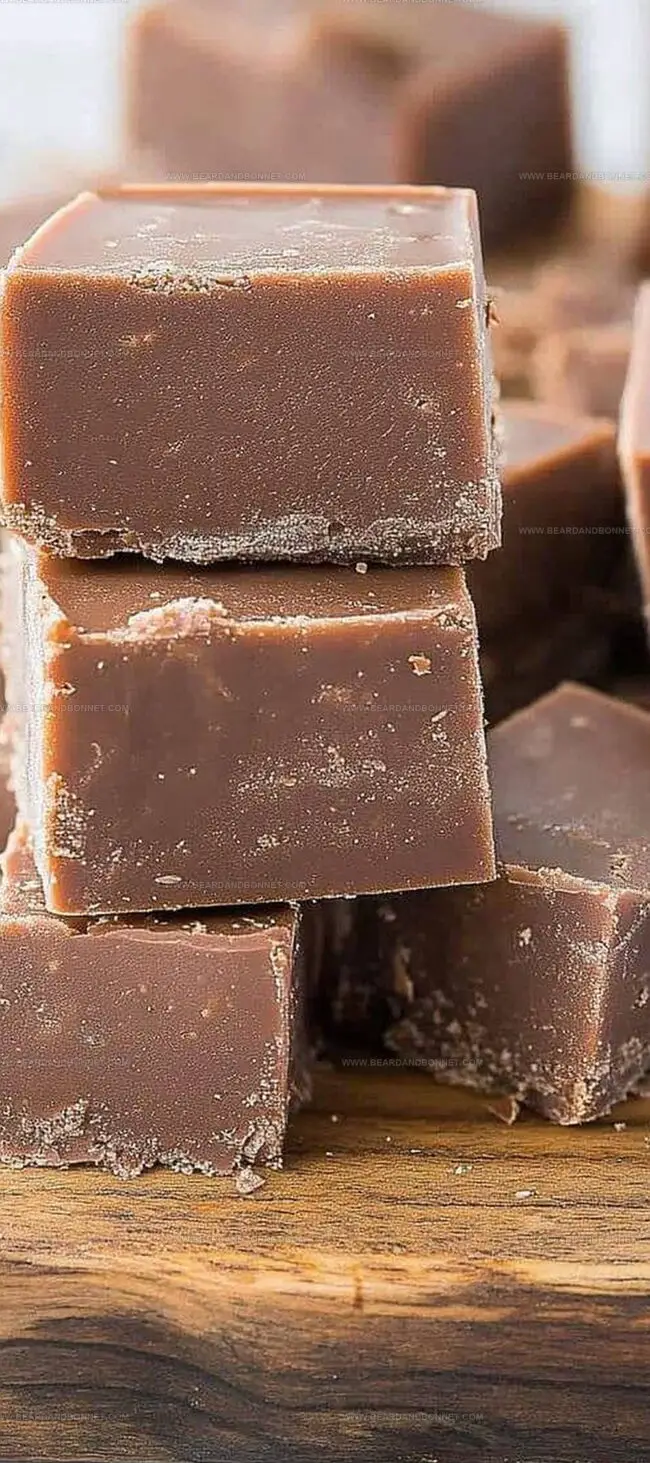
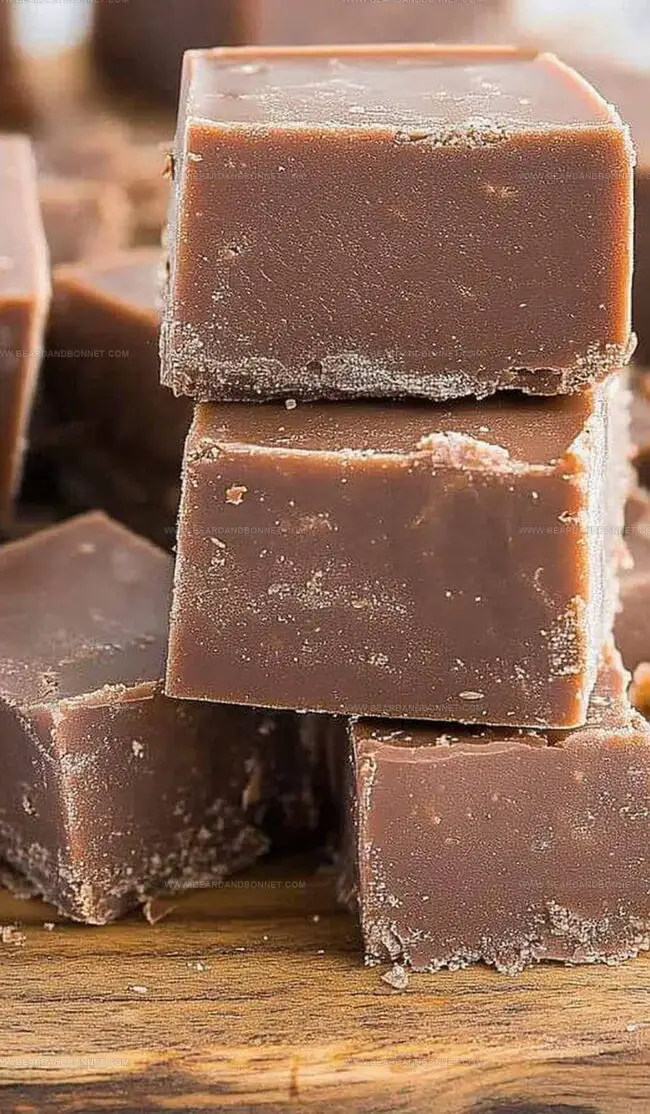
Velvety Old Fashioned Fudge Recipe
- Total Time: 45 minutes
- Yield: 13 1x
Description
Classic Old Fashioned Fudge invites chocolate enthusiasts on a nostalgic journey through sweet, creamy indulgence. Rich cocoa blends with sugar and milk to create a melt-in-your-mouth treat that connects generations of dessert lovers.
Ingredients
- 3 cups (680 g) granulated sugar
- 1 ½ cups (360 ml) whole milk
- ⅔ cup (55 g) unsweetened cocoa powder
- ¼ cup (57 g) butter
- 1 ½ tsps (7 g) butter
- 1 tsp vanilla extract
- 1/8 tsp salt
Instructions
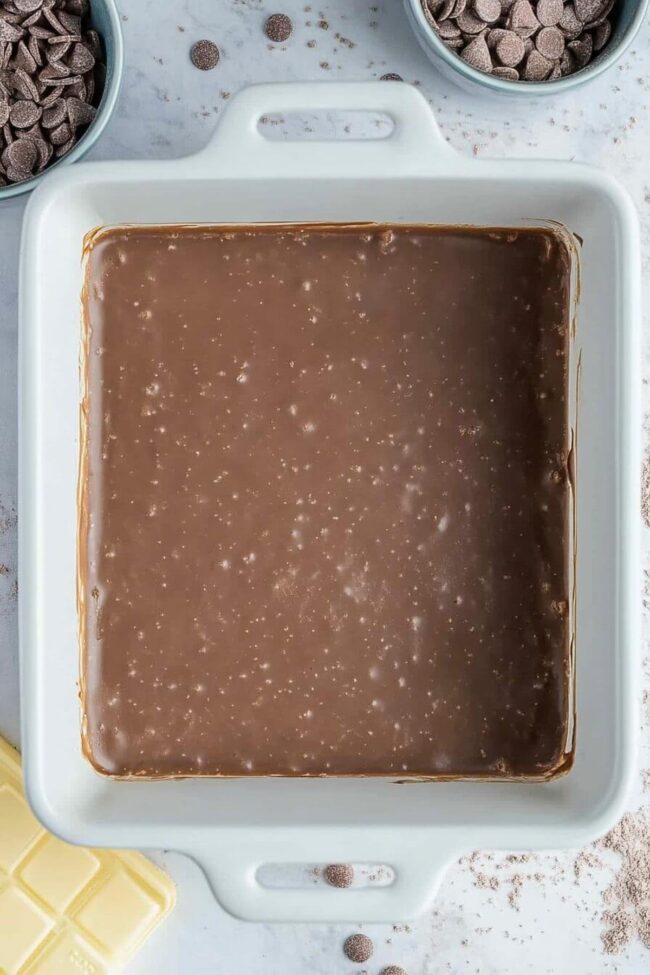
- Preparation: Meticulously line an 8-inch square pan with aluminum foil, thoroughly coating the surface with butter to guarantee effortless fudge removal.
- Foundation Blend: In a heavy-bottomed saucepan, thoroughly combine cocoa powder, sugar, and salt, creating a harmonious dry mixture that will define the fudge’s rich flavor profile.
- Liquid Integration: Gently whisk milk into the dry ingredients, ensuring a silky-smooth consistency without any lingering lumps or uneven texture.
- Heat Management: Position the saucepan over medium heat, continuously stirring to prevent scorching and promote uniform heat distribution throughout the mixture.
- Boiling Point: Allow the mixture to reach a vigorous rolling boil, maintaining constant motion to safeguard the delicate sugar crystals from burning and maintain optimal flavor development.
- Temperature Precision: Deploy a candy thermometer and cease stirring, permitting the temperature to ascend precisely to 234°F – the critical soft-ball stage that determines fudge perfection.
- Flavor Infusion: Immediately remove from heat, tenderly introducing vanilla and remaining butter, leveraging residual warmth to seamlessly marry flavors without disrupting the delicate chemical transformation.
- Crystallization Phase: Permit the mixture to rest undisturbed, naturally cooling to 110°F to cultivate the ideal crystalline structure that defines exceptional fudge texture.
- Texture Transformation: Energetically beat the cooling fudge with a wooden spoon, metamorphosing its appearance from glossy to matte and developing a dense, creamy consistency.
- Finishing Touch: Carefully spread the fudge into the prepared pan, executing smooth, deliberate motions to ensure uniform thickness and a professional presentation, then allow to set completely at room temperature before slicing into precise 1-inch squares for serving.
Notes
- Temperature Precision: Use a reliable candy thermometer to hit exactly 234°F for perfect soft-ball stage, preventing grainy or hard fudge.
- Stirring Strategy: Continuously stir during initial heating to prevent sugar crystallization and ensure smooth, creamy texture.
- Cooling Technique: Let fudge cool undisturbed to 110°F before beating, which helps develop ideal crystalline structure and prevents graininess.
- Pan Preparation: Generously butter aluminum foil lining to guarantee easy fudge removal and clean cutting without sticking.
- Prep Time: 15 minutes
- Cook Time: 30 minutes
- Category: Desserts, Snacks
- Method: Boiling
- Cuisine: American
Nutrition
- Serving Size: 13
- Calories: 239
- Sugar: 30 g
- Sodium: 15 mg
- Fat: 9 g
- Saturated Fat: 5 g
- Unsaturated Fat: 4 g
- Trans Fat: 0 g
- Carbohydrates: 37 g
- Fiber: 1 g
- Protein: 2 g
- Cholesterol: 20 mg
Jessica Martin
Recipe Developer & Food Writer
Expertise
Recipe Development, Food Styling and Photography, Seasonal and Local Ingredients, Vegetarian and Vegan Cuisine, Culinary Education
Education
Portland Community College
Oregon Culinary Institute
Jessica Martin is a talented food writer and recipe creator who specializes in seasonal cooking and approachable home baking.
Educated at Portland Community College with additional pastry training from Oregon Culinary Institute, Jessica’s culinary journey spans nearly a decade of creating and sharing flavorful recipes.
Her deep appreciation for local ingredients shapes each of her recipes, making them both accessible and inspiring. At Beard and Bonnet, Jessica uses her cheerful, down-to-earth writing to help readers effortlessly bring new tastes and creative dishes into their daily routines.