Snappy Crispy Coconut Shrimp Recipe For Seafood Lovers
Seafood lovers rejoice with this mouthwatering crispy coconut shrimp that promises a tropical burst of flavor.
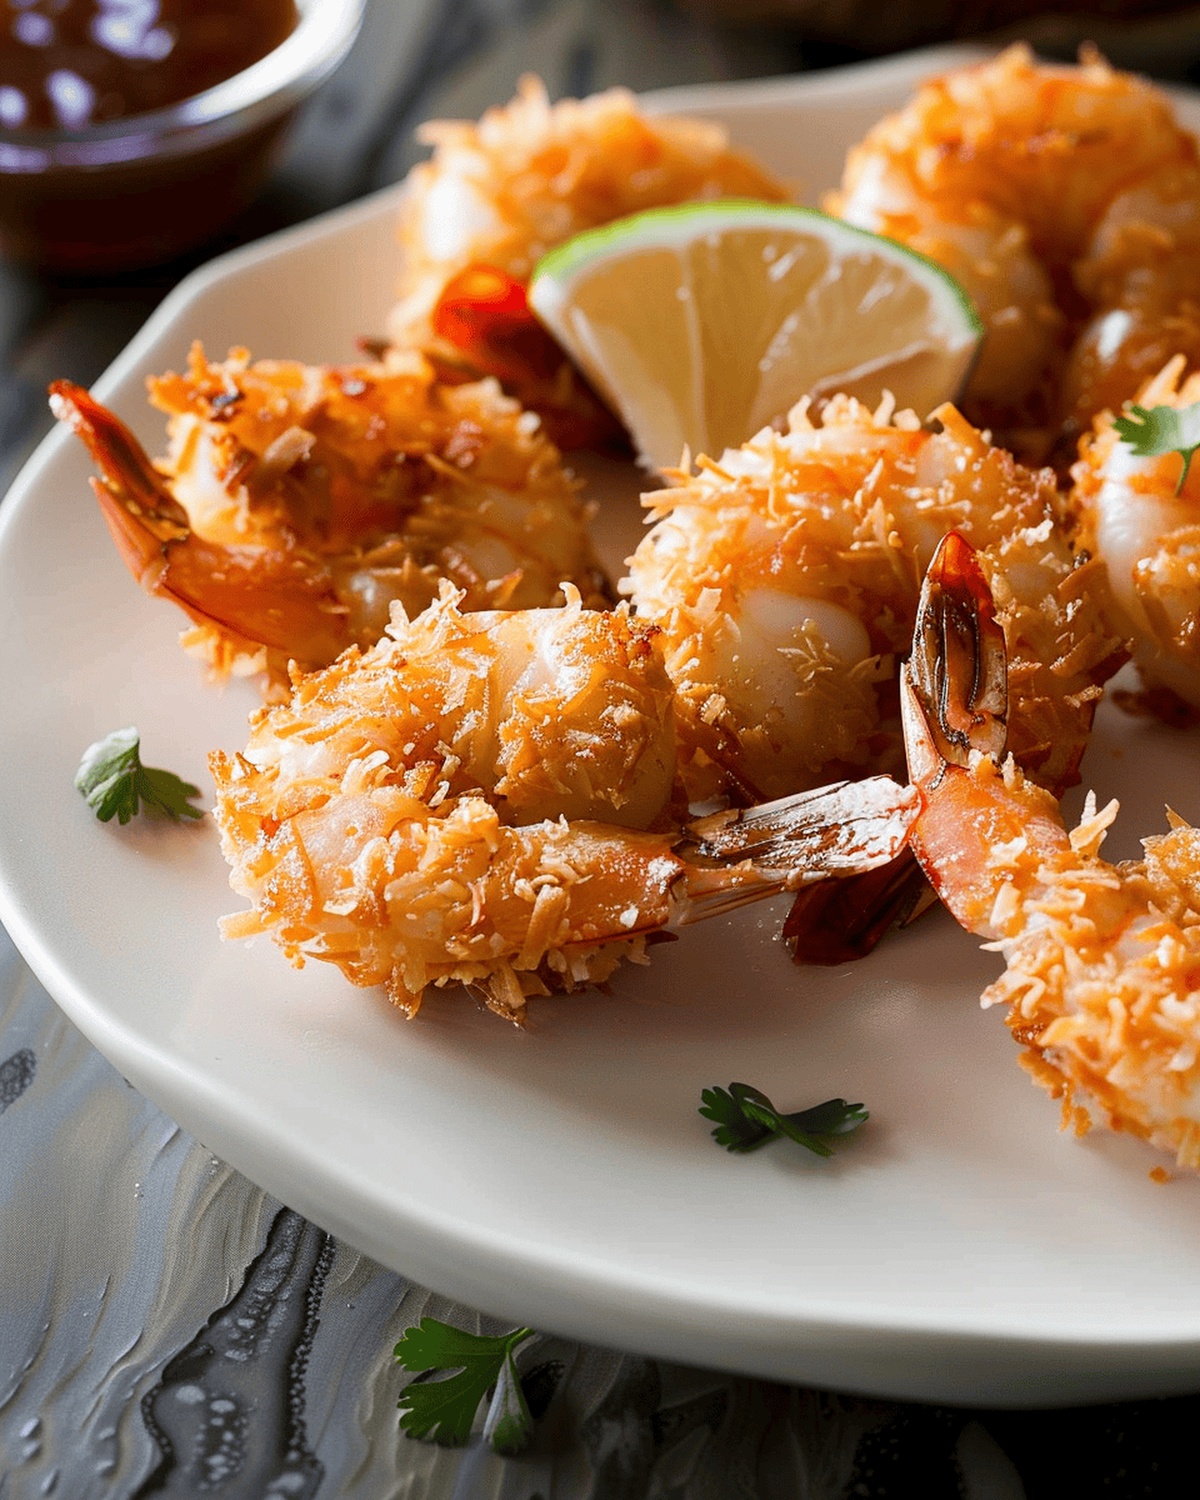
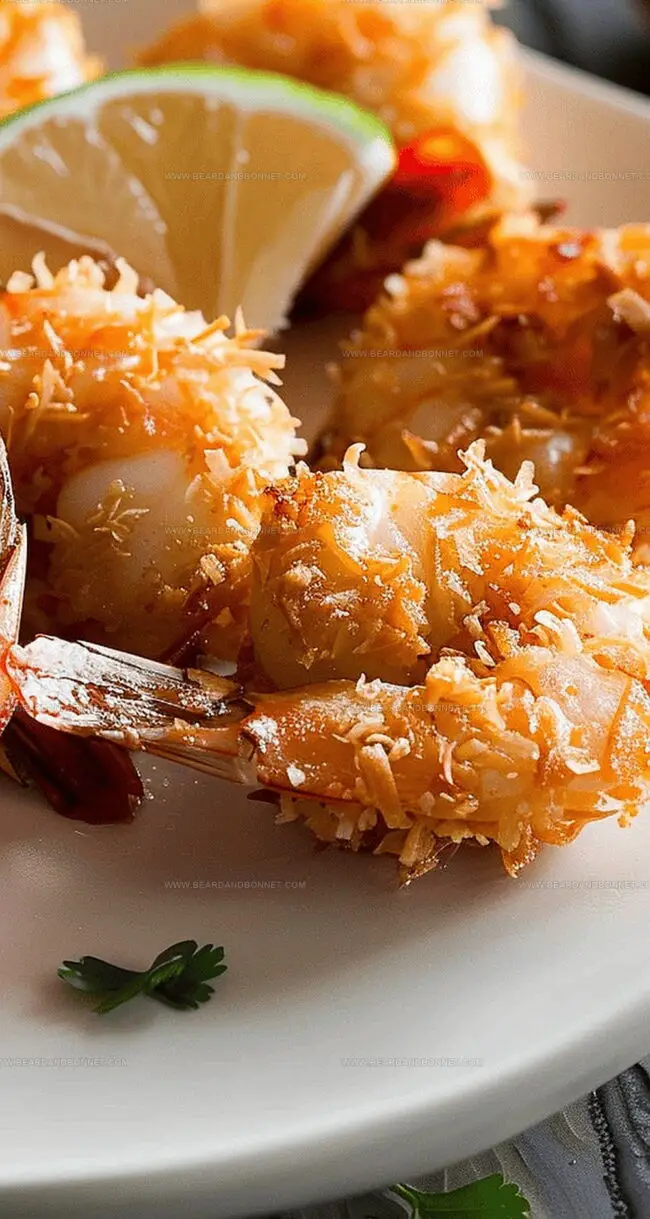
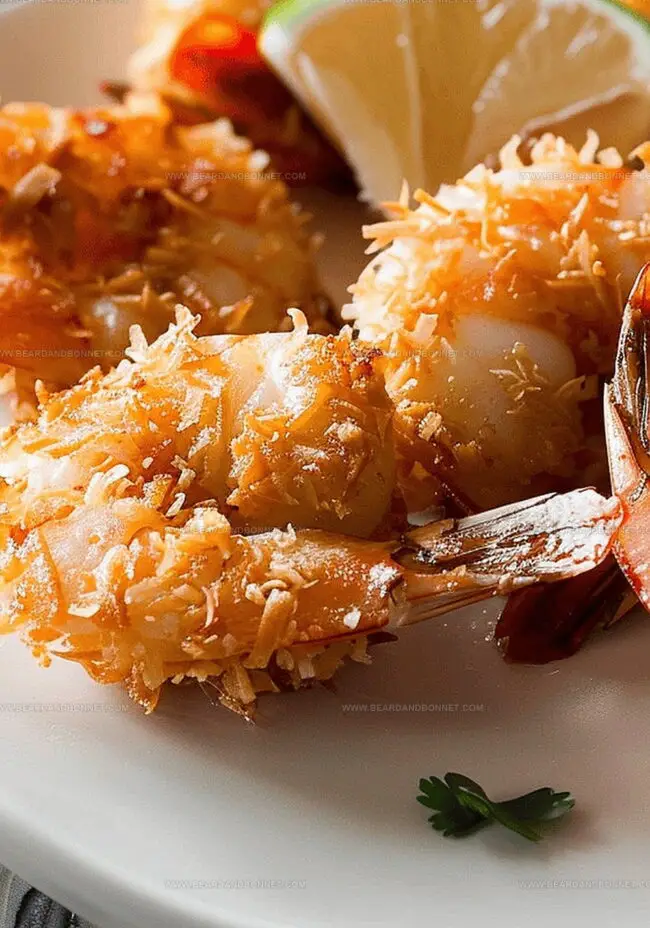
Golden-brown, perfectly seasoned shrimp coated in a crispy coconut breading will transport you to a beachside paradise.
The delicate crunch and sweet coconut notes create an irresistible combination that dances on your palate.
Every bite delivers a satisfying texture that blends crispy exterior with tender, succulent shrimp inside.
This recipe brings restaurant-quality goodness straight to your kitchen with minimal effort and maximum deliciousness.
Fresh shrimp transformed into a crunchy, island-inspired appetizer or main course will quickly become a favorite in your culinary repertoire.
Dive into this delectable dish and let your taste buds embark on a delightful Caribbean-inspired adventure.
Quick Recipe Overview
Coconut Shrimp Ingredient Notes
For Coating Mixture:For Wet Binding Layer:For Crispy Outer Layer:For Protein Base:For Dipping Sauce:For Cooking:Tools That Make Coconut Shrimp Easy
Cooking Coconut Shrimp at Home
Coconut Shrimp Magic
Create a delightful assembly line with three bowls: one for flour seasoned with salt and pepper, another for beaten eggs, and the last for a crunchy blend of Panko and coconut flakes.
Lovingly coat each shrimp by first rolling it in seasoned flour, then giving it a quick egg bath, and finally generously covering it in the coconut-Panko mixture. Press gently to help the coating stick like a delicious armor.
Warm oil in a skillet until it whispers with heat. Carefully lower shrimp into the golden liquid, cooking in small batches to ensure each piece turns a gorgeous crispy bronze. Flip after about two minutes to create an even, crackling exterior.
Whip up a tantalizing dipping sauce by mixing Thai chili sauce with a sweet jam. This vibrant condiment will add a zesty punch that makes your coconut shrimp truly irresistible.
Tips to Improve Coconut Shrimp Flavor
Serving Suggestions for Coconut Shrimp
Keeping Coconut Shrimp at Its Best
Print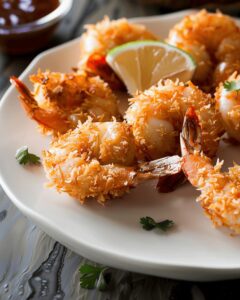
Tantalizing Coconut Shrimp Recipe
- Total Time: 25 minutes
- Yield: 5 1x
Description
Crispy coconut shrimp delight brings tropical flavors from Caribbean islands to dinner tables with golden-brown crunch. Succulent shrimp coated in sweet coconut breading offer perfect balance of texture and taste for quick weekend meals you’ll savor.
Ingredients
- 1 lb (454 g) raw large shrimp, peeled and deveined with tails attached
- ¾ cup panko bread crumbs
- 1 cup sweetened shredded coconut
- ⅓ cup all-purpose flour or whole wheat flour
- 2 large eggs, beaten
- ½ tsp salt
- ½ tsp ground black pepper
- 3–4 tbsps vegetable oil, coconut oil, or olive oil
- 6 tbsps orange, peach, or apricot jam or preserves
- 3 tbsps Thai chili sauce
- 1 tbsp finely chopped cilantro (optional)
Instructions
- Prepare Coating Station: Arrange three mixing bowls for an efficient breading workflow, positioning flour, egg, and coconut-Panko mixture strategically.
- Season Flour Mixture: Whisk flour with salt and pepper, ensuring even distribution of seasonings throughout the coating base.
- Egg Preparation: Thoroughly beat eggs until smooth, creating a uniform binding agent for the shrimp coating.
- Create Crispy Coating: Combine Panko bread crumbs with shredded coconut, mixing to develop a textured, flavorful exterior layer.
- Coat Shrimp: Dredge each shrimp through flour, then dip in beaten eggs, and finally roll in coconut-Panko mixture, pressing gently to ensure complete coverage.
- Preheat Cooking Surface: Heat neutral oil in a large skillet to medium temperature, establishing an optimal frying environment with consistent heat distribution.
- Fry Shrimp: Carefully add shrimp in small batches, cooking for approximately two minutes per side until achieving a rich golden-brown color and crispy texture.
- Prepare Dipping Sauce: Blend Thai chili sauce with selected jam, creating a harmonious and complementary flavor profile.
- Finish and Serve: Drain shrimp on paper towels to remove excess oil, then plate immediately with the prepared dipping sauce, ensuring maximum crispiness and flavor enjoyment.
Notes
- Prepare Coating Station Efficiently: Organize three bowls strategically to streamline the breading process and ensure even, consistent coating on each shrimp.
- Master Coconut Crunch Technique: Press Panko-coconut mixture firmly onto shrimp to create a robust, extra-crispy exterior that locks in flavor and texture.
- Manage Oil Temperature Carefully: Maintain medium heat to prevent burning and achieve a perfectly golden, crisp coating without greasy residue.
- Optimize Sauce Pairing: Choose complementary sauces like Thai chili or sweet-tangy jam blends to elevate the shrimp’s tropical flavor profile.
- Prep Time: 15 minutes
- Cook Time: 10 minutes
- Category: Appetizer, Snacks
- Method: Frying
- Cuisine: Thai
Nutrition
- Serving Size: 5
- Calories: 460
- Sugar: 12 g
- Sodium: 530 mg
- Fat: 22 g
- Saturated Fat: 6 g
- Unsaturated Fat: 14 g
- Trans Fat: 0 g
- Carbohydrates: 45 g
- Fiber: 3 g
- Protein: 19 g
- Cholesterol: 160 mg
Jessica Martin
Recipe Developer & Food Writer
Expertise
Recipe Development, Food Styling and Photography, Seasonal and Local Ingredients, Vegetarian and Vegan Cuisine, Culinary Education
Education
Portland Community College
Oregon Culinary Institute
Jessica Martin is a talented food writer and recipe creator who specializes in seasonal cooking and approachable home baking.
Educated at Portland Community College with additional pastry training from Oregon Culinary Institute, Jessica’s culinary journey spans nearly a decade of creating and sharing flavorful recipes.
Her deep appreciation for local ingredients shapes each of her recipes, making them both accessible and inspiring. At Beard and Bonnet, Jessica uses her cheerful, down-to-earth writing to help readers effortlessly bring new tastes and creative dishes into their daily routines.