Zesty Southwest Chicken Wrap Recipe for Lunch Magic
Wrapping up flavor and convenience, this southwest chicken wrap bursts with zesty southwestern spices that dance across your taste buds.
Bold and vibrant ingredients come together in a simple yet delectable meal.
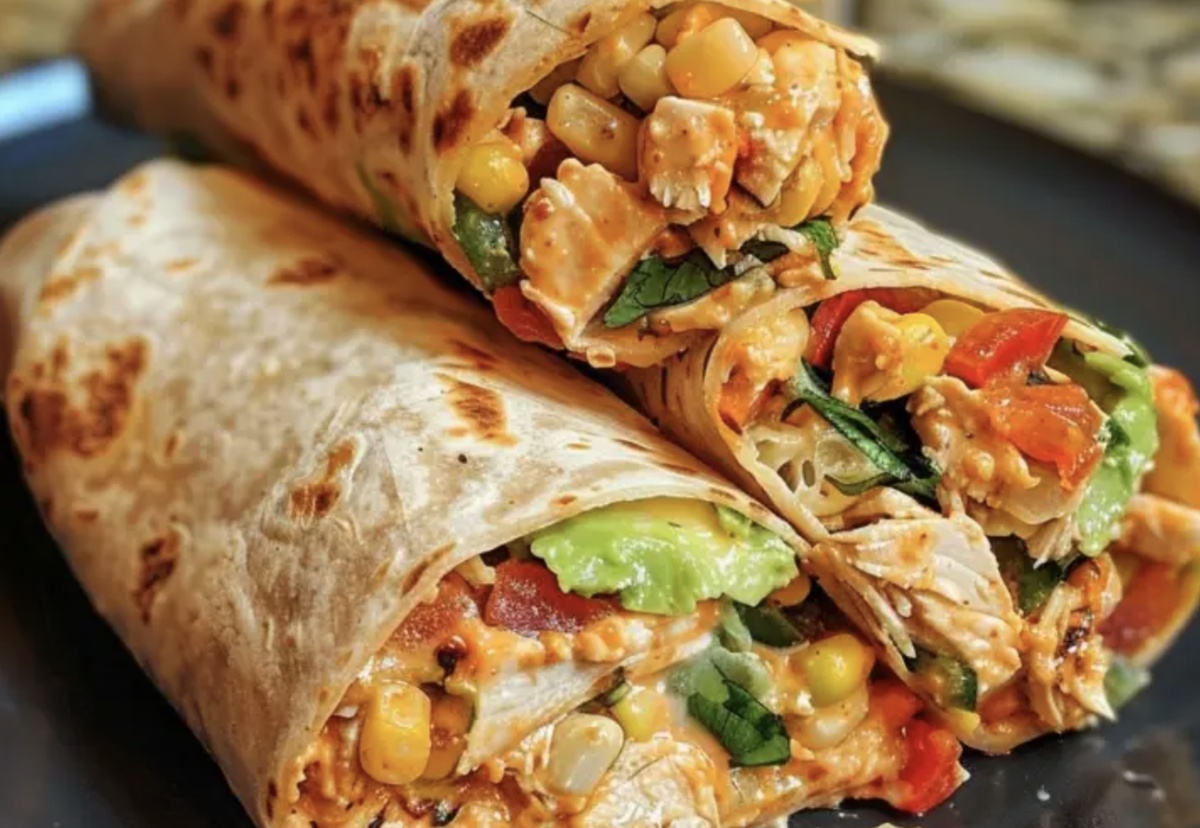
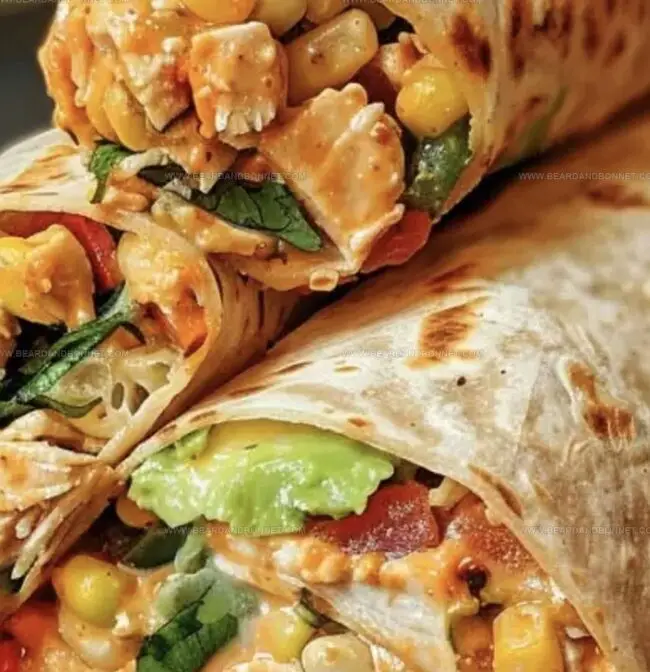
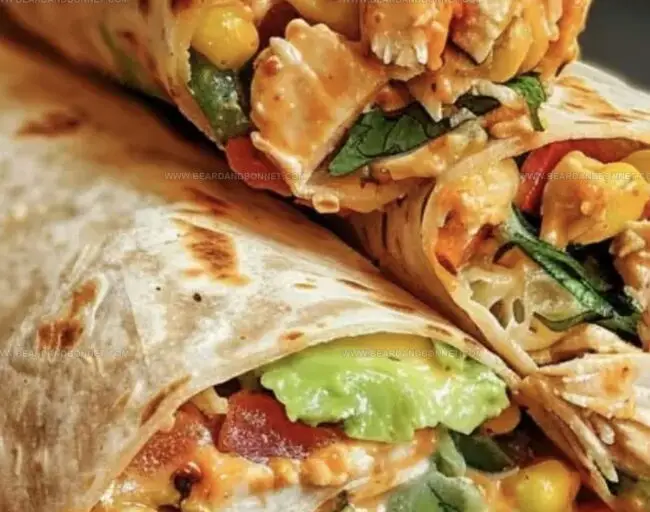
The combination of tender grilled chicken, crisp vegetables, and creamy sauce creates a satisfying lunch or dinner option.
Packed with protein and bold seasonings, this wrap delivers a punch of authentic southwestern flair.
Each bite promises a delightful blend of textures and robust flavors that will keep you coming back for more.
Craving a quick and delicious meal that doesn’t compromise on taste?
This southwest chicken wrap is your perfect solution.
Quick Recipe Overview
What Goes Into Southwest Chicken Wrap
For Protein and Seasoning:For Fresh and Creamy Components:For Texture and Bulk:Gear Needed For Southwest Chicken Wrap
How To Roll A Southwest Chicken Wrap With Ease
Sizzle chicken breasts with a zesty blend of southwestern spices in a hot skillet. Cook until golden and perfectly tender, ensuring the meat is fully cooked through. Let the chicken rest briefly before slicing into delectable strips.
Spread a soft tortilla with creamy and tangy condiments. Create a colorful canvas of ingredients, layering tender chicken slices with vibrant fresh produce and hearty beans. Each wrap becomes a masterpiece of southwestern cuisine.
Carefully fold the tortilla edges inward, then roll from bottom to top with a gentle but firm touch. Secure the wrap so all the delicious fillings stay nestled inside, creating a compact and portable meal.
Cut the wrap diagonally to reveal the beautiful layers of ingredients. Accompany with additional salsa or creamy avocado dip for an extra burst of flavor. Enjoy this handheld feast that brings the spirit of the southwest to your plate.
Ideas To Switch Up Your Southwest Chicken Wrap
Simple Ways To Serve Southwest Chicken Wrap
How To Keep Southwest Chicken Wrap Fresh And Tasty
Print
Tangy Southwest Chicken Wrap Recipe
- Total Time: 25 minutes
- Yield: 3 1x
Description
Southwest chicken wraps deliver bold Tex-Mex flavors in a quick and satisfying meal. Crisp tortillas filled with zesty seasoned chicken, fresh vegetables, and creamy sauce create a perfect handheld lunch you’ll crave again and again.
Ingredients
- 1 lb (450g) boneless, skinless chicken breasts
- 1 cup (150g) shredded cheddar or monterey jack cheese
- 1 cup (165g) canned black beans, drained and rinsed
- 1 cup (165g) canned corn, drained
- 4 large flour tortillas (burrito-size)
- 1 large tomato, diced
- 1 avocado, sliced
- ¼ cup (15g) chopped fresh cilantro
- 2 tbsps olive oil
- 1 tbsp taco seasoning
- ½ tsp salt
- ½ tsp black pepper
- ¼ cup (60 ml) sour cream or greek yogurt
- ¼ cup (60 ml) salsa (mild, medium, or hot)
Instructions
- Season Chicken: Massage chicken with taco seasoning, olive oil, salt, and pepper. Sear in a hot skillet over medium-high heat for 5-7 minutes until fully cooked. Rest briefly, then slice into strips.
- Prepare Wrap Base: Spread sour cream and salsa on tortillas, creating a flavor foundation. Generously sprinkle shredded cheese across the center.
- Layer Ingredients: Position sliced chicken over cheese. Add black beans, corn kernels, and diced tomatoes to build depth and nutrition. Top with creamy avocado slices and fresh chopped cilantro for herbal complexity.
- Wrap and Secure: Fold tortilla sides inward, then roll from bottom upward, creating a tight, compact wrap that encapsulates all ingredients.
- Serve: Slice wraps diagonally. Present immediately with optional salsa or guacamole on the side for additional zesty flavor enhancement.
Notes
- Optimize Chicken Seasoning: Use homemade taco seasoning for more intense, personalized flavor and control over salt content.
- Prevent Wrap Sogginess: Pat ingredients dry before assembling to maintain crisp texture and prevent tortilla from becoming soggy.
- Temperature Control: Rest cooked chicken for 3-5 minutes to retain moisture and ensure even, juicy meat distribution.
- Dietary Adaptations: Swap tortillas for lettuce wraps for low-carb option, use Greek yogurt instead of sour cream for protein boost, and select gluten-free tortillas for sensitive diets.
- Prep Time: 10 minutes
- Cook Time: 15 minutes
- Category: Lunch, Dinner, Snacks
- Method: Frying
- Cuisine: Southwestern American
Nutrition
- Serving Size: 3
- Calories: 550
- Sugar: 3g
- Sodium: 800mg
- Fat: 24g
- Saturated Fat: 6g
- Unsaturated Fat: 16g
- Trans Fat: 0g
- Carbohydrates: 60g
- Fiber: 10g
- Protein: 30g
- Cholesterol: 75mg
Jessica Martin
Recipe Developer & Food Writer
Expertise
Recipe Development, Food Styling and Photography, Seasonal and Local Ingredients, Vegetarian and Vegan Cuisine, Culinary Education
Education
Portland Community College
Oregon Culinary Institute
Jessica Martin is a talented food writer and recipe creator who specializes in seasonal cooking and approachable home baking.
Educated at Portland Community College with additional pastry training from Oregon Culinary Institute, Jessica’s culinary journey spans nearly a decade of creating and sharing flavorful recipes.
Her deep appreciation for local ingredients shapes each of her recipes, making them both accessible and inspiring. At Beard and Bonnet, Jessica uses her cheerful, down-to-earth writing to help readers effortlessly bring new tastes and creative dishes into their daily routines.