
Heavenly Cheesecake Stuffed Baked Apples Recipe for Fall Treats
Autumn brings a delightful twist to classic desserts with these cheesecake stuffed baked apples.
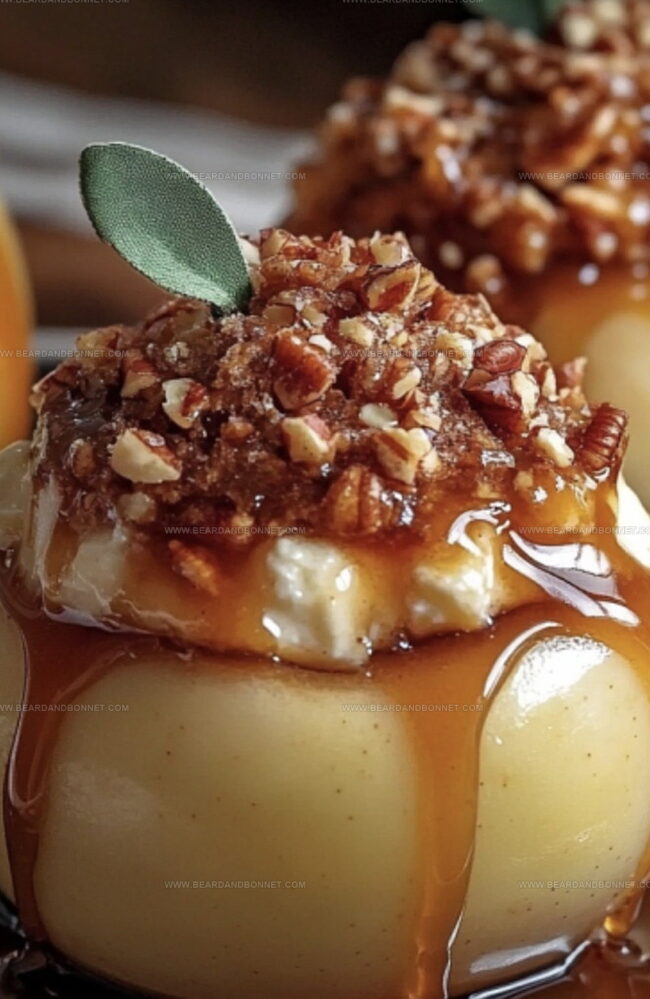
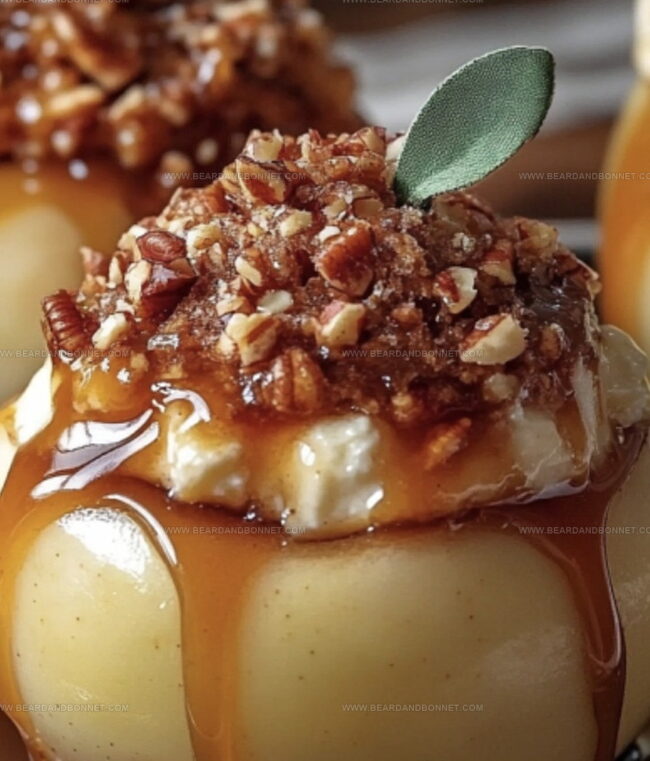
Crisp orchard fruits mingle with rich, creamy cheesecake filling in a heavenly combination.
Warm spices dance through the kitchen, promising a decadent treat that’s both comforting and elegant.
Each apple becomes a vessel of pure indulgence, perfectly balanced between fruity freshness and smooth cream cheese.
The aroma promises a dessert that transforms simple ingredients into something extraordinary.
Drizzled with caramel or served with a scoop of vanilla ice cream, these apples deliver a memorable finale to any meal.
Prepare to experience a dessert that celebrates the best of fall’s sweet bounty.
Quick Recipe Overview
Cheesecake Stuffed Baked Apples Ingredients Breakdown
For The Apples:For The Cheesecake Filling:For The Crumble Topping:Tools You’ll Use For Cheesecake Stuffed Baked Apples
Steps To Bake Cheesecake Stuffed Baked Apples
Select firm, round apples with sturdy walls. Carefully hollow out centers, creating cozy vessels for creamy cheesecake filling. Brush interiors with citrusy lemon juice to prevent browning and enhance flavor profile.
Whip cream cheese until silky smooth, blending with sweet sugar, fragrant vanilla, and velvety egg. This luxurious mixture transforms ordinary fruit into an extraordinary dessert experience.
Create a delectable graham cracker crumble by mixing crumbs with melted butter and warm brown sugar. This crispy layer adds delightful texture and rich caramelized notes to the dessert.
Nestle prepared apples in a baking dish, covering initially with foil to ensure gentle cooking. Uncover midway to allow golden browning and perfect tenderness. Watch for soft apples and set cheesecake filling.
Let apples rest briefly after baking, allowing flavors to harmonize. Serve warm with a scoop of cold vanilla ice cream or a drizzle of golden caramel sauce for an irresistible finale.
Helpful Hints For Cheesecake Stuffed Baked Apples
Serving Tips For Cheesecake Stuffed Baked Apples
Storage Help For Cheesecake Stuffed Baked Apples
Print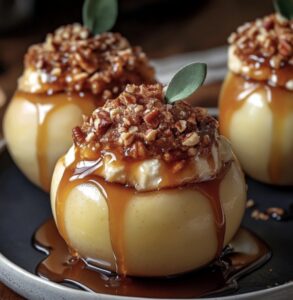
Sweet Cheesecake Stuffed Baked Apples Recipe
- Total Time: 55 minutes
- Yield: 5 1x
Description
Classic autumn dessert, Cheesecake Stuffed Baked Apples, blends creamy cheesecake with warm spiced apples. Comforting flavors invite sweet indulgence for family and friends.
Ingredients
- 6 large apples (Honeycrisp, Gala, or Granny Smith)
- 8 oz (225 g) cream cheese, softened
- 1 large egg, room temperature
- ½ cup (50 g) graham cracker crumbs
- ¼ cup (50 g) granulated sugar
- 1 tbsp lemon juice
- 1 tsp vanilla extract
- 1 tbsp brown sugar
- 1 tbsp melted butter
- 2 tbsps unsalted butter, melted
- ½ tsp ground cinnamon
Instructions
- Oven Preparation: Position the oven rack centrally and preheat to 350F (175C) for optimal cooking conditions.
- Apple Preparation: Core ripe apples, creating hollow vessels. Brush interiors with citrus juice to prevent oxidation, then coat with melted butter and dust with cinnamon for enhanced flavor profile.
- Cheesecake Filling Creation: Whisk cream cheese until silky, blending sugar, vanilla, and egg into a smooth, homogeneous mixture. Ensure no lumps remain for a perfect texture.
- Filling and Topping Assembly: Fill apple cavities three-quarters full with cheesecake mixture. Combine graham cracker crumbs with melted butter, brown sugar, and cinnamon to create a crumbly topping. Generously sprinkle the crumb mixture over filled apples.
- Baking Process: Cover the baking dish with aluminum foil, then bake for 25 minutes. Remove foil and continue baking for an additional 10-15 minutes until tops turn golden and crisp.
- Serving Presentation: Allow apples to rest briefly, enabling filling to set and flavors to meld. Serve warm, optionally garnishing with vanilla ice cream or caramel sauce for an indulgent finish.
Notes
- Choose Apples Wisely: Select firm, crisp varieties like Honeycrisp or Granny Smith that hold their shape during baking and provide a perfect balance of tartness and structure.
- Prevent Apple Browning: Brush apple interiors immediately with lemon juice after coring to maintain fresh appearance and prevent oxidation.
- Smooth Cheesecake Filling: Ensure cream cheese is room temperature and beat thoroughly to eliminate lumps, creating a silky, creamy texture without graininess.
- Avoid Overfilling: Fill apple cavities only three-quarters full to allow space for expansion and prevent overflow during baking, maintaining a neat presentation.
- Prep Time: 15 minutes
- Cook Time: 40 minutes
- Category: Desserts, Snacks
- Method: Baking
- Cuisine: American
Nutrition
- Serving Size: 5
- Calories: 295
- Sugar: 21 g
- Sodium: 130 mg
- Fat: 15 g
- Saturated Fat: 9 g
- Unsaturated Fat: 4 g
- Trans Fat: 0 g
- Carbohydrates: 38 g
- Fiber: 3 g
- Protein: 3 g
- Cholesterol: 40 mg
Jessica Martin
Recipe Developer & Food Writer
Expertise
Recipe Development, Food Styling and Photography, Seasonal and Local Ingredients, Vegetarian and Vegan Cuisine, Culinary Education
Education
Portland Community College
Oregon Culinary Institute
Jessica Martin is a talented food writer and recipe creator who specializes in seasonal cooking and approachable home baking.
Educated at Portland Community College with additional pastry training from Oregon Culinary Institute, Jessica’s culinary journey spans nearly a decade of creating and sharing flavorful recipes.
Her deep appreciation for local ingredients shapes each of her recipes, making them both accessible and inspiring. At Beard and Bonnet, Jessica uses her cheerful, down-to-earth writing to help readers effortlessly bring new tastes and creative dishes into their daily routines.