Whip Up Fresh Creamy Peppermint Mints Recipe Today
Cool summer nights call for a sweet, refreshing peppermint delight mints recipe that melts smoothly on your tongue.
These homemade treats burst with cool, minty freshness and rich cream.
Soft, silky, and incredibly simple to prepare, these mints deliver a delightful punch of flavor.
The recipe requires just a handful of ingredients you likely already have in your kitchen.
Each bite promises a luxurious blend of sweetness and peppermint that dances across your palate.
Whip up these mouthwatering mints for an elegant dessert that impresses without hours of complicated preparation.
Dive into this delectable recipe and transform your dessert game with these irresistible peppermint delights.
Quick Recipe Overview
Creamy Peppermint Mints Ingredient Lineup
For Base Ingredients:For Sweetening and Flavoring:For Optional Decoration:Tools You’ll Need for Homemade Peppermint Candy
How to Mix, Roll & Chill Minty Goodness
Grab your mixer and blend cream cheese with butter until silky smooth. The key is creating a luxurious foundation that will transform into delightful peppermint treats.
Gradually introduce powdered sugar while mixing. Add peppermint extract for that signature cool flavor. Continue blending until the mixture becomes perfectly consistent and dreamy.
Optional color moment – divide your mixture and add gentle drops of gel food coloring. Soft pastel tones work wonderfully for these elegant mints.
Pinch small amounts of dough and roll into petite balls. Place them carefully on a parchment-lined tray, ensuring comfortable spacing between each delicate creation.
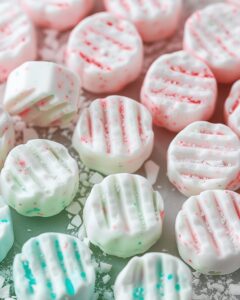
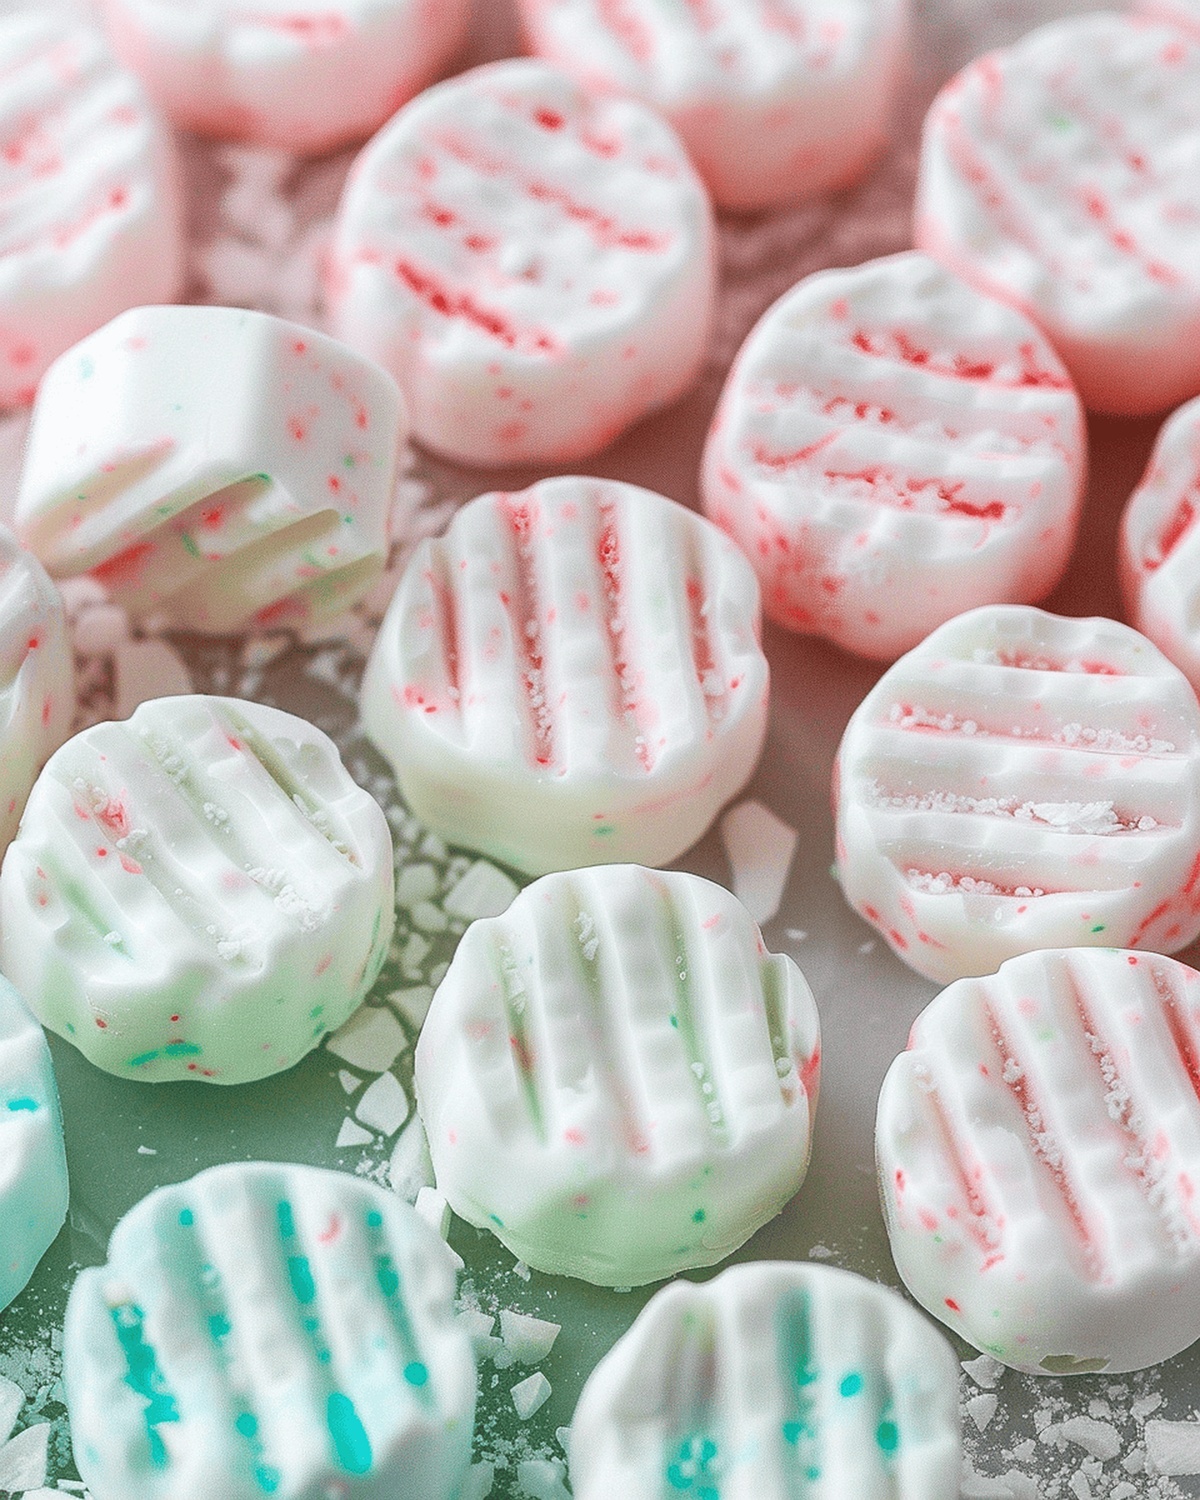
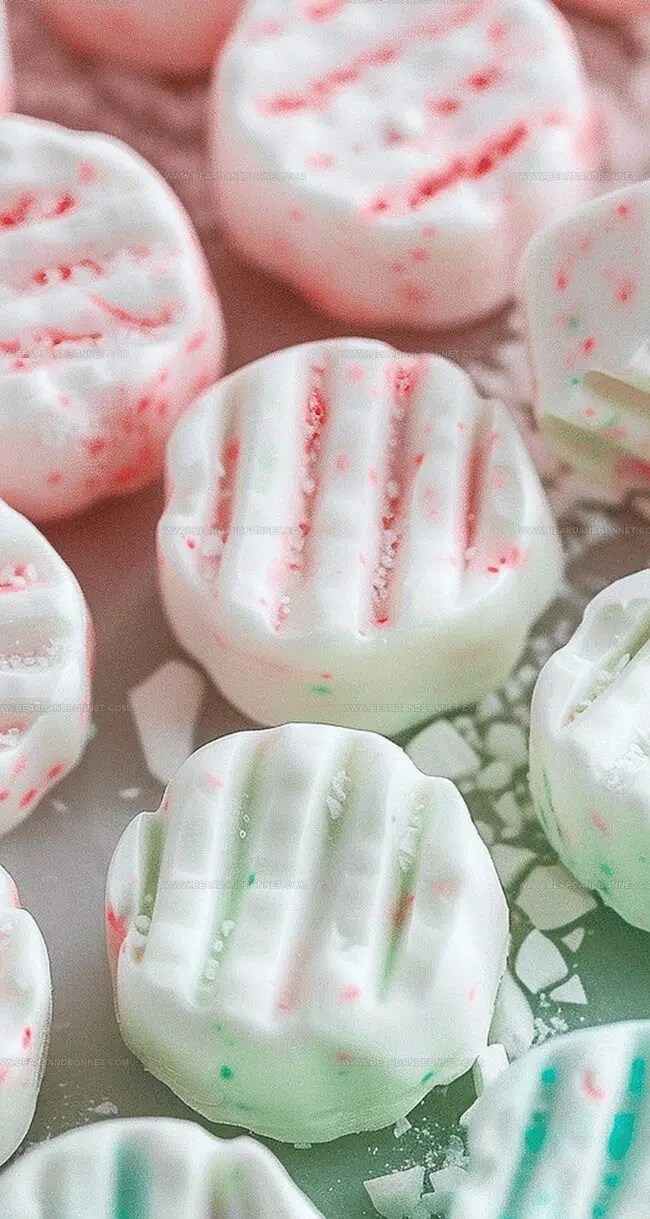
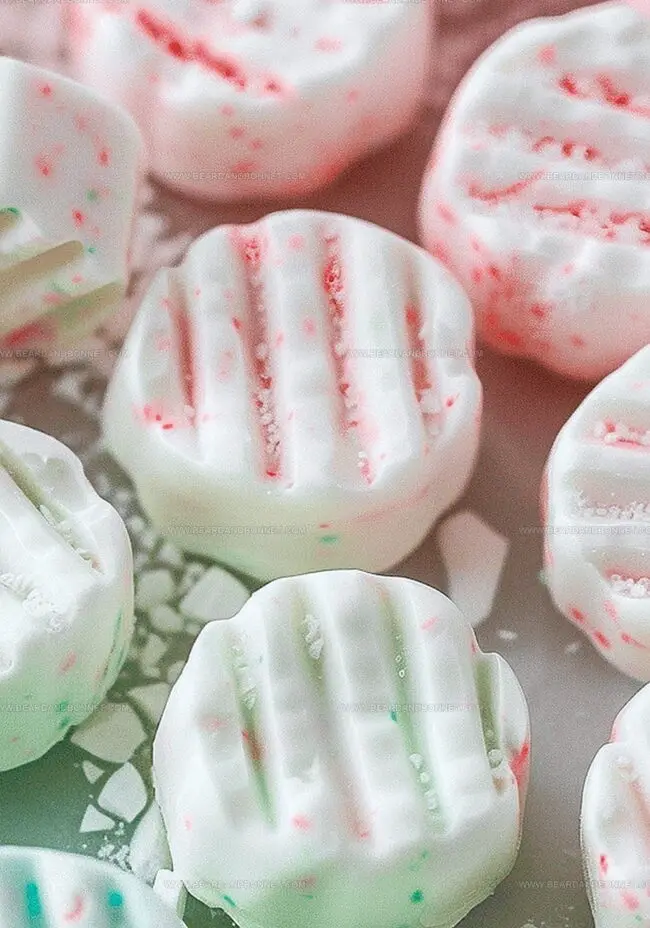
Dust a fork with powdered sugar and gently press down on each mint ball. This creates beautiful textured surfaces that make your treats look professionally crafted.
Allow mints to air dry for a couple hours at room temperature. Once set, transfer to an airtight container. These can live happily in the refrigerator for a month or freeze beautifully for six months.
Flavor Swaps and Festive Add-Ins to Try
Serving Peppermint Mints for Gifting or Snacking
How to Store Mints to Keep Them
Print
Smooth Peppermint Mints Recipe
- Total Time: 20 minutes
- Yield: 13 1x
Description
Homemade creamy peppermint delight mints offer a delectable holiday treat that melts gracefully on palates. Crisp mint flavors and smooth cream combine for a festive confection you’ll savor with pure enjoyment.
Ingredients
- 8 oz (226 g) cream cheese, softened (full fat)
- 8 cups (907 g) powdered sugar
- 2 tbsps (28 g) unsalted butter, softened
- 1 ½ tsp peppermint extract
- ¼ tsp fine sea salt
- Gel food coloring (optional)
Instructions
- Base Mixture Preparation: Combine softened cream cheese and butter in a stand mixer, blending until achieving a smooth, homogeneous texture.
- Sugar Integration: Introduce salt, then gradually fold in powdered sugar at medium-low speed, ensuring complete incorporation and maintaining a consistent mixture.
- Flavor and Coloration: Infuse the blend with peppermint extract, adding optional gel food coloring to create desired visual appeal while maintaining a uniform consistency.
- Dough Shaping: Portion the mixture into small, precise sections, rolling each into smooth, uniform spheres and arranging them on a parchment-lined surface with gentle spacing.
- Surface Decoration: Dust a fork with powdered sugar and delicately press each mint, creating elegant fork-imprinted designs that enhance both texture and visual presentation.
- Setting and Storage: Allow mints to air dry at room temperature for two hours, developing a firmer consistency, then transfer to an airtight container for refrigeration or freezing, preserving their delicate flavor and texture for up to six months.
Notes
- Cream Cheese Quality: Use full-fat, room temperature cream cheese for the smoothest, most luxurious texture and best binding properties.
- Sugar Incorporation: Add powdered sugar gradually to prevent clumping and achieve a silky, lump-free mixture that holds shape perfectly.
- Temperature Control: Keep ingredients at room temperature for easier blending and smoother mint consistency, avoiding cold, stiff components.
- Chilling Technique: Let mints dry completely at room temperature to develop a delicate outer crust and maintain their delightful, melt-in-your-mouth texture.
- Prep Time: 20 minutes
- Cook Time: 0 minutes
- Category: Desserts, Snacks
- Method: Mixing
- Cuisine: American
Nutrition
- Serving Size: 13
- Calories: 102
- Sugar: 16 g
- Sodium: 15 mg
- Fat: 4.5 g
- Saturated Fat: 2.5 g
- Unsaturated Fat: 2 g
- Trans Fat: 0 g
- Carbohydrates: 17 g
- Fiber: 0 g
- Protein: 1 g
- Cholesterol: 15 mg


Jessica Martin
Recipe Developer & Food Writer
Expertise
Recipe Development, Food Styling and Photography, Seasonal and Local Ingredients, Vegetarian and Vegan Cuisine, Culinary Education
Education
Portland Community College
Oregon Culinary Institute
Jessica Martin is a talented food writer and recipe creator who specializes in seasonal cooking and approachable home baking.
Educated at Portland Community College with additional pastry training from Oregon Culinary Institute, Jessica’s culinary journey spans nearly a decade of creating and sharing flavorful recipes.
Her deep appreciation for local ingredients shapes each of her recipes, making them both accessible and inspiring. At Beard and Bonnet, Jessica uses her cheerful, down-to-earth writing to help readers effortlessly bring new tastes and creative dishes into their daily routines.