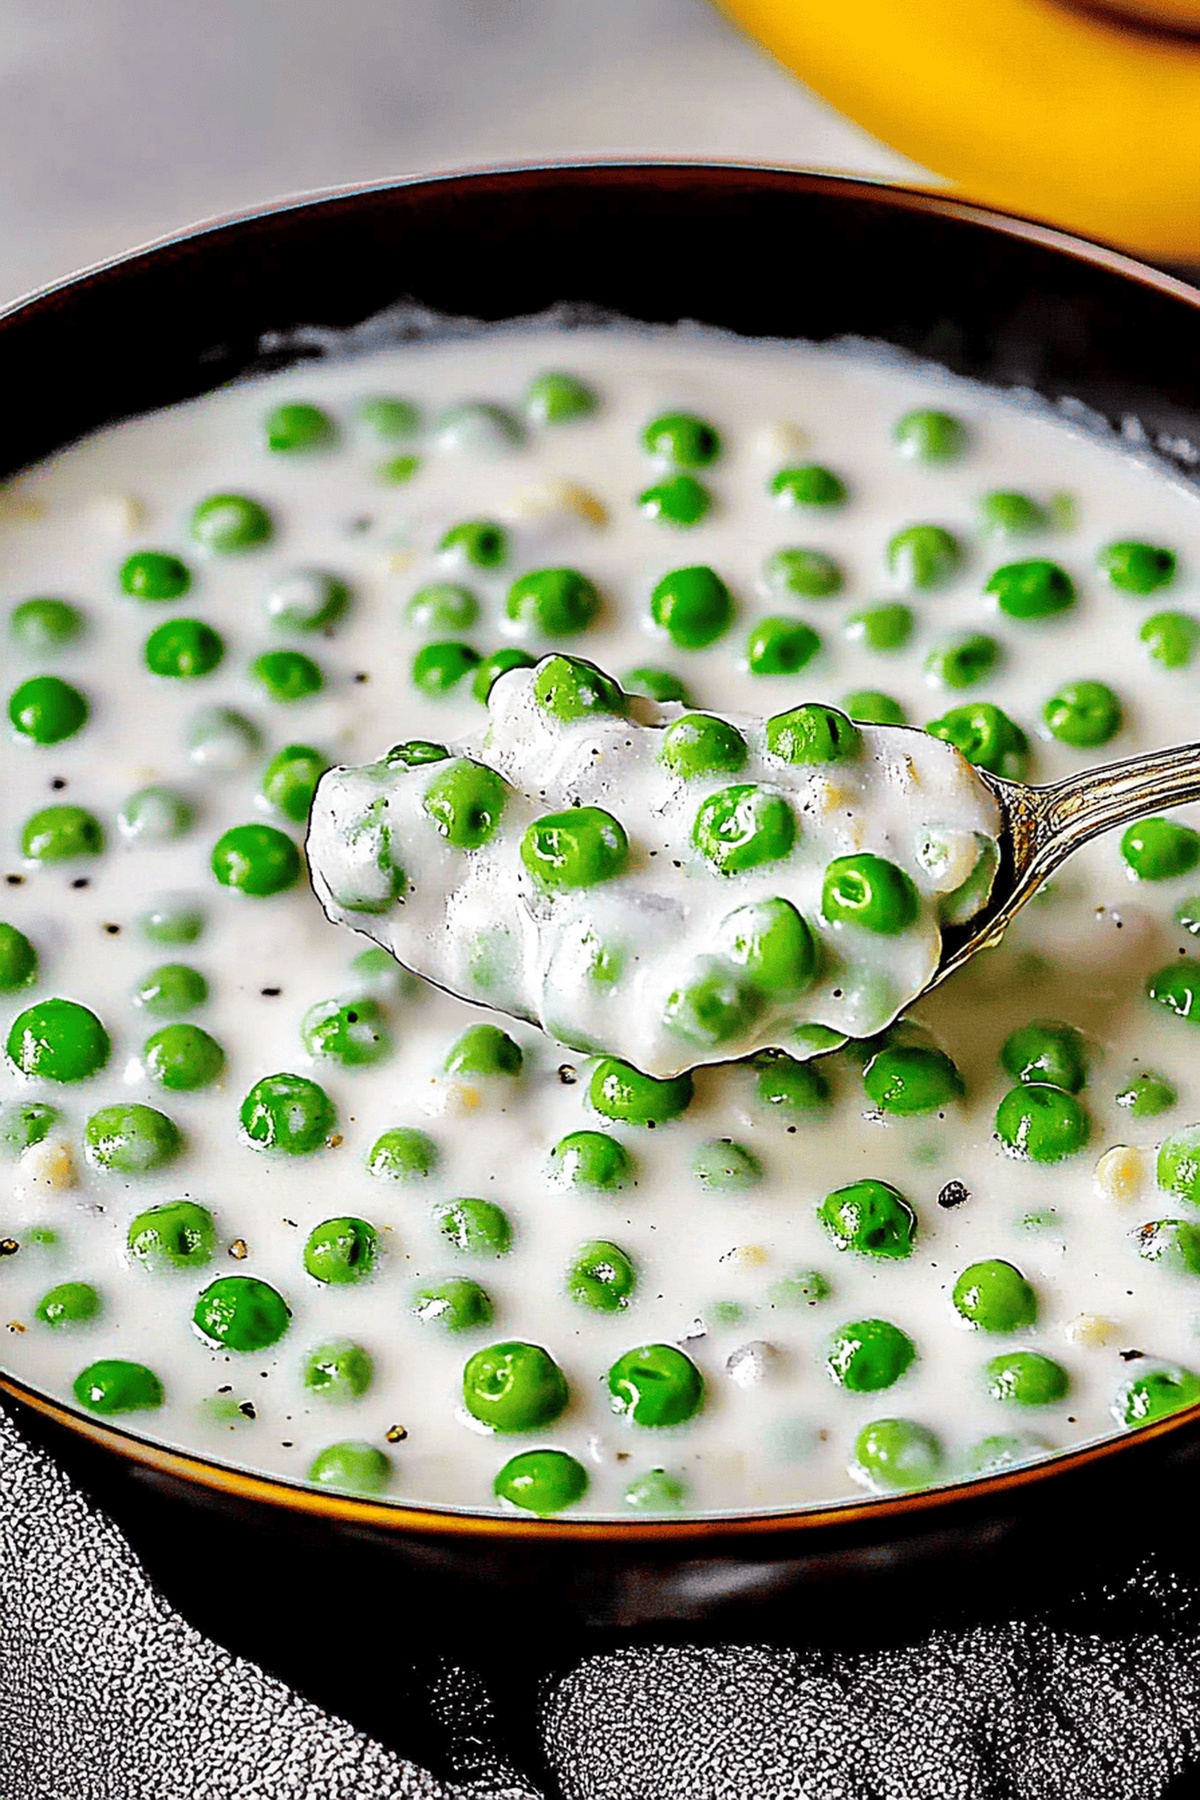
Silky Smooth Creamed Peas Recipe: A Comforting Classic
Silky smooth and bursting with garden-fresh flavor, this classic creamed peas recipe brings nostalgic comfort to your dinner table.
Generations of home cooks have cherished these tender green pearls swimming in a luxurious, velvety sauce.
The simple combination of sweet peas and rich cream creates a side dish that’s both elegant and rustic.
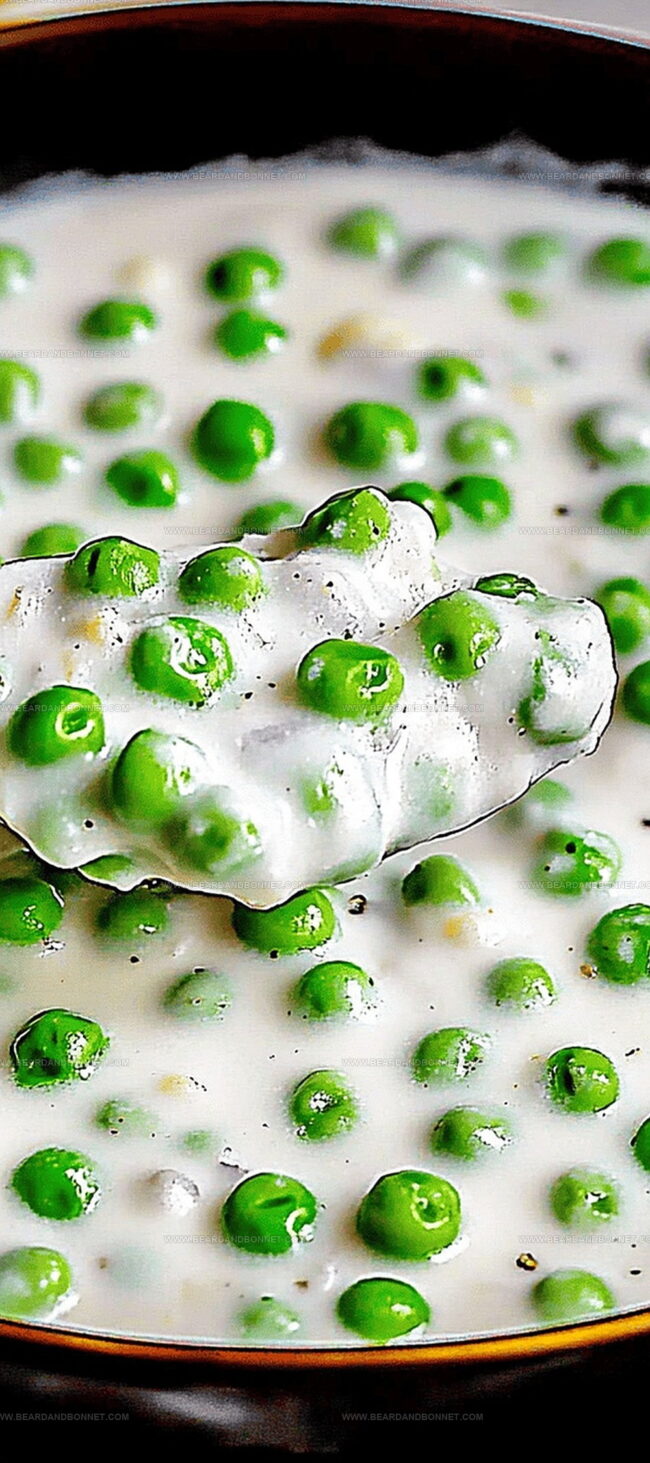
Each spoonful delivers a delightful blend of textures and a hint of buttery warmth.
You’ll love how quickly this recipe comes together, making it perfect for busy weeknight meals or special gatherings.
Serve these creamed peas alongside roasted meats or as a delectable standalone dish that will have everyone asking for seconds.
Quick Recipe Overview
Creamed Peas Ingredients for a Classic Side Dish
For Base and Thickening:For Liquid and Creaminess:For Seasoning and Flavor:For Main Ingredient:Tools for Preparing Smooth Creamed Peas
Instructions for Cooking Creamed Peas Just Right
Grab a saucepan and transform butter into a golden, silky foundation for your creamy pea adventure. The butter will create a luxurious backdrop for the entire dish.
Sprinkle flour into the melted butter, whisking until everything blends into a smooth, velvety mixture. This magical transformation sets the stage for a perfectly thickened sauce.
Pour milk into the pan, stirring gently as the liquid morphs into a luscious, creamy sauce. Watch as the mixture transforms from runny to wonderfully thick.
Toss in those bright green frozen peas, letting them swim in the creamy goodness. The peas will warm through, soaking up all the delicious flavors.
Drizzle in a splash of cream for extra richness, creating a side dish that feels like a warm hug. Sprinkle with fresh herbs to add a pop of color and freshness.
Tips to Make Creamed Peas More Flavorful
Serving Creamed Peas with Any Meal
Store Creamed Peas for Future Dinners
Print
Silky Creamed Peas Recipe
- Total Time: 15 minutes
- Yield: 5 1x
Description
Homemade creamed peas offer a classic side dish with nostalgic farmhouse charm. Luscious green peas bathed in rich cream sauce deliver comfort and simplicity for family meals.
Ingredients
- 4 cups (950 ml) frozen peas
- 2 cups (470 ml) whole milk or half and half
- 4 tbsps (60 ml) unsalted butter
- 3 tbsps (45 g) all-purpose flour
- 1 tsp salt
- ½ tsp white pepper or black pepper
- ¼ tsp garlic powder
- ¼ cup (60 ml) heavy cream
Instructions
- Sauce Foundation: Melt butter in a medium saucepan over medium heat, creating a golden liquid base for the upcoming creamy texture.
- Roux Development: Whisk flour and garlic powder into the melted butter, creating a smooth mixture without any lumps, establishing a perfect thickening foundation.
- Liquid Integration: Gradually pour milk into the roux, stirring continuously to prevent burning. Allow the sauce to thicken and develop a silky consistency while seasoning with salt and pepper for depth of flavor.
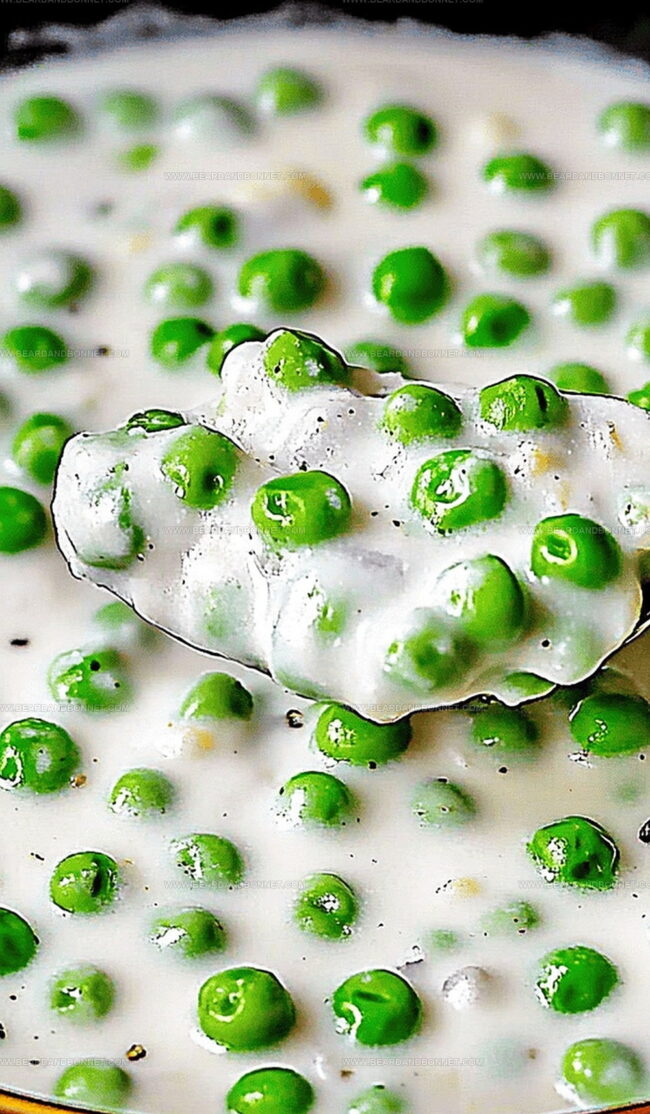
- Vegetable Infusion: Introduce frozen peas into the sauce, ensuring complete coating and gentle warming. Incorporate heavy cream, stirring gently to create a luxurious, cohesive mixture that preserves the peas’ vibrant color and tender bite.
- Final Presentation: Transfer the creamed peas to a serving dish, garnishing with freshly cracked pepper, a delicate butter accent, and a sprinkle of finely chopped chives or dill. Serve immediately while the sauce remains warm and inviting, showcasing the dish’s rich, creamy elegance.
Notes
- Prevent Lumpy Roux: Whisk flour and garlic powder constantly and vigorously into melted butter to create a smooth, lump-free base for your sauce.
- Control Heat Carefully: Maintain medium heat throughout cooking to prevent milk from scorching and ensure a velvety sauce texture without burning.
- Optimize Vegetable Texture: Add frozen peas at the end of cooking to preserve their bright green color and prevent overcooking, keeping them tender and vibrant.
- Garnish for Maximum Impact: Finish the dish with fresh herbs and a touch of butter just before serving to elevate flavor and create a restaurant-quality presentation.
- Prep Time: 5 minutes
- Cook Time: 10 minutes
- Category: Lunch, Dinner, Side Dish
- Method: Sautéing
- Cuisine: American
Nutrition
- Serving Size: 5
- Calories: 220
- Sugar: 6 g
- Sodium: 300 mg
- Fat: 12 g
- Saturated Fat: 7 g
- Unsaturated Fat: 3 g
- Trans Fat: 0 g
- Carbohydrates: 24 g
- Fiber: 6 g
- Protein: 7 g
- Cholesterol: 40 mg
Jessica Martin
Recipe Developer & Food Writer
Expertise
Recipe Development, Food Styling and Photography, Seasonal and Local Ingredients, Vegetarian and Vegan Cuisine, Culinary Education
Education
Portland Community College
Oregon Culinary Institute
Jessica Martin is a talented food writer and recipe creator who specializes in seasonal cooking and approachable home baking.
Educated at Portland Community College with additional pastry training from Oregon Culinary Institute, Jessica’s culinary journey spans nearly a decade of creating and sharing flavorful recipes.
Her deep appreciation for local ingredients shapes each of her recipes, making them both accessible and inspiring. At Beard and Bonnet, Jessica uses her cheerful, down-to-earth writing to help readers effortlessly bring new tastes and creative dishes into their daily routines.