Rustic Cherry Cobbler Recipe

Irresistible Cherry Cobbler Recipe: Homemade Summer Joy

Southern summers bloom with sweet memories, and this cherry delight cobbler recipe brings nostalgic comfort straight to your table.

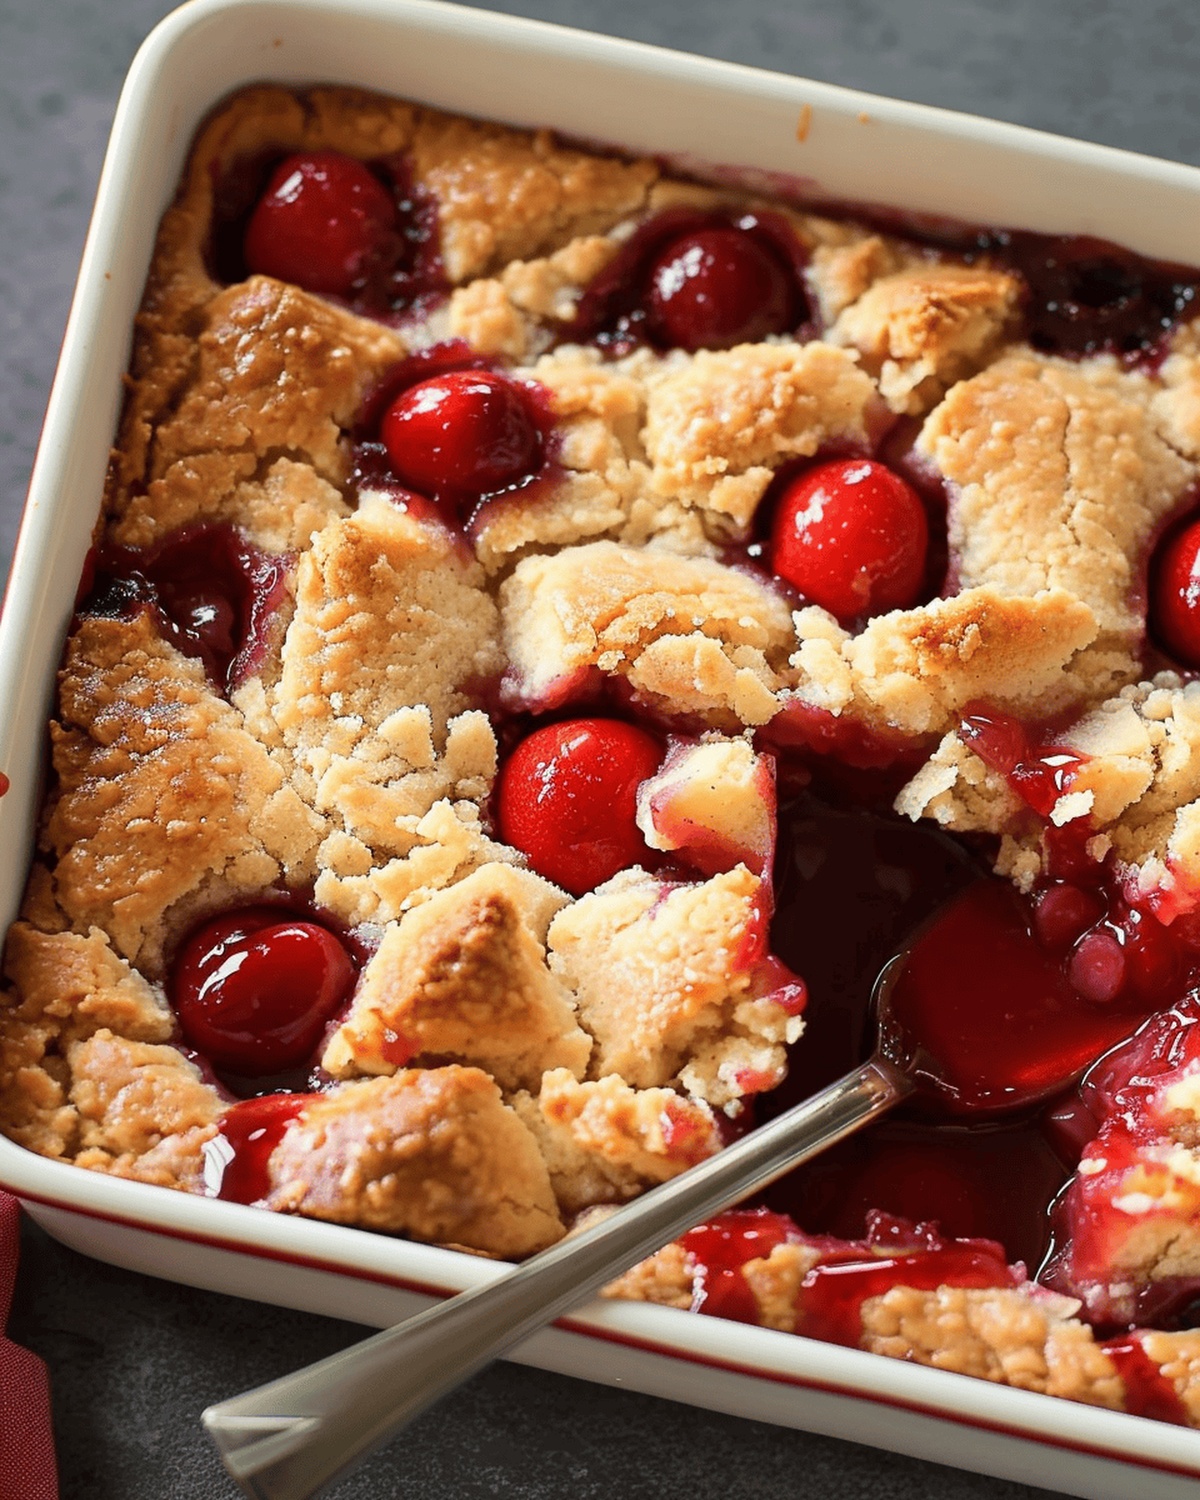
Fresh cherries dance in a buttery, golden crust that melts in your mouth with every warm bite.

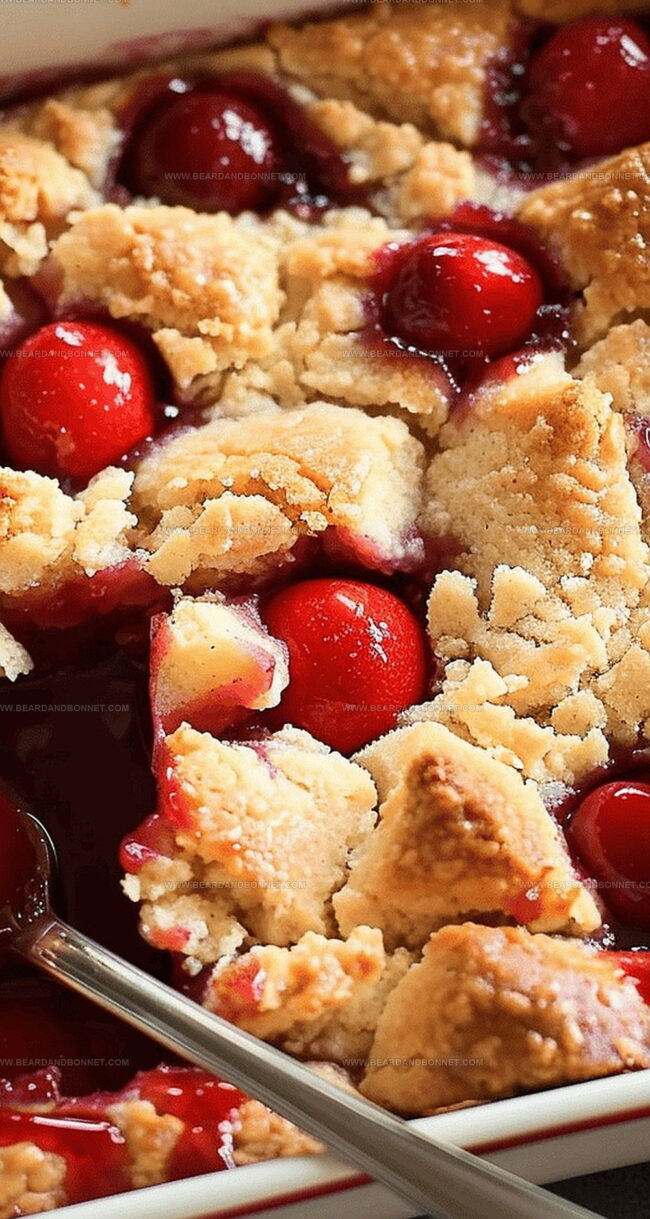
The vibrant ruby-red fruit bubbles beneath a delicate, crisp topping that promises pure dessert bliss.

Ripe cherries picked at peak season create a dessert that sings of sunshine and childhood afternoons.

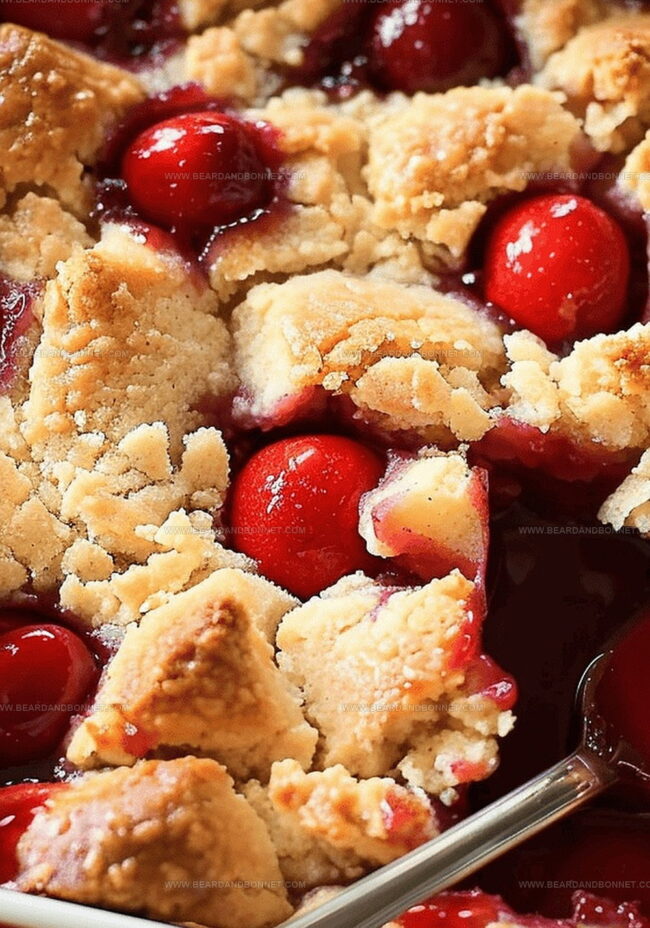
Simple ingredients blend effortlessly to create a rustic, homemade treat that feels both elegant and comforting.

Warm from the oven, this cobbler beckons with its irresistible aroma and promises of delectable satisfaction.

Grab a spoon and savor each heavenly spoonful of this classic Southern dessert.

Quick Recipe Overview

Prep Time: 10 minutes

Cook Time: 60 minutes

Total Time: 1 hour 10 minutes

Calories: 260 kcal

Servings: 9

Cherry Cobbler Ingredient Rundown

For Wet Ingredients:
  • Milk: Creamy liquid that helps bind the batter together, choose whole milk for richer texture.
  • Butter: Provides rich flavor and helps create a golden, crispy bottom layer, use unsalted for better control of saltiness.
For Dry Ingredients:
  • All-Purpose Flour: Fundamental base for creating a tender, soft cobbler crust, select unbleached flour for best results.
  • Sugar: Adds sweetness and helps with caramelization, white granulated sugar works perfectly.
  • Baking Powder: Crucial leavening agent that helps the batter rise and become light and fluffy, check freshness for optimal rising.
For Fruit Topping:
  • Cherry Pie Filling: Delivers vibrant fruity flavor and juicy texture, opt for high-quality canned filling with plump, ripe cherries.

Tools to Prep Cherry Cobbler Fast

  • 9×13-inch baking dish: Essential for baking the cobbler, provides the perfect size and depth for layers.
  • Medium mixing bowl: Crucial for combining dry ingredients and mixing batter smoothly.
  • Measuring cups: Needed for accurately measuring flour, sugar, and milk.
  • Measuring spoons: Helpful for precise baking powder measurement.
  • Wooden spoon or spatula: Perfect for stirring ingredients and gently combining batter.
  • Oven: Necessary for melting butter and baking the cobbler to golden perfection.

Making Cherry Cobbler Without the Fuss

  • Warm Kitchen Preparation

Preheat oven and set the temperature to a cozy 275 degrees. Grab a spacious baking dish and let butter soften and melt inside.

  • Batter Creation

Mix dry ingredients in a medium bowl, creating a smooth powder blend. Slowly introduce milk, stirring gently until ingredients just come together.

  • Layering Magic

Remove the butter-filled dish from oven. Gently pour batter over melted butter without mixing. Spread cherry filling across the surface, allowing layers to form naturally.

  • Baking Transformation

Increase oven temperature to 350 degrees. Let the cobbler bake for about an hour, watching for a beautiful golden brown color emerging across the surface.

  • Cooling and Serving

Remove from oven and let the cobbler rest. The layers will settle and create a delightful dessert perfect for sharing with family and friends.

Tips for Customizing Cherry Cobbler

  • Baking Brilliance: Use room temperature milk to ensure smooth batter consistency and prevent clumping of ingredients.
  • Fruity Flexibility: Swap cherry pie filling with other seasonal fruits like peaches, blueberries, or mixed berries for a delightful twist on the classic recipe.
  • Texture Tricks: For a crispier top, sprinkle a light layer of coarse sugar or sliced almonds before baking to add extra crunch and visual appeal.
  • Serving Suggestions: Elevate this dessert by topping with a scoop of vanilla ice cream or a dollop of whipped cream to create a decadent and refreshing contrast to the warm cobbler.
  • Make-Ahead Magic: Prepare the cobbler in advance and store it covered in the refrigerator for up to 2 days, then reheat in the oven at 325 degrees F for 15-20 minutes before serving to maintain its delicious texture.

Ways to Serve Cherry Cobbler Beautifully

  • Chilled Cherry Comfort: Serve this warm cobbler with a scoop of vanilla ice cream, letting the cold creamy sweetness melt into the hot fruity layers for a delightful temperature contrast.
  • Rustic Brunch Companion: Pair the cobbler with a fresh cup of coffee or herbal tea, creating a perfect weekend morning treat that feels like a warm hug from your kitchen.
  • Elegant Dessert Transformation: Garnish individual servings with a light dusting of powdered sugar or a small sprig of fresh mint to elevate the presentation and add a touch of sophistication to this homestyle dessert.
  • Family-Style Sharing: Present the cobbler directly in its baking dish at the center of the table, encouraging everyone to scoop their own portion and enjoy the communal, heartwarming experience of sharing a freshly baked dessert.

Storing Cherry Cobbler the Easy Way

  • Quick Refrigeration Strategy: Store leftovers in an airtight container in the refrigerator for up to 3-4 days. Cool the cobbler completely before sealing to prevent condensation and maintain its delightful texture.
  • Easy Freezing Technique: Wrap individual portions tightly in plastic wrap, then aluminum foil. Frozen cobbler stays delicious for 2-3 months. Thaw overnight in the refrigerator before reheating.
  • Smart Reheating Method: Warm individual servings in the microwave for 30-45 seconds, or restore the entire dish's crispy top by placing it in a preheated 350°F oven for 10-15 minutes. Add a scoop of vanilla ice cream for extra indulgence.
  • Temperature-Safe Serving Tip: Let the cobbler rest at room temperature for 15-20 minutes after baking. This helps the layers settle and makes cutting and serving much easier, ensuring each slice looks picture-perfect.
Print
clock clock iconcutlery cutlery iconflag flag iconfolder folder iconinstagram instagram iconpinterest pinterest iconfacebook facebook iconprint print iconsquares squares iconheart heart iconheart solid heart solid icon
Rustic Cherry Cobbler Recipe

Rustic Cherry Cobbler Recipe


5 Stars 4 Stars 3 Stars 2 Stars 1 Star

4.6 from 15 reviews

  • Total Time: 1 hour 10 minutes
  • Yield: 9 1x

Description

Grandma’s cherry delight cobbler combines sweet cherries with a buttery, golden crust that melts in your mouth. Home bakers will savor this classic dessert that brings comfort and joy to any gathering.


Ingredients

Scale
  • 1 can (21 oz/595 g) cherry pie filling
  • ½ cup (113 g/4 oz) butter
  • 1 cup white sugar
  • 1 cup milk
  • 1 cup all-purpose flour
  • 1 tsp baking powder

Instructions

  1. Butter Infusion: Preheat oven to 275°F and melt butter directly in a 9×13-inch baking dish, creating a rich foundational layer.
  2. Batter Composition: Whisk flour, sugar, and baking powder in a mixing bowl, then seamlessly incorporate milk until just combined, maintaining a delicate consistency.
  3. Strategic Layering: Pour batter gently over melted butter without stirring, allowing the two elements to coexist naturally in the baking dish.
  4. Cherry Cascade: Evenly spread cherry pie filling across the surface, ensuring complete coverage and promising a vibrant fruity experience.
  5. Thermal Transformation: Increase oven temperature to 350°F and bake for 50-60 minutes, tracking the cobbler’s progression to a golden-brown perfection that signals its complete culinary metamorphosis.

Notes

  • Butter Placement Technique: Pour melted butter into the baking dish before adding batter to create a crispy, golden bottom crust that adds delightful texture.
  • Batter Mixing Tip: Avoid over-mixing the batter to prevent a tough, dense texture; stir just until ingredients are combined for a light, tender result.
  • Temperature Transition: The initial low temperature helps melt butter evenly, while the temperature increase ensures proper baking and caramelization.
  • Filling Distribution Trick: Spread cherry filling gently across the batter without stirring, allowing natural layering that creates beautiful marbling and flavor integration.
  • Prep Time: 10 minutes
  • Cook Time: 60 minutes
  • Category: Desserts
  • Method: Baking
  • Cuisine: American

Nutrition

  • Serving Size: 9
  • Calories: 260
  • Sugar: 20 g
  • Sodium: 250 mg
  • Fat: 12 g
  • Saturated Fat: 7 g
  • Unsaturated Fat: 4 g
  • Trans Fat: 0 g
  • Carbohydrates: 37 g
  • Fiber: 1 g
  • Protein: 3 g
  • Cholesterol: 35 mg
Jessica Martin

Jessica Martin

Recipe Developer & Food Writer

Expertise

Recipe Development, Food Styling and Photography​, Seasonal and Local Ingredients​, Vegetarian and Vegan Cuisine​, Culinary Education​

Education

Portland Community College

  • Degree: Associate of Applied Science in Culinary Arts
  • Focus: Comprehensive training in culinary techniques, kitchen management, and food safety. Gained hands-on experience in preparing diverse cuisines and understanding flavor profiles

Oregon Culinary Institute

  • Program: Baking and Pastry Certificate
  • Focus: Specialized education in baking fundamentals, pastry arts, and dessert presentation. Emphasized creativity and precision in crafting baked goods.​

Jessica Martin is a talented food writer and recipe creator who specializes in seasonal cooking and approachable home baking. 

Educated at Portland Community College with additional pastry training from Oregon Culinary Institute, Jessica’s culinary journey spans nearly a decade of creating and sharing flavorful recipes. 

Her deep appreciation for local ingredients shapes each of her recipes, making them both accessible and inspiring. At Beard and Bonnet, Jessica uses her cheerful, down-to-earth writing to help readers effortlessly bring new tastes and creative dishes into their daily routines.

Leave a Reply

Your email address will not be published. Required fields are marked *

Recipe rating 5 Stars 4 Stars 3 Stars 2 Stars 1 Star