
Indulgent Decadent Chocolate Fudge Pie Recipe for Sweet Cravings
Chocolate lovers rejoice as this decadent chocolate fudge pie recipe promises to tantalize your taste buds with rich, velvety indulgence.
Every forkful delivers an intense chocolate experience that melts seamlessly on your tongue.
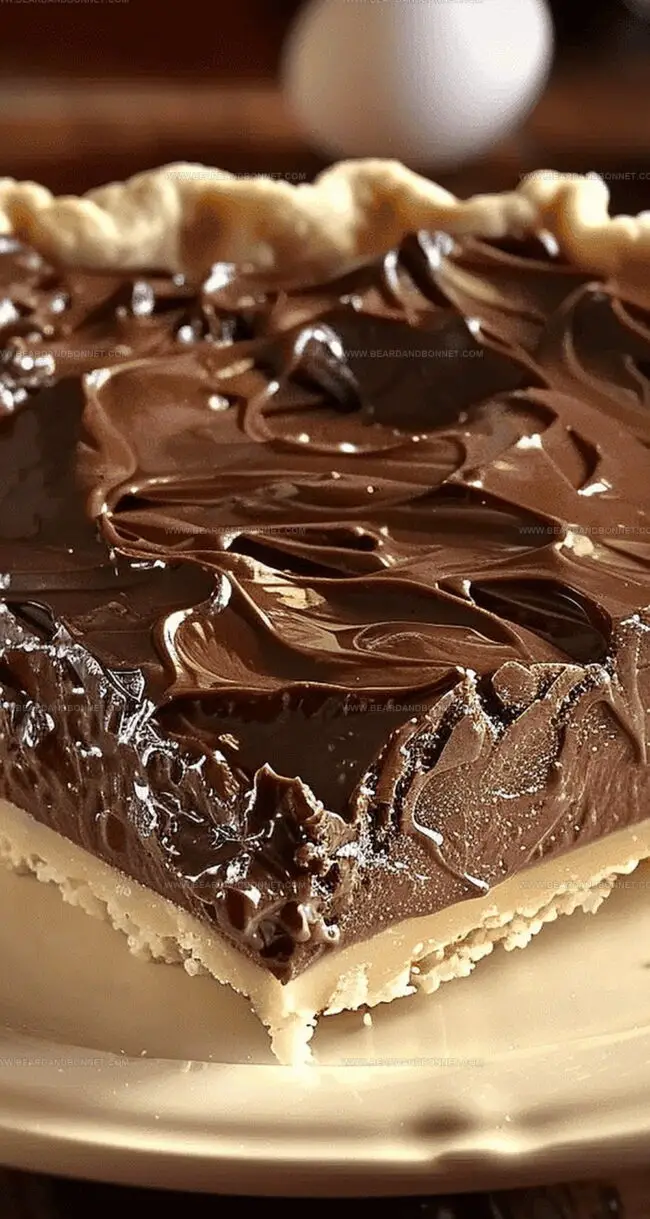
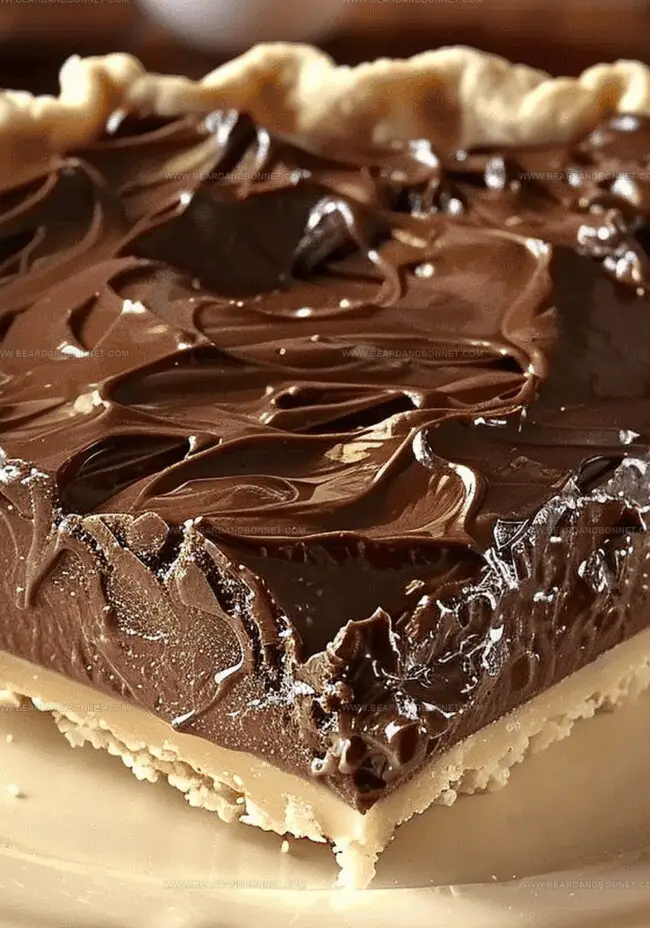
The silky smooth filling nestles perfectly within a buttery, flaky crust that crumbles delicately with each bite.
Layers of deep cocoa flavors create a dessert so luxurious, it feels like a chocolate lover’s ultimate dream.
Dark chocolate mingles with subtle hints of sweetness, creating a balanced and irresistible treat.
This pie transforms an ordinary evening into a spectacular chocolate celebration.
Dive into this heavenly creation and let your senses dance with pure chocolatey bliss.
Quick Recipe Overview
What You’ll Need for Decadent Chocolate Fudge Pie
For Base Ingredients:For Liquid Binding Ingredients:For Dry Mixture Ingredients:Tools That Help You Get That Silky Filling
How to Bake a Gooey Chocolate Fudge Pie
Grab your mixer and whip softened butter with sugar until it transforms into a cloud-like, creamy dream. The key is patience – mix until the texture looks light and airy.
Gently fold eggs and vanilla into the buttery mixture. Use a gentle hand to keep the batter delicate and smooth.
Combine cocoa powder with flour and a pinch of salt. Sift these dry ingredients to eliminate any pesky lumps that might interrupt your pie’s silky texture.
Slowly incorporate the dry ingredients into the wet mixture. Stir with love, creating a rich chocolate landscape in your mixing bowl.
Coat your pie pan with a generous layer of butter or non-stick spray. Pour the luscious batter, spreading it evenly like a chocolate blanket.
Slide the pie into a preheated 350°F oven. Bake for about 35 minutes. Watch for those magical moments – edges should look set while the center maintains a seductive, slight jiggle.
Let the pie rest and cool slightly. Serve warm for a molten chocolate experience or wait until completely cooled for a firmer slice of heaven.
Tips to Avoid Cracks and Keep It Rich
Serving Fudge Pie With a Scoop or Drizzle
How to Store Leftover Fudge Pie Perfectly
Print
Rich Chocolate Fudge Pie Recipe
- Total Time: 50 minutes
- Yield: 9 1x
Description
Rich chocolate fudge pie delights dessert enthusiasts with its intense cocoa flavor and silky ganache filling. Chocolate lovers will savor each luxurious slice, experiencing pure indulgence that satisfies deepest sweet cravings.
Ingredients
- 1 cup (240 ml) sugar
- 1 stick (113 g / 4 oz) butter, softened
- 2 large eggs
- 3 tbsps unsweetened cocoa powder
- ½ cup (60 g) all-purpose flour
- 1 tsp vanilla extract
- 1 tsp salt
Instructions
- Workspace Preparation: Gather an 8-inch pie pan, mixing bowls, and electric mixer. Preheat the oven to 350°F (175°C), establishing an optimal baking atmosphere.
- Base Mixture: Cream butter and sugar using an electric mixer until light, fluffy, and pale, creating a smooth foundational texture.
- Liquid Integration: Delicately fold in eggs and vanilla extract, maintaining the batter’s delicate consistency with gentle mixing techniques.
- Dry Ingredient Preparation: Sift cocoa powder, salt, and flour through a fine mesh strainer, eliminating potential lumps and ensuring a refined dry mixture.
- Batter Composition: Carefully fold dry ingredients into wet mixture using a rubber spatula, blending thoroughly to create a uniform, silky chocolate batter.
- Pan Configuration: Generously grease the pie pan with butter or non-stick spray. Pour the chocolate batter evenly, ensuring consistent depth and smooth surface.
- Baking Process: Place pie in preheated oven and bake for 30-35 minutes. Look for firm edges with a slight center wobble, indicating perfect fudgy consistency.
- Finishing Touch: Remove from oven and let rest, allowing residual heat to complete cooking. Serve warm for a molten experience or fully cooled for a firmer dessert texture.
Notes
- Butter Temperature Matters: Ensure butter is softened but not melted for the perfect creamy base that guarantees a smooth, velvety texture.
- Mixing Technique is Crucial: Avoid overmixing the batter to prevent a tough, dense pie; fold ingredients gently to maintain a light, delicate consistency.
- Oven Placement Impacts Baking: Position the pie in the center rack for even heat distribution, preventing burnt edges or an undercooked center.
- Cooling is Key: Let the pie rest at room temperature to allow proper setting and develop maximum flavor depth, creating a rich, fudgy final result.
- Prep Time: 15 minutes
- Cook Time: 35 minutes
- Category: Desserts
- Method: Baking
- Cuisine: American
Nutrition
- Serving Size: 9
- Calories: 290
- Sugar: 30 g
- Sodium: 180 mg
- Fat: 15 g
- Saturated Fat: 9 g
- Unsaturated Fat: 6 g
- Trans Fat: 0 g
- Carbohydrates: 35 g
- Fiber: 1 g
- Protein: 3 g
- Cholesterol: 60 mg
Jessica Martin
Recipe Developer & Food Writer
Expertise
Recipe Development, Food Styling and Photography, Seasonal and Local Ingredients, Vegetarian and Vegan Cuisine, Culinary Education
Education
Portland Community College
Oregon Culinary Institute
Jessica Martin is a talented food writer and recipe creator who specializes in seasonal cooking and approachable home baking.
Educated at Portland Community College with additional pastry training from Oregon Culinary Institute, Jessica’s culinary journey spans nearly a decade of creating and sharing flavorful recipes.
Her deep appreciation for local ingredients shapes each of her recipes, making them both accessible and inspiring. At Beard and Bonnet, Jessica uses her cheerful, down-to-earth writing to help readers effortlessly bring new tastes and creative dishes into their daily routines.