
The Perfect No-Bake Chocolate Peanut Butter Crunch Bars Recipe
Sweet and addictive no-bake chocolate peanut butter crunch bars combine classic flavors that dance together in delightful harmony.
These no-fuss treats refine simple ingredients into a decadent dessert that satisfies intense cravings.
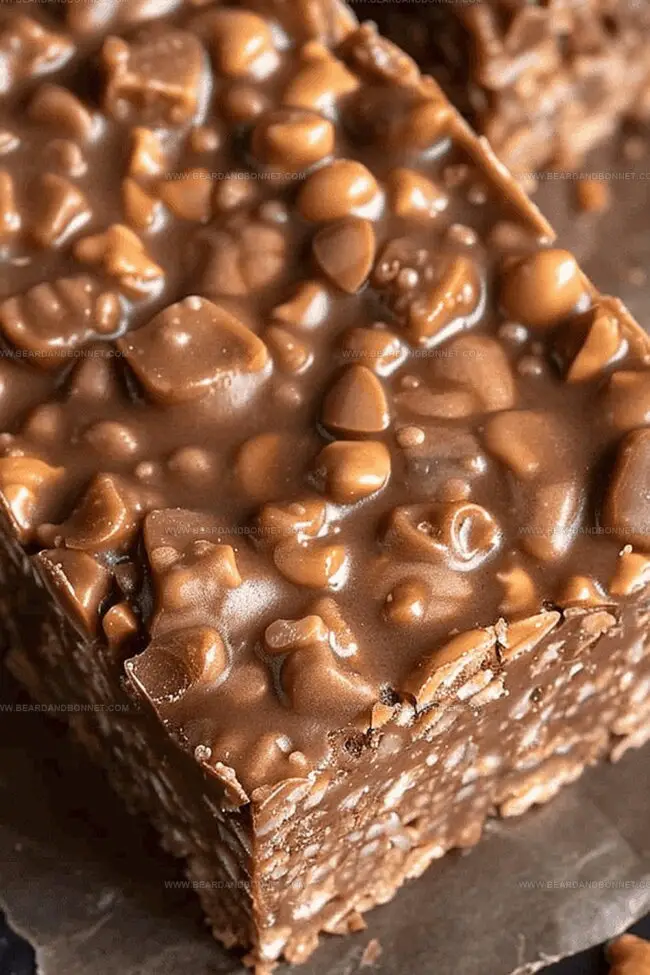
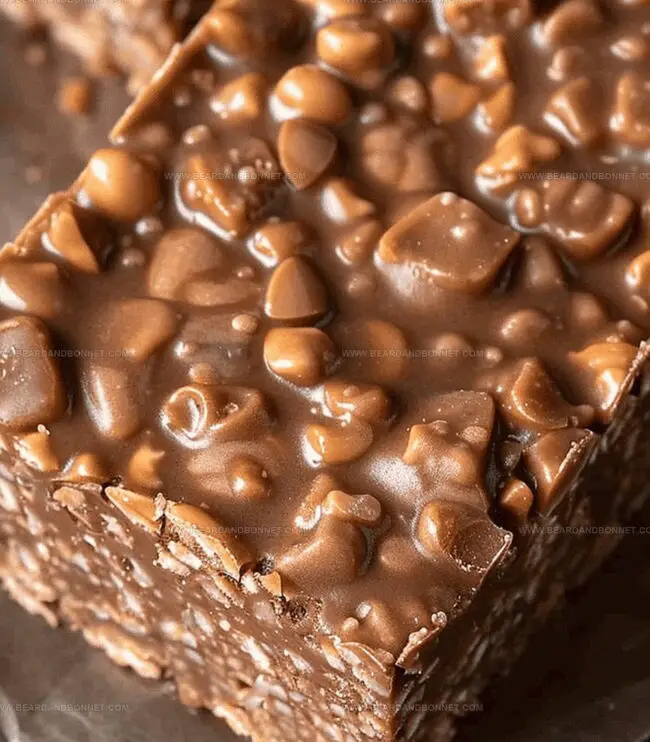
Rich chocolate layers meld perfectly with creamy peanut butter, creating a texture that crackles and melts simultaneously.
Crispy elements add unexpected excitement to each delectable bite, making these bars irresistibly tempting.
Quick assembly means you can whip up this indulgent recipe without ever touching an oven.
Cool kitchen techniques refine basic pantry staples into something extraordinary and crowd-pleasing.
Each bar promises a luxurious experience that balances sweet, salty, and crunchy sensations in one perfect package.
Why No-Bake Chocolate Peanut Butter Crunch Bars Rule
Ingredients You’ll Need for Chocolate PB Crunch Bars
Crunchy Base:Sweet Binding Agents:Flavor Enhancers:Making No-Bake Chocolate Peanut Butter Crunch Bars Easily
Step 1: Prep the Pan
Line an 8 x 8-inch baking dish with parchment paper, allowing extra paper to hang over the sides for easy removal later.
Step 2: Ready the Crunch Base
Pour crispy rice cereal into a spacious mixing bowl, setting it aside for the chocolatey coating.
Step 3: Craft the Dreamy Chocolate Mixture
Gather ingredients:Combine all ingredients in a microwave-safe bowl. Melt the mixture in 30-second intervals, stirring between each interval until completely smooth and glossy.
Step 4: Create Chocolatey Cereal Blend
Pour the warm chocolate mixture over the crispy rice cereal. Gently fold and stir until every single cereal piece is completely coated with the luscious chocolate mixture.
Step 5: Shape the Bars
Transfer the chocolate-coated cereal into the prepared pan. Use a spatula to spread the mixture evenly, pressing down gently to create a compact layer.
Step 6: Chill and Set
Place the pan in the refrigerator for 60-90 minutes. The bars are ready when they’re firm to the touch and hold their shape.
Step 7: Slice and Enjoy
Remove the bars from the refrigerator. Lift the parchment paper and transfer to a cutting board. Slice into square or rectangular pieces using a sharp knife.
Serving Tip: Store in an airtight container in the refrigerator for up to one week. Let the bars sit at room temperature for 5 minutes before serving for the best texture.
Tips to Get That Perfect No-Bake Crunch Bar Texture
Storing Chocolate Peanut Butter Crunch Bars Like a Pro
What to Pair with Crunchy Chocolate Peanut Butter Bars
Creative Add-Ins for PB Crunch Bars
Print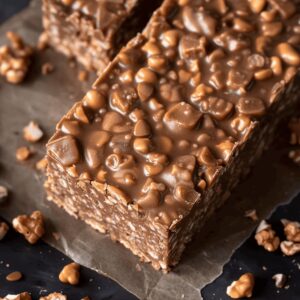
No-Bake Chocolate Peanut Butter Crunch Bars Recipe
- Total Time: 15 minutes
- Yield: 12 1x
Description
Irresistible no-bake chocolate peanut butter crunch bars deliver a heavenly blend of rich chocolate and creamy peanut butter. Crispy rice cereal adds delightful texture, making these quick treats perfect for satisfying sweet cravings without turning on the oven.
Ingredients
Main Ingredients:
- 1 ½ cups (375 ml) chocolate chips
- 1 cup (250 ml) peanut butter
- 3 cups (750 ml) crispy rice cereal
Base/Sweetener Ingredients:
- ½ cup (125 ml) maple syrup
Additional Ingredients:
- ¼ cup (60 ml) coconut oil
Instructions
- Create a foundational base by lining an 8 x 8-inch baking dish with parchment paper, ensuring smooth removal of the bars after setting.
- Empty the crispy rice cereal into a spacious mixing bowl, preparing it for the chocolatey coating.
- Select a microwave-safe container and combine chocolate chips, peanut butter, maple syrup, and coconut oil, carefully melting the ingredients until they transform into a silky, uniform liquid.
- Thoroughly whisk the melted ingredients, ensuring a completely smooth and integrated mixture with no visible separation.
- Gently cascade the molten chocolate-peanut butter blend over the crispy rice cereal, meticulously stirring to achieve comprehensive and even coverage of each cereal piece.
- Methodically transfer the glossy mixture into the parchment-lined baking dish, using a spatula to distribute and level the contents uniformly across the surface.
- Carefully place the prepared dish into the refrigerator, allowing the bars to solidify and set for approximately 60-90 minutes until they reach a firm, sliceable consistency.
- Once fully chilled and hardened, extract the parchment-lined bars from the dish and slice into neat, uniform rectangular portions ready for serving.
Notes
- Sneak a peek into your fridge and grab those simple ingredients waiting to become irresistible treats.
- Melting chocolate and peanut butter creates a silky smooth base that transforms ordinary cereal into extraordinary bars.
- Cold refrigeration works magic, turning liquid mixture into delectable, crispy squares perfect for quick snacking or dessert emergencies.
- Prep Time: 15 minutes
- Cook Time: 0 minutes
- Category: Snacks, Desserts
- Method: None
- Cuisine: American
Nutrition
- Serving Size: 12
- Calories: 220
- Sugar: 12 g
- Sodium: 150 mg
- Fat: 12 g
- Saturated Fat: 6 g
- Unsaturated Fat: 4 g
- Trans Fat: 0 g
- Carbohydrates: 25 g
- Fiber: 1 g
- Protein: 5 g
- Cholesterol: 0 mg
Alex Reed
Founder & Lead Content Writer
Expertise
Recipe Development and Testing, Culinary Education, Food Writing and Blogging, Sustainable Cooking Practices, Global Cuisine Exploration
Education
Johnson & Wales University
Le Cordon Bleu Paris
Alex Reed is an inventive chef and food creator with a passion for dishes that balance taste, health, and sustainability.
Trained at Portland Community College and holding an Advanced Pastry Arts certificate from Oregon Culinary Institute, Alex brings more than 10 years of practical culinary experience to every recipe he develops.
His background uniquely blends traditional cooking skills with modern, mindful eating principles. As the founder of Beard and Bonnet, Alex creates recipes that encourage readers to cook confidently.