Easy No-Bake Rocky Road Bars Recipe: Sweet Treat Magic
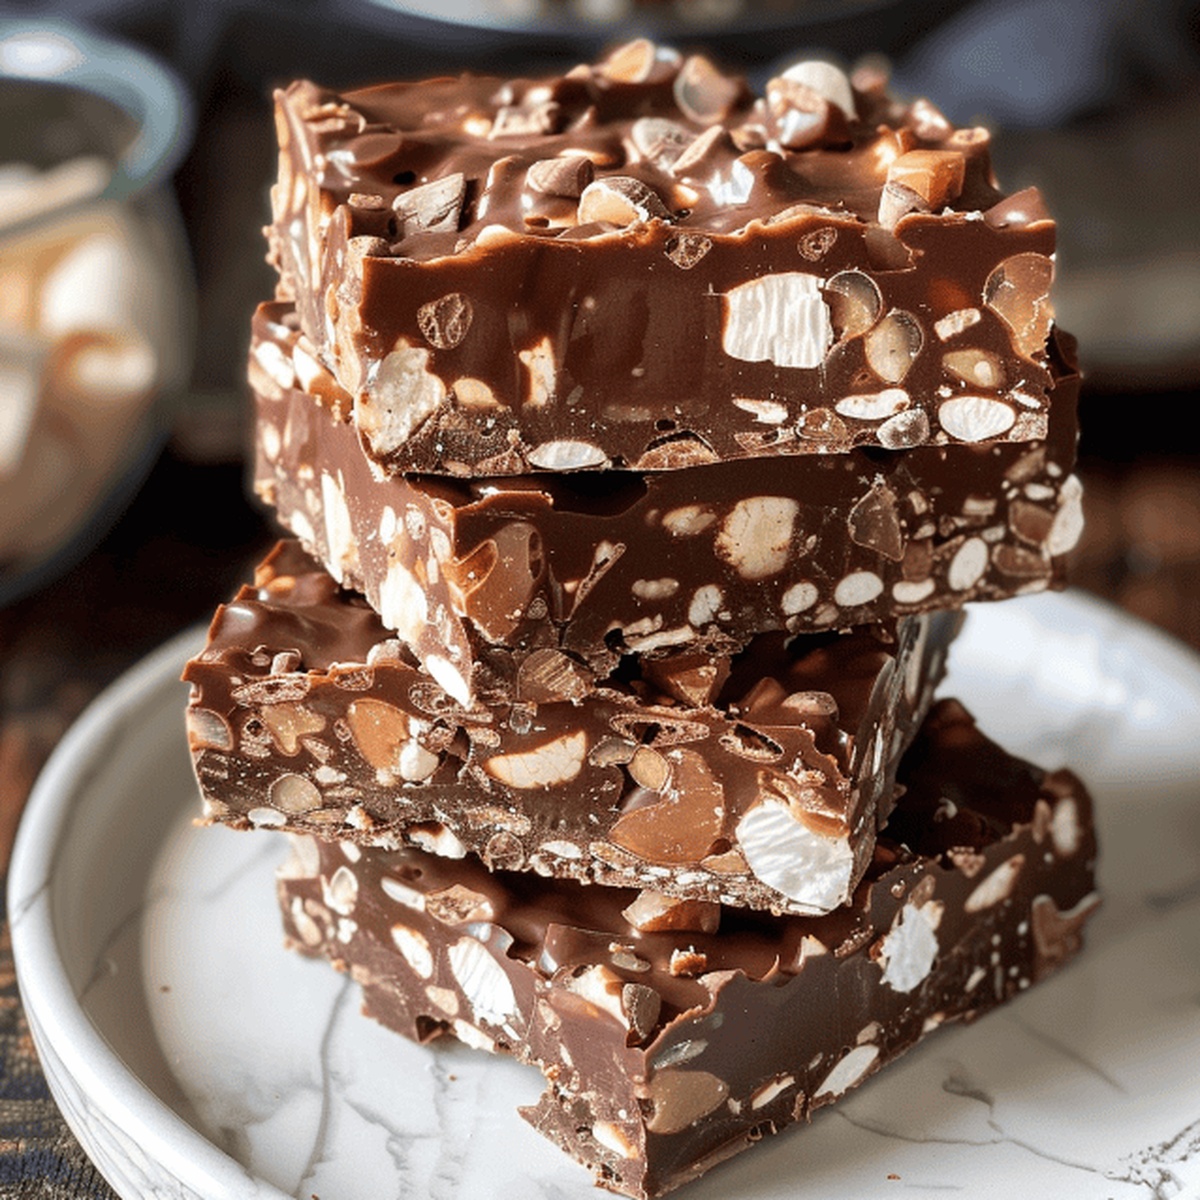
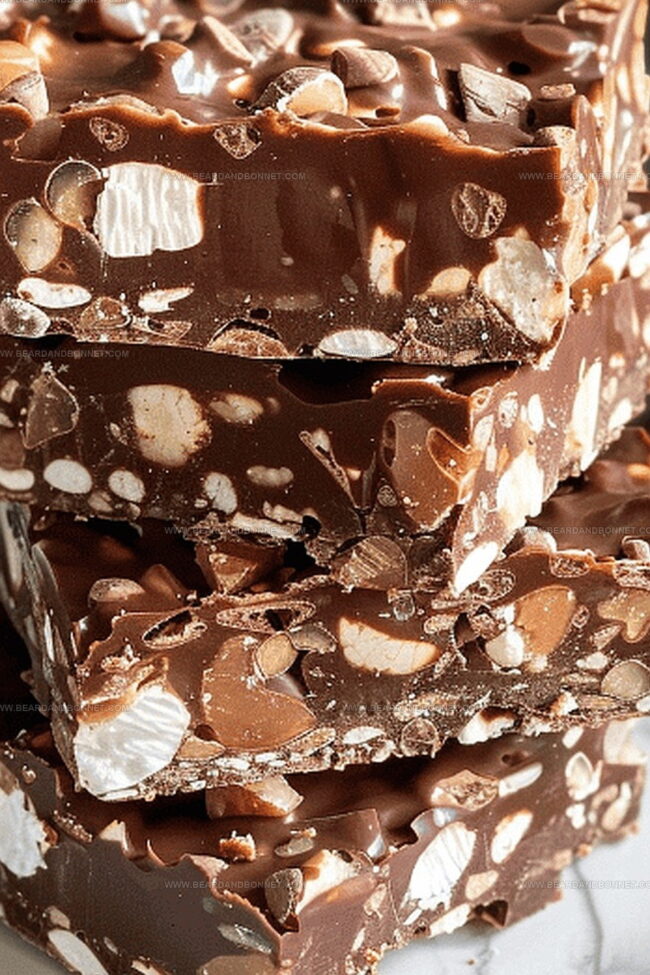
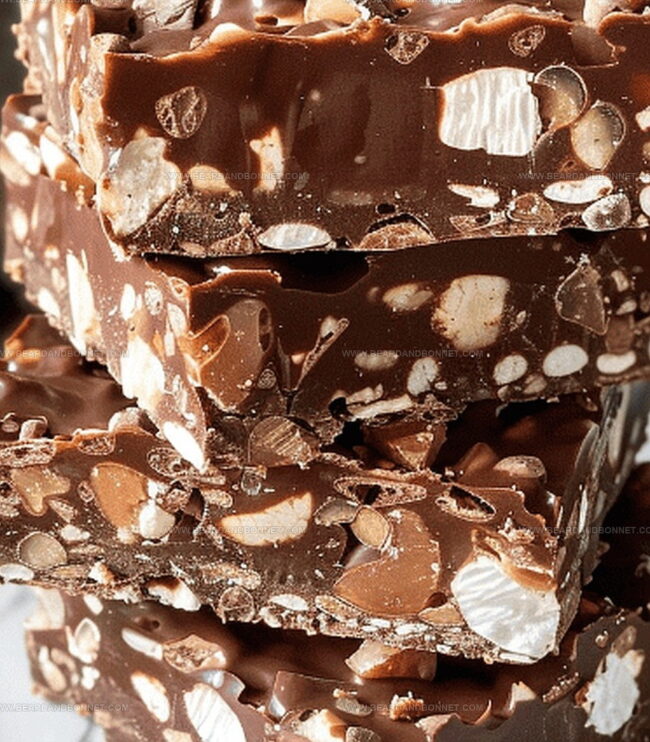
Rocky road bars offer a delightful twist on classic dessert indulgence, blending rich chocolate with unexpected textural surprises.
These no-bake treats enhance simple ingredients into a luxurious confection that melts effortlessly in your mouth.
Sweet chocolate serves as the foundational canvas, creating a smooth backdrop for crunchy mix-ins.
Soft marshmallows and nutty elements weave through the creamy base, creating complex flavor profiles that dance across your palate.
Each bite promises a sensory adventure that challenges traditional dessert expectations.
Cool kitchen techniques merge effortlessly with decadent ingredients, allowing anyone to craft a gourmet-style confection without complex baking skills.
The magic happens quickly, enhanceing basic components into an irresistible sweet experience.
Enjoy No Bake Rocky Road Bars Anytime
Gather Everything for No Bake Rocky Road Bars
Base and Binding Ingredients:Chocolate and Crunch Ingredients:Sweet and Fluffy Ingredient:Assembling No Bake Rocky Road Bars with Ease
Step 1: Prepare The Baking Pan
Grab an 8×8 or 9×9 inch square pan and line it with parchment paper or aluminum foil. Make sure the lining hangs over the edges so you can easily lift out the bars later. Lightly spritz the lining with non-stick cooking spray to prevent sticking.
Ingredients:Step 2: Melt The Chocolate Base
In a large microwave-safe bowl, gather these ingredients:Zap the mixture in the microwave at 45-second intervals on medium power. Stir thoroughly between each interval until everything melts into a silky smooth blend. Let the chocolate mixture cool down for about 5 minutes.
Step 3: Mix In Crunchy Goodness
Toss these ingredients into the cooled chocolate mixture:Stir everything until perfectly combined, creating a delightful texture of crunch and softness.
Step 4: Set And Chill The Bars
Pour the mixture into the prepared pan, making sure to spread it evenly into all corners. Pop the pan into the refrigerator and let it chill for 3 hours until the bars become firm and set.
Step 5: Slice And Serve
Once the bars are completely set, use the parchment paper overhang to lift them out of the pan. Transfer to a cutting board and slice into perfect squares.
Tips for Perfect No Bake Rocky Road Bars
Storing No Bake Rocky Road Bars for Peak Freshness
Pairings That Elevate No Bake Rocky Road Bars
Reinvent No Bake Rocky Road Bars with Unique Additions
Print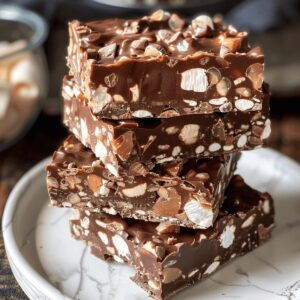
No Bake Rocky Road Bars Recipe
- Total Time: 10 minutes
- Yield: 16 1x
Description
Indulgent no bake rocky road bars promise chocolate bliss with marshmallows and nuts. Creamy, crunchy layers melt together in a delightful dessert you can’t resist enjoying.
Ingredients
Chocolate and Chips:
- 2 cups chocolate chips (milk, semi-sweet, or a combination of both)
Nuts and Nut Butter:
- ¾ cup peanut butter
- ¼ cup unsalted butter, cut into pieces
Base and Topping:
- 1 ½ cups Rice Krispies
- 3 cups mini marshmallows
Instructions
- Prepare the pan by lining an 8×9 inch square baking dish with parchment paper, creating generous overhangs for easy extraction. Lightly coat the paper with non-stick spray to prevent sticking.
- Create a luxurious chocolate base by melting chocolate chips, peanut butter, and butter in a microwave-safe bowl. Heat in short bursts, stirring thoroughly between each interval until the mixture transforms into a silky, uniform liquid.
- Allow the chocolate mixture to cool slightly, bringing the temperature down to prevent marshmallow melting. This brief resting period ensures optimal texture and consistency.
- Gently fold Rice Krispies and marshmallows into the cooled chocolate mixture. Stir carefully to ensure even distribution, coating each crispy morsel and fluffy marshmallow with rich chocolate.
- Transfer the decadent mixture into the prepared pan, using a spatula to spread and press the contents evenly. Smooth the surface to create uniform bars with a professional finish.
- Refrigerate the pan for approximately 3 hours, allowing the bars to solidify completely. The chilling process will transform the mixture into a firm, sliceable treat.
- Once set, carefully lift the bars from the pan using the parchment paper overhangs. Place on a cutting board and slice into precise, bite-sized squares ready for immediate enjoyment.
Notes
- Quick no-bake dessert that combines chocolate, marshmallows, and Rice Krispies into a delightful sweet treat perfect for chocolate lovers.
- Super easy recipe requiring minimal cooking skills, making it ideal for beginners or anyone craving a fast homemade dessert.
- Refrigeration transforms simple ingredients into a decadent, crowd-pleasing bar that delivers rich chocolate flavor and satisfying crunch.
- Prep Time: 10 minutes
- Cook Time: 0 minutes
- Category: Snacks, Desserts
- Method: Blending
- Cuisine: American
Nutrition
- Serving Size: 16
- Calories: 260
- Sugar: 19g
- Sodium: 85mg
- Fat: 15g
- Saturated Fat: 6g
- Unsaturated Fat: 9g
- Trans Fat: 0g
- Carbohydrates: 30g
- Fiber: 1g
- Protein: 4g
- Cholesterol: 10mg
Alex Reed
Founder & Lead Content Writer
Expertise
Recipe Development and Testing, Culinary Education, Food Writing and Blogging, Sustainable Cooking Practices, Global Cuisine Exploration
Education
Johnson & Wales University
Le Cordon Bleu Paris
Alex Reed is an inventive chef and food creator with a passion for dishes that balance taste, health, and sustainability.
Trained at Portland Community College and holding an Advanced Pastry Arts certificate from Oregon Culinary Institute, Alex brings more than 10 years of practical culinary experience to every recipe he develops.
His background uniquely blends traditional cooking skills with modern, mindful eating principles. As the founder of Beard and Bonnet, Alex creates recipes that encourage readers to cook confidently.