Cutting board: For chopping tomatoes, green onions, and olives.
Sharp knife: Helps with precise vegetable cutting.
Measuring cups: Ensures accurate ingredient quantities.
Cheese grater: If using block cheese instead of pre-shredded.
Spatula: Helps spread beans and transfer pizza to serving plate.
Pizza cutter or sharp knife: For slicing the finished taco pizza into squares.
How to Assemble a Flavor-Packed Taco Pizza
Pizza Fiesta
Oven Preparation Warm up your oven to create the perfect cooking environment for this delicious meal.
Meat Magic Brown the ground beef in a sizzling skillet, infusing it with zesty taco seasonings that will make your taste buds dance.
Dough Foundation Spread out the crescent roll dough across your baking pan, creating a golden canvas for your culinary masterpiece.
Crust Creation Bake the dough until it turns a beautiful golden brown, giving you a crispy base for your pizza adventure.
Bean Blanket Smooth out a layer of creamy refried beans across the warm crust, adding a rich and comforting foundation.
Meaty Layer Generously distribute the seasoned beef over the bean surface, creating a flavor-packed landscape.
Cheese Cascade Sprinkle a mountain of shredded cheese to blanket the beef with melty goodness.
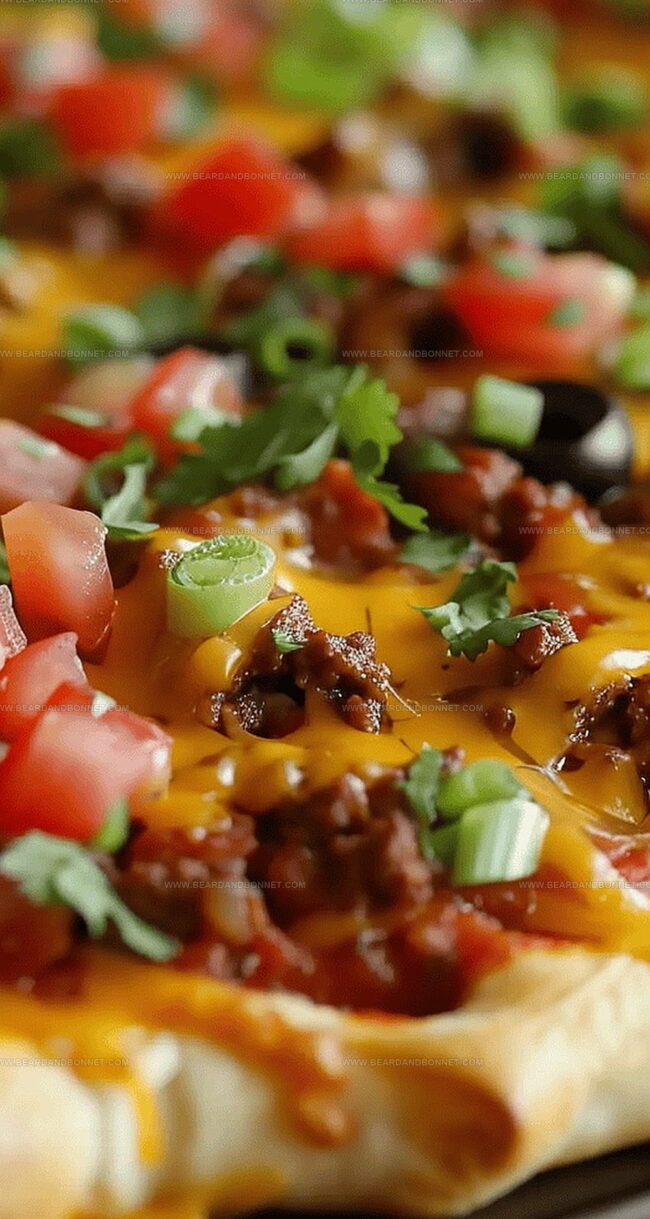
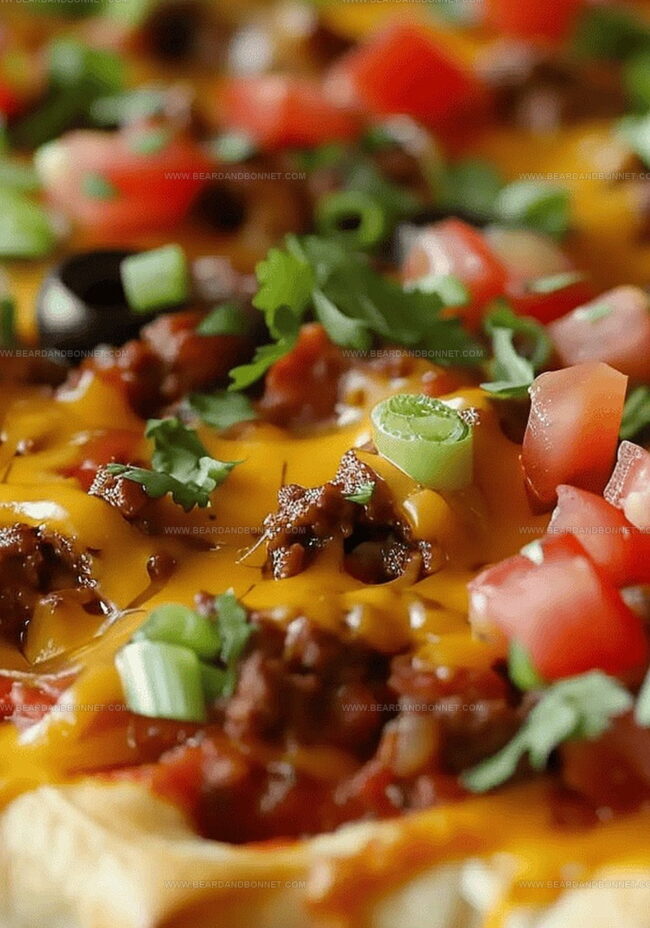
Veggie Confetti Top your creation with a colorful mix of fresh tomatoes, black olives, and green onions for a burst of freshness.
Final Sizzle Return the pizza to the oven, letting the cheese melt into a bubbling masterpiece of deliciousness.
Serving Excitement Let the pizza cool slightly, then slice and serve this crowd-pleasing feast that combines the best of tacos and pizza.
Tricks to Keep It and Foldable
Spice Master’s Tricks: Add extra taco seasoning for a bolder flavor punch that’ll wake up taste buds.
Protein Power Switch: Swap ground beef with ground turkey, chicken, or plant-based crumbles for healthier protein alternatives that still deliver delicious results.
Veggie Boost Hack: Enhance nutritional value by mixing diced bell peppers, corn, or zucchini into the meat layer for extra texture and vitamins.
Crowd-Pleaser Modifications: Create mini individual servings by using smaller baking sheets or personal-sized pans, perfect for parties or kid-friendly meals that everyone will love.
Leftover Magic: Transform remaining taco pizza into cold next-day lunch by cutting into strips and packing with fresh salsa or sour cream for a quick and satisfying meal.
Ways to Serve Roll-Up Pizza to a Crowd
Party Platter Perfect: Slice this taco roll-up pizza into bite-sized squares for easy finger food at game nights, potlucks, or casual gatherings with friends and family.
Fiesta Feast Companion: Pair with fresh salsa, guacamole, or sour cream on the side to enhance the taco pizza’s flavors and provide delicious dipping options for guests.
Balanced Meal Approach: Complement the pizza with a crisp green salad or refreshing coleslaw to balance the rich, hearty flavors and add some lightness to the meal.
Spice It Up Station: Set out extra toppings like jalapeños, hot sauce, or additional chopped herbs so everyone can customize their slice and create their perfect taco pizza experience.
Storing Leftovers Without Sogginess
Fridge Fresh Strategy: Store leftover taco roll-up pizza in an airtight container in the refrigerator for up to 3-4 days. Cover tightly with plastic wrap or aluminum foil to maintain moisture and prevent drying out.
Quick Reheat Technique: Warm individual slices in a preheated oven at 350°F for 8-10 minutes to restore crispy crust and melty cheese. Avoid microwave to prevent soggy texture and maintain original delicious crunch.
Freezer Friendly Option: Wrap individual slices in freezer-safe wrap or place in sealed containers. Freeze for up to 1 month. Thaw overnight in refrigerator before reheating to prevent moisture loss and maintain flavor integrity.
Make-Ahead Magic: Prepare meat and chop toppings in advance. Store separately in refrigerator to assemble pizza quickly during busy weeknights. Ingredients stay fresh for 2-3 days when properly sealed in separate containers.
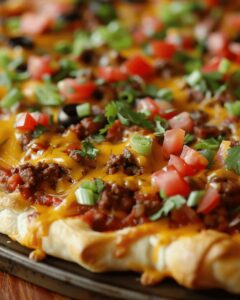
Hearty Mexican-inspired taco roll-up pizza delivers a flavor fusion that combines pizza and taco traditions in one delicious dish. Crispy tortillas, zesty toppings, and melted cheese create a crowd-pleasing meal you can easily enjoy with family and friends.
Ingredients
Scale
1 lb (454 g) ground beef
2–3 cups shredded cheddar cheese or Mexican blend
1 envelope taco seasoning mix
2 (8 oz/226 g) cans Pillsbury crescent rolls
1 (16 oz/454 g) can refried beans
4 chopped green onions
½ cup chopped tomatoes
¼ cup sliced black olives
Instructions
Preheating: Spark the oven to 375°F (190°C), preparing a culinary canvas for the taco roll-up pizza.
Meat Preparation: Sear ground beef in a skillet, browning thoroughly and eliminating excess fat. Infuse with taco seasoning, simmering until liquid evaporates and creating a robust flavor profile.
Crust Foundation: Unfurl crescent roll dough across a jelly roll pan, stretching into a rectangular shape and gently pressing edges upward to form a sturdy base. Bake for 11-13 minutes until golden and crisp.
Layering Technique: Warm refried beans in the microwave, then spread smoothly across the baked crust. Generously scatter seasoned beef over the bean layer, ensuring even distribution.
Cheese and Garnish: Shower the surface with shredded cheese, creating a molten blanket. Sprinkle chopped tomatoes, sliced black olives, and green onions for vibrant color and fresh texture.
Final Bake: Return the assembled pizza to the oven for 3-6 minutes, allowing cheese to melt completely and toppings to heat through. Remove, let rest briefly, then slice into appetizing squares or rectangles for serving.
Notes
Beef Browning Tip: Drain excess fat completely to prevent soggy crust and ensure a crispy texture.
Dough Stretching Technique: Press crescent roll dough firmly into pan edges to create a uniform, stable base that prevents uneven baking.
Cheese Melting Hack: Shred cheese fresh for optimal melting and more vibrant flavor compared to pre-shredded varieties.
Toppings Temperature Trick: Add cold toppings like tomatoes and green onions after baking to maintain their fresh crunch and prevent wilting.
Recipe Development, Food Styling and Photography, Seasonal and Local Ingredients, Vegetarian and Vegan Cuisine, Culinary Education
Education
Portland Community College
Degree: Associate of Applied Science in Culinary Arts
Focus: Comprehensive training in culinary techniques, kitchen management, and food safety. Gained hands-on experience in preparing diverse cuisines and understanding flavor profiles
Oregon Culinary Institute
Program: Baking and Pastry Certificate
Focus: Specialized education in baking fundamentals, pastry arts, and dessert presentation. Emphasized creativity and precision in crafting baked goods.
Jessica Martin is a talented food writer and recipe creator who specializes in seasonal cooking and approachable home baking.
Educated at Portland Community College with additional pastry training from Oregon Culinary Institute, Jessica’s culinary journey spans nearly a decade of creating and sharing flavorful recipes.
Her deep appreciation for local ingredients shapes each of her recipes, making them both accessible and inspiring. At Beard and Bonnet, Jessica uses her cheerful, down-to-earth writing to help readers effortlessly bring new tastes and creative dishes into their daily routines.

Jessica Martin
Recipe Developer & Food Writer
Expertise
Recipe Development, Food Styling and Photography, Seasonal and Local Ingredients, Vegetarian and Vegan Cuisine, Culinary Education
Education
Portland Community College
Oregon Culinary Institute
Jessica Martin is a talented food writer and recipe creator who specializes in seasonal cooking and approachable home baking.
Educated at Portland Community College with additional pastry training from Oregon Culinary Institute, Jessica’s culinary journey spans nearly a decade of creating and sharing flavorful recipes.
Her deep appreciation for local ingredients shapes each of her recipes, making them both accessible and inspiring. At Beard and Bonnet, Jessica uses her cheerful, down-to-earth writing to help readers effortlessly bring new tastes and creative dishes into their daily routines.