Homemade Nesquik Recipe

Homemade Nesquik Recipe: Cozy, Sweet Chocolate Magic

Nesquik powder revolutionizes ordinary milk into a chocolatey delight that sparks nostalgia and comfort.

The rich blend captures childhood memories with its smooth, sweet essence.

Crafting this homemade version allows you to control ingredients and customize flavor intensity.

Each spoonful promises a velvety chocolate experience that rivals store-bought mixes.

The magic happens when simple pantry staples combine to create a nostalgic beverage.

Ingredient quality matters, so select premium cocoa and sugar for maximum deliciousness.

Mixing your own Nesquik means saying goodbye to preservatives and hello to pure, unadulterated chocolate goodness.

Why Homemade Nesquik Is Better Than Store-Bought

  • Whip Up Quick Chocolate Delight: This homemade Nesquik recipe offers an incredibly simple way to create delicious chocolate milk in seconds, perfect for busy mornings or sudden sweet cravings.
  • Customize Your Sweet Treat: Control the sugar content and ingredients by making your own mix, ensuring a healthier alternative to store-bought chocolate milk powders with no artificial additives.
  • Mason Jar Magic: The clever storage method using a mason jar makes mixing and storing the powder super easy, allowing you to shake ingredients thoroughly without any lumps or uneven distribution.
  • Budget-Friendly Chocolate Comfort: Prepare a cost-effective chocolate milk mix with basic pantry ingredients, saving money while enjoying a classic comfort drink that both kids and adults will love.

Ingredients That Make Homemade Nesquik a Winner

Dry Base:
  • Granulated Sugar: Sweet foundation that provides delightful sweetness and helps dissolve easily into drinks.
  • Cocoa Powder: Rich chocolate flavor base with deep, intense cocoa notes that creates the classic chocolate taste.
Optional Enhancer:
  • Salt: Subtle flavor enhancer that balances and deepens the overall chocolate profile, completely optional but recommended for more complex taste.

How to Mix Homemade Nesquik in Minutes

Step 1: Create Chocolate Magic Powder

Carefully pour all ingredients directly into the mason jar, making sure to measure accurately.

Step 2: Mix With Enthusiasm

Seal the jar tightly and shake vigorously for about 30-45 seconds until everything looks perfectly blended with no visible lumps.

Step 3: Prepare Dreamy Chocolate Milk

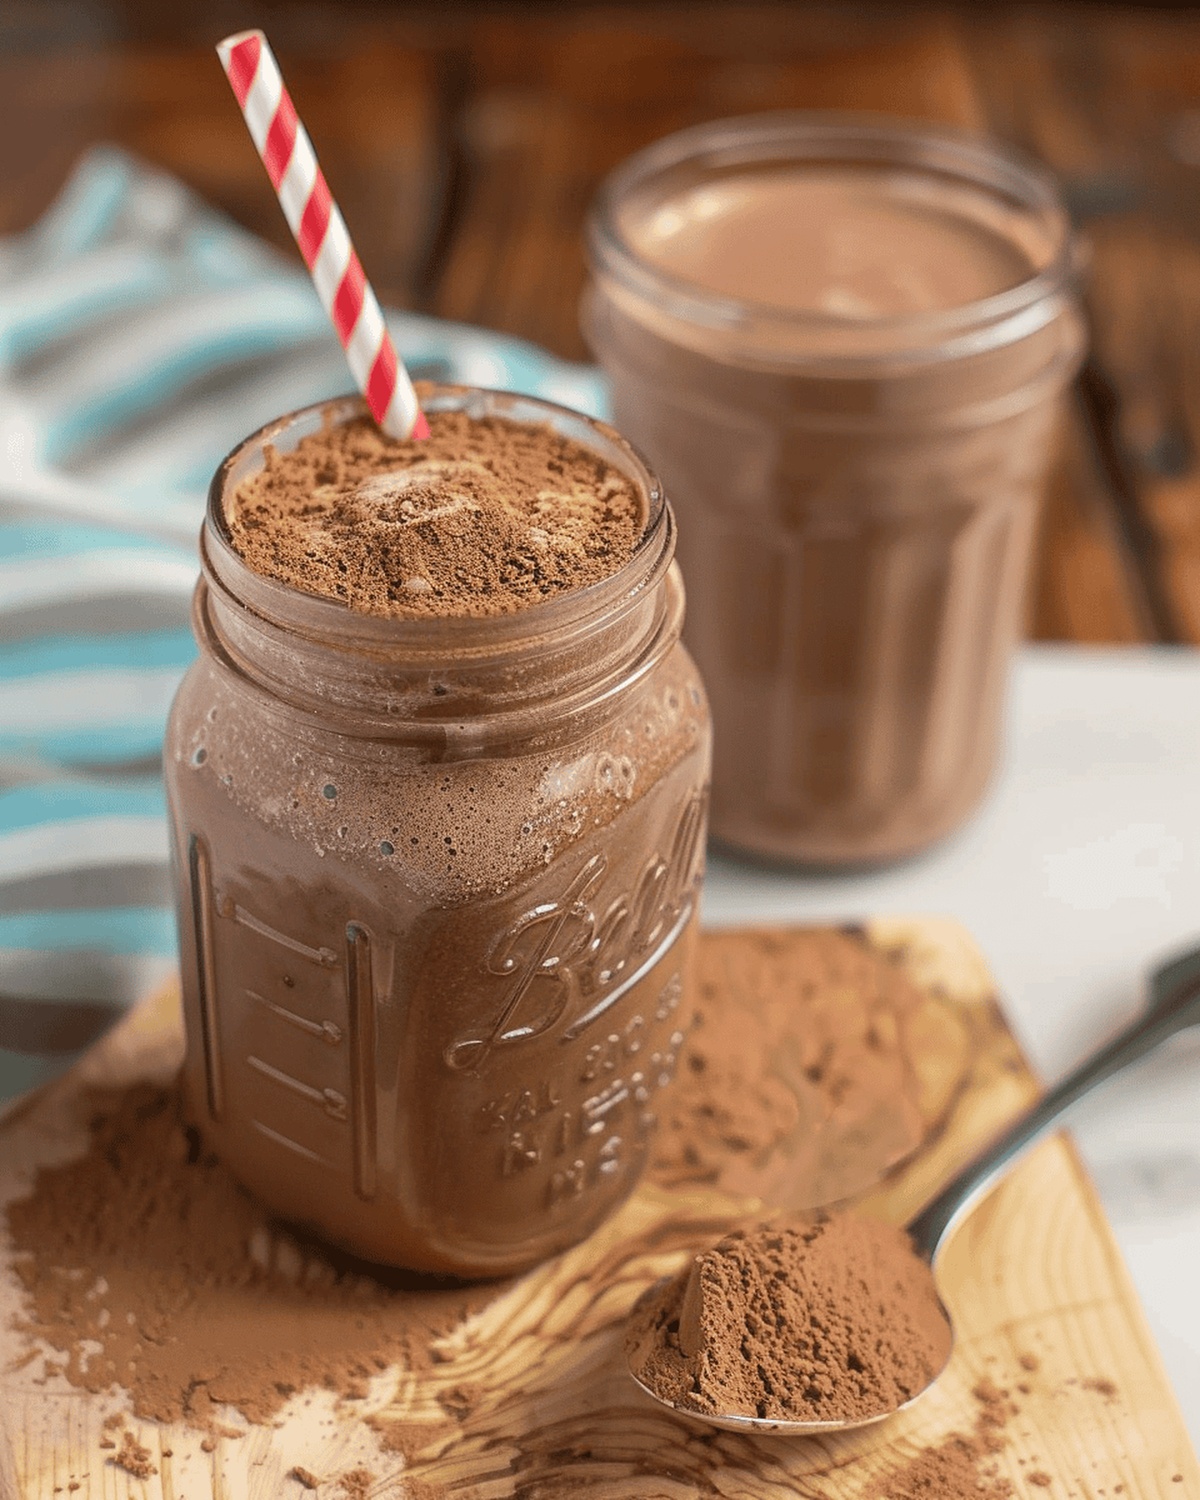
Pour hot water into a tall glass and add a few spoonfuls of your homemade chocolate mix.

Step 4: Stir and Transform

  • Whisk the powder until completely dissolved
  • Add cold milk
  • Stir until smooth and creamy

Step 5: Enjoy Your Delicious Creation

Sip and savor your rich, smooth homemade chocolate milk. Store the remaining powder mix in a sealed container for future chocolate adventures.

Tips for Smooth, Chocolatey Homemade Nesquik

  • Seal Tightly: Use a mason jar with a secure, leak-proof lid to prevent ingredients from spilling during mixing.
  • Customize Sweetness: Adjust sugar quantity to match your preferred level of sweetness, experimenting with less or more to suit your taste.
  • Store Smartly: Keep the homemade Nesquik in an airtight container in a cool, dry pantry for up to 2 months to maintain freshness.
  • Whisk Thoroughly: Shake the jar vigorously or use a small whisk to ensure no cocoa powder clumps remain in the mixture.
  • Boost Flavor: Enhance the chocolate taste by adding a pinch of vanilla powder or cinnamon for a gourmet twist on classic chocolate milk.

How to Keep Your Homemade Nesquik Fresh

  • Refrigerate: Store the Nesquik powder in an airtight container at room temperature for up to 3 months. Keep it away from moisture and direct sunlight to maintain its freshness.
  • Freezing: Transfer the powder to a sealed freezer bag or container. Freeze for extended storage, which can preserve the mix's quality for up to 6 months.
  • Reheating Chocolate Milk: Warm the prepared chocolate milk gently in the microwave for 30-45 seconds, stirring halfway through to ensure even heating. Check the temperature before drinking to avoid scalding.

Drinks and Treats That Go with Homemade Nesquik

  • Pair with Classic Comfort: Serve this homemade Nesquik alongside warm chocolate chip cookies for a nostalgic treat that brings back childhood memories.
  • Enhance with Breakfast Classics: Enjoy your chocolate milk with buttery toast, fluffy pancakes, or crispy waffles for a morning indulgence that satisfies sweet cravings.
  • Complement with Afternoon Snacks: Match the chocolate milk with crunchy graham crackers, soft banana bread, or nutty almond biscotti for a delightful mid-day pick-me-up.
  • Elevate with Dessert Companions: Sip alongside rich brownies, creamy cheesecake, or a scoop of vanilla ice cream to create a decadent dessert experience that celebrates chocolate's versatility.

Fun Flavored Variations of Homemade Nesquik

  • Tropical Cocoa Boost: Blend in dried coconut flakes and a pinch of ground cinnamon for a warm, island-inspired flavor profile that transforms your chocolate milk experience.
  • Protein Power Mix: Incorporate vanilla protein powder and ground almonds to create a nutritious, muscle-building chocolate milk supplement perfect for post-workout recovery.
  • Mocha Morning Blend: Add instant espresso powder and a touch of brown sugar to craft a rich, coffee-infused chocolate milk that kickstarts your morning with deep, complex flavors.
  • Wellness Wellness Blend: Mix in ground turmeric, a dash of black pepper, and a hint of honey for an anti-inflammatory chocolate milk that supports overall health and provides a gentle energy boost.
Print
clock clock iconcutlery cutlery iconflag flag iconfolder folder iconinstagram instagram iconpinterest pinterest iconfacebook facebook iconprint print iconsquares squares iconheart heart iconheart solid heart solid icon
Homemade Nesquik Recipe

Homemade Nesquik Recipe


5 Stars 4 Stars 3 Stars 2 Stars 1 Star

4.7 from 9 reviews

  • Total Time: 5 minutes
  • Yield: 16 1x

Description

Homemade Nesquik delivers pure chocolate bliss with minimal ingredients and maximum flavor. Quick and simple chocolate milk mix brings nostalgic childhood memories right to your kitchen, inviting you to savor each delightful sip.


Ingredients

Scale

Main Ingredients:

  • ⅔ cup (80 grams) cocoa powder
  • 1 ⅓ cup (267 grams) granulated sugar

Flavor Enhancers:

  • 1/8 teaspoon salt (optional)

Instructions

  1. Gather a clean mason jar with a tight-fitting lid to create your personalized chocolate powder blend.
  2. Carefully measure and pour the dry ingredients directly into the jar, ensuring each component is added precisely.
  3. Seal the jar securely and engage in a vigorous shaking motion, rotating the container in multiple directions to guarantee uniform distribution of cocoa, sugar, and salt.
  4. When preparing your chocolate milk, select a tall glass and add a small amount of hot water to help dissolve the powder effectively.
  5. Sprinkle the desired quantity of homemade chocolate mix into the warm water, using a spoon to stir until the powder completely integrates and creates a smooth, rich base.
  6. Gently pour cold milk over the dissolved mixture, allowing the chocolate essence to meld seamlessly with the liquid.
  7. Whisk the beverage thoroughly to ensure a consistent chocolate flavor throughout, eliminating any potential powder clumps.
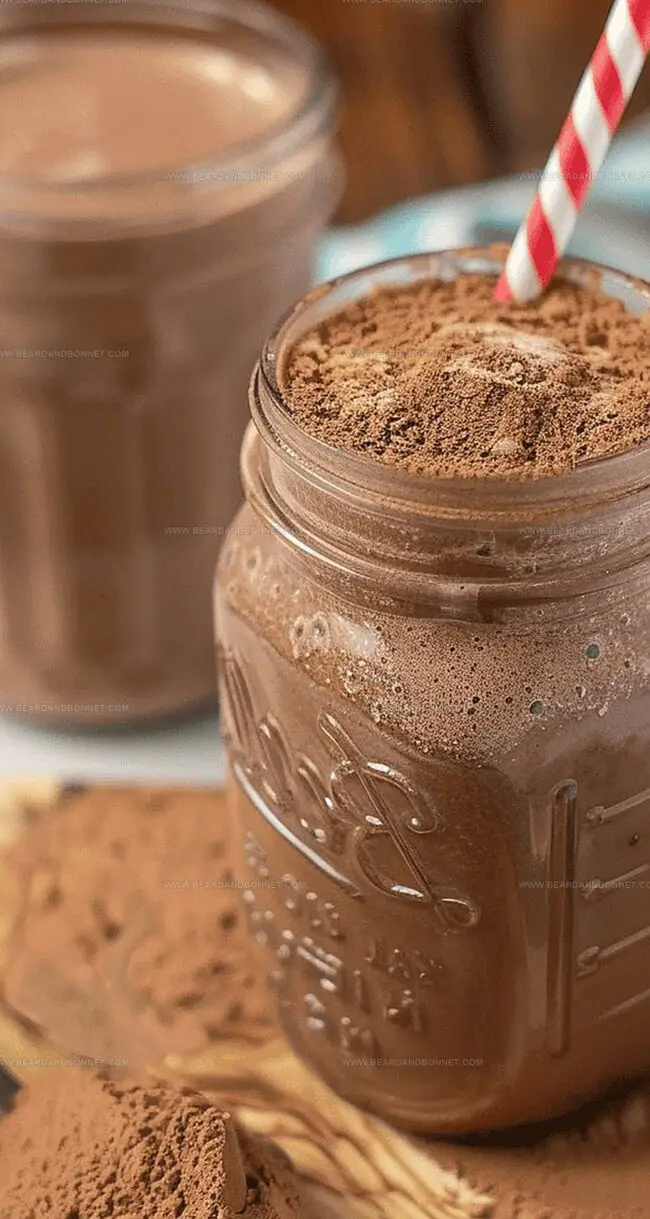
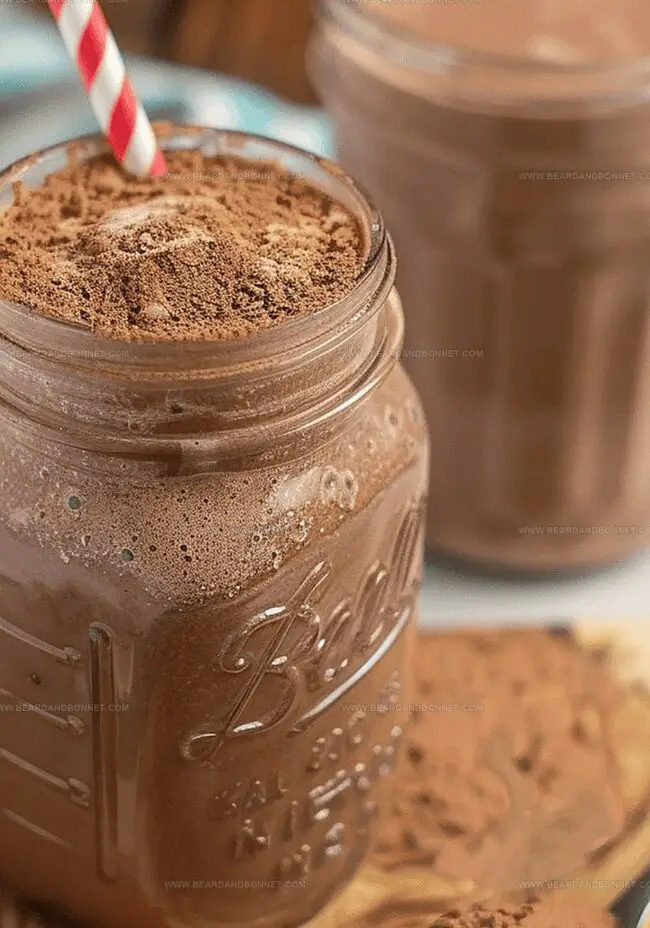
  8. Optional: For an extra indulgent experience, consider adding a light dusting of cocoa powder on top or a small marshmallow to enhance your homemade chocolate milk.

Notes

  • Customize your chocolate milk mix by adjusting cocoa powder for richer or milder flavor intensity.
  • Store in an airtight container for up to two months, ensuring freshness and convenient quick preparation.
  • Experiment with alternative sweeteners like stevia or monk fruit for a lower-sugar version that still delivers delightful chocolatey goodness.
  • Prep Time: 5 minutes
  • Category: Drinks, Snacks
  • Method: Blending
  • Cuisine: American

Nutrition

  • Serving Size: 16
  • Calories: 104
  • Sugar: 19 g
  • Sodium: 0.01 g
  • Fat: 2 g
  • Saturated Fat: 1 g
  • Unsaturated Fat: 1 g
  • Trans Fat: 0 g
  • Carbohydrates: 24 g
  • Fiber: 3 g
  • Protein: 2 g
  • Cholesterol: 0 mg
Alex Reed

Alex Reed

Founder & Lead Content Writer

Expertise

Recipe Development and Testing​, Culinary Education​, Food Writing and Blogging​, Sustainable Cooking Practices, Global Cuisine Exploration

Education

Johnson & Wales University

  • Degree: Bachelor of Science in Culinary Arts
  • Focus: Comprehensive training in classical and contemporary cooking techniques, kitchen management, and menu development. Emphasized hands-on experience in diverse culinary traditions.​

Le Cordon Bleu Paris

  • Program: Diplôme de Cuisine
  • Focus: Advanced instruction in French culinary techniques, including sauce preparation, pâtisserie, and haute cuisine.​

Alex Reed is an inventive chef and food creator with a passion for dishes that balance taste, health, and sustainability. 

Trained at Portland Community College and holding an Advanced Pastry Arts certificate from Oregon Culinary Institute, Alex brings more than 10 years of practical culinary experience to every recipe he develops. 

His background uniquely blends traditional cooking skills with modern, mindful eating principles. As the founder of Beard and Bonnet, Alex creates recipes that encourage readers to cook confidently.

Leave a Reply

Your email address will not be published. Required fields are marked *

Recipe rating 5 Stars 4 Stars 3 Stars 2 Stars 1 Star