Irresistibly Sweet Homemade Crunch Bars Recipe
Sweet cravings for homemade crunch bars often strike when least expected, sending taste buds into a nostalgic dance of delight.
Crisp, chocolatey goodness represents more than just a simple treat – it’s a journey of culinary creativity and personal satisfaction.
Crafting these delectable morsels crafts ordinary ingredients into an extraordinary sensory experience that connects childhood memories with adult kitchen skills.
Each carefully constructed layer promises a symphony of textures that crackle and melt simultaneously.
Rich chocolate combined with unexpected ingredients creates a magical blend of comfort and excitement for anyone seeking a delightful homemade indulgence.
Minimal kitchen equipment and straightforward techniques make this recipe accessible to bakers of all skill levels.
The magic happens when passion meets precision in your own kitchen.
Make Homemade Crunch Bars in Your Kitchen
Essentials for Homemade Crunch Bars
Chocolate Base:Crispy Element:Seasoning:Creating Crisp Layers in Homemade Crunch Bars
Step 1: Prepare the Baking Surface
Grab an 8×8 inch baking dish and line it with parchment paper. Make sure the paper hangs over the sides- this will be your secret weapon for easy bar removal later.
Step 2: Melt the Chocolate Magic
Gather your ingredients:In a microwave-safe bowl, combine the chocolate chips and coconut oil. Zap the mixture in 30-second bursts, stirring between each interval. Keep going until the chocolate transforms into a silky, smooth river of deliciousness.
Step 3: Season and Mix
Sprinkle a pinch of salt into the melted chocolate to enhance the flavor. Then gently fold in the Rice Krispies cereal, ensuring each crispy morsel gets a luxurious chocolate coating.
Step 4: Create the Chocolate Layer
Pour the chocolatey cereal mixture into your prepared baking dish. Use a spatula to spread it evenly, creating a smooth, tempting surface.
Step 5: Cool and Set
Let the bars chill at room temperature for about 20 minutes. Then slide the dish into the refrigerator for 40 to 60 minutes. You’re looking for that perfect firm chocolate consistency.
Step 6: Slice and Serve
Once set, lift the entire bar out using the parchment paper overhang. Transfer to a cutting board and slice into 10 even bars (or whatever size makes you happy).
Kitchen Wisdom
Pro Tips
Nutrition Snapshot
Crunch bars aren’t just a snack- they’re a moment of pure chocolate bliss you’ve created with your own hands. Each bite tells a story of simplicity, creativity, and deliciousness!
Secrets for Crunchy Homemade Treats
Storing Homemade Crunch Bars for Crunchiness
Pairings That Complement Homemade Crunch Bars
Give Homemade Crunch Bars a Fun Twist
Print
Homemade Crunch Bars Recipe
- Total Time: 10 minutes
- Yield: 12 1x
Description
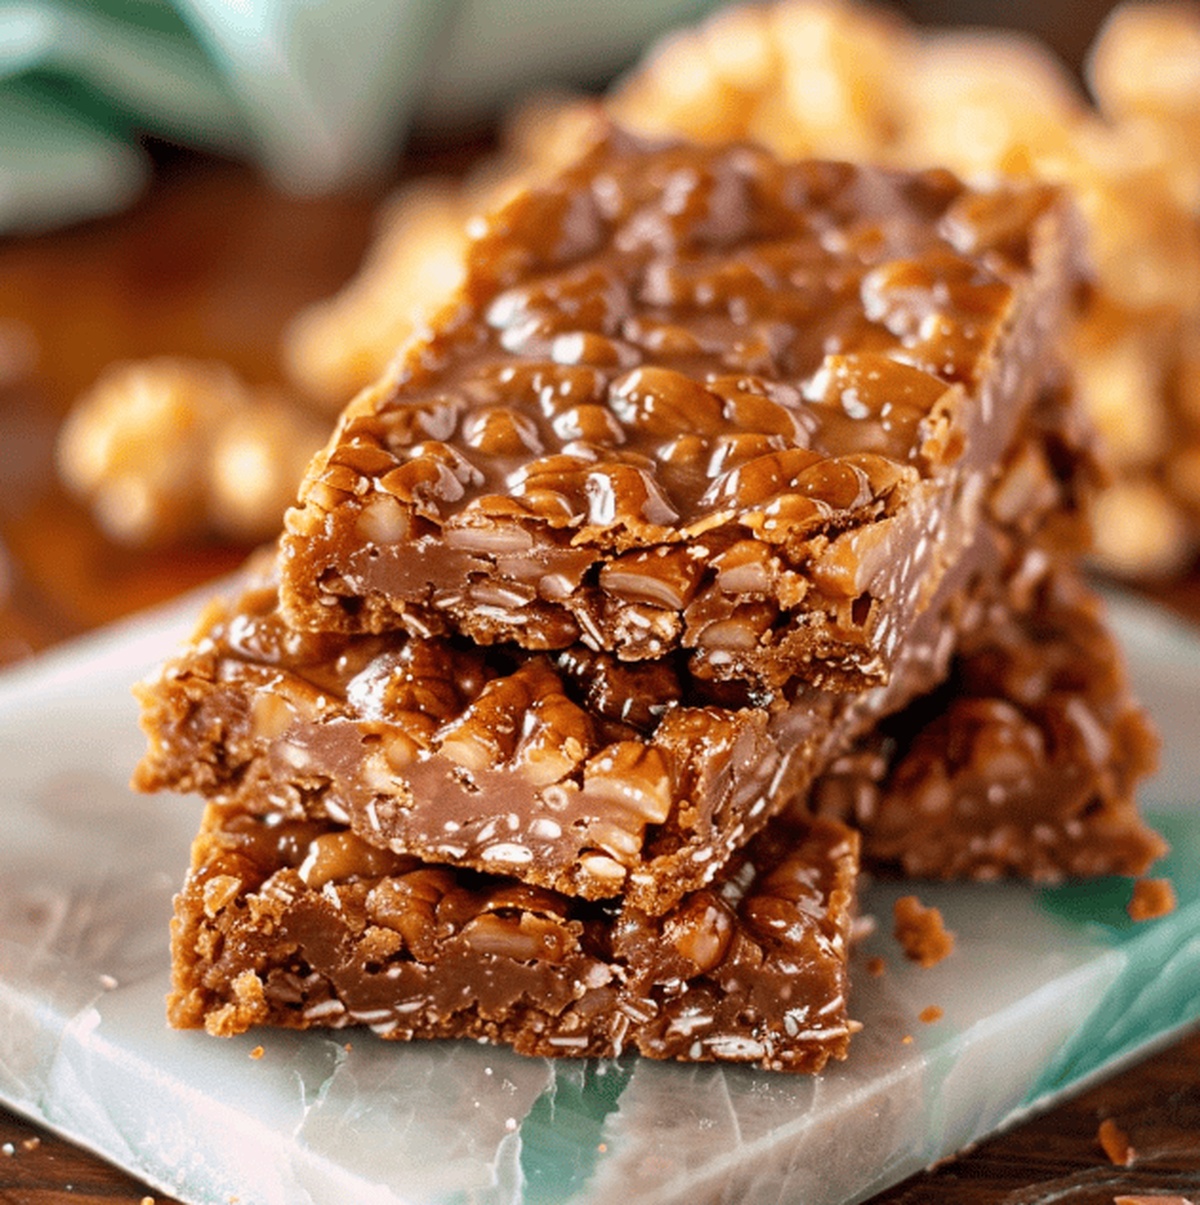
Homemade crunch bars deliver chocolate-covered nostalgia with crispy rice cereal nestled in smooth milk chocolate. Crafted from simple ingredients, these irresistible treats will transport you to childhood memories with each delightful, crisp bite.
Ingredients
Main Ingredients:
- 2 cups (473 ml) milk chocolate chips
- 1 ½ cups (36 g) Rice Krispies cereal
Supporting Ingredients:
- 1 tablespoon (15 ml) coconut oil
- ¼ teaspoon (1.5 g) salt
Instructions
- Prepare the foundation for your crunch bars by lining an 8×8 inch baking dish with parchment paper, ensuring ample overhang for easy extraction later.
- Create a silky chocolate base by melting milk chocolate chips and coconut oil in a microwave-safe bowl, stirring thoroughly between 30-second intervals until the mixture achieves a completely smooth consistency.
- Enhance the chocolate mixture with a pinch of salt, then gently incorporate Rice Krispies cereal, ensuring each crisp piece becomes thoroughly enrobed in the molten chocolate.
- Carefully spread the chocolate-coated cereal mixture into the prepared baking dish, using a spatula to craft an even, uniform layer that promises a perfect crunch in every bite.
- Allow the confection to rest at room temperature for approximately 20 minutes, then transfer to the refrigerator for 40-60 minutes, letting the chocolate solidify into a delectable, firm texture.
- Once the bars have set completely, leverage the parchment paper overhang to lift the entire slab onto a cutting board with precision.
- Transform the chocolate slab into individual treats by slicing into 10 uniform bars or squares, tailoring the size to your preference.
- Indulge in the fruits of your labor, savoring the homemade crunch bars that blend rich chocolate with satisfying crispy textures.
Notes
- Unleash your inner chocolate artist with this ridiculously easy homemade crunch bar recipe that transforms simple ingredients into a decadent treat.
- Chocolate lovers will go crazy for these bars that deliver a satisfying crispy texture and rich, smooth chocolate in every single bite.
- Perfect for meal prep, gifting, or satisfying sudden sweet cravings without complicated cooking techniques.
- Prep Time: 10 minutes
- Cook Time: 0 minutes
- Category: Snacks, Desserts
- Method: Baking
- Cuisine: American
Nutrition
- Serving Size: 12
- Calories: 190
- Sugar: 14 g
- Sodium: 30 mg
- Fat: 9 g
- Saturated Fat: 5 g
- Unsaturated Fat: 4 g
- Trans Fat: 0 g
- Carbohydrates: 27 g
- Fiber: 0 g
- Protein: 2 g
- Cholesterol: 1 mg
Alex Reed
Founder & Lead Content Writer
Expertise
Recipe Development and Testing, Culinary Education, Food Writing and Blogging, Sustainable Cooking Practices, Global Cuisine Exploration
Education
Johnson & Wales University
Le Cordon Bleu Paris
Alex Reed is an inventive chef and food creator with a passion for dishes that balance taste, health, and sustainability.
Trained at Portland Community College and holding an Advanced Pastry Arts certificate from Oregon Culinary Institute, Alex brings more than 10 years of practical culinary experience to every recipe he develops.
His background uniquely blends traditional cooking skills with modern, mindful eating principles. As the founder of Beard and Bonnet, Alex creates recipes that encourage readers to cook confidently.