Homemade Chicago-Style Bakery Apple Squares Recipe: Buttery Bliss
Sweet memories of midwest bakeries come alive with these delectable Chicago-style bakery apple squares that melt in your mouth.
Generations of home cooks have perfected this classic dessert with simple ingredients and pure comfort.
Crisp apples and a buttery crust create a harmonious blend of flavors that dance across your palate.
Layers of tender fruit nestled between golden pastry promise a delightful treat for any occasion.
The aroma of cinnamon and freshly baked dough will draw everyone to the kitchen.
Each square tells a story of traditional baking passed down through loving hands.
You’ll want to savor every single bite of this irresistible midwestern delight.
Quick Recipe Overview
Ingredients Needed to Bake Chicago-Style Apple Squares
For The Crust:For The Filling:For The Glaze:What You’ll Need to Make Chicago Apple Squares Like a Bakery
How to Bake Chicago-Style Bakery Apple Squares at Home
Buttery Apple Comfort Squares
Mix dry ingredients in a spacious mixing bowl. Grate cold butter into delicate shreds, blending softly until crumbly. Splash in icy water, working mixture until it forms a cohesive texture without becoming overly sticky.
Tenderly shape dough on a flour-dusted surface. Divide into two equal portions. Gently flatten each section into rectangular shapes. Wrap carefully in plastic wrap and nestle in refrigerator for a relaxed 30-minute chill.
Unfold first dough rectangle into a generously sized baking pan. Spread apple filling across surface with smooth, even strokes. Drape second dough rectangle over filling, creating a cozy blanket. Lovingly pinch edges together and create delicate steam vents.
Slide pan into preheated oven at 400°F. Bake until surface turns a golden, sun-kissed hue, approximately 40 minutes. Allow square to rest and cool on wire rack.
Whip together powdered sugar, soft butter, vanilla, and milk into a silky glaze. Generously spread across cooled pastry, letting it set into a delightful sweet finish.
Apple Square Tips, Tricks & Simple Variations
Serving Up Those Iconic Chicago-Style Apple Squares
Keep Chicago Apple Squares Fresh After Baking
Print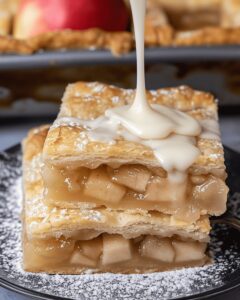
Homemade Chicago-Style Bakery Apple Squares Recipe
- Total Time: 1 hour
- Yield: 13 1x
Description
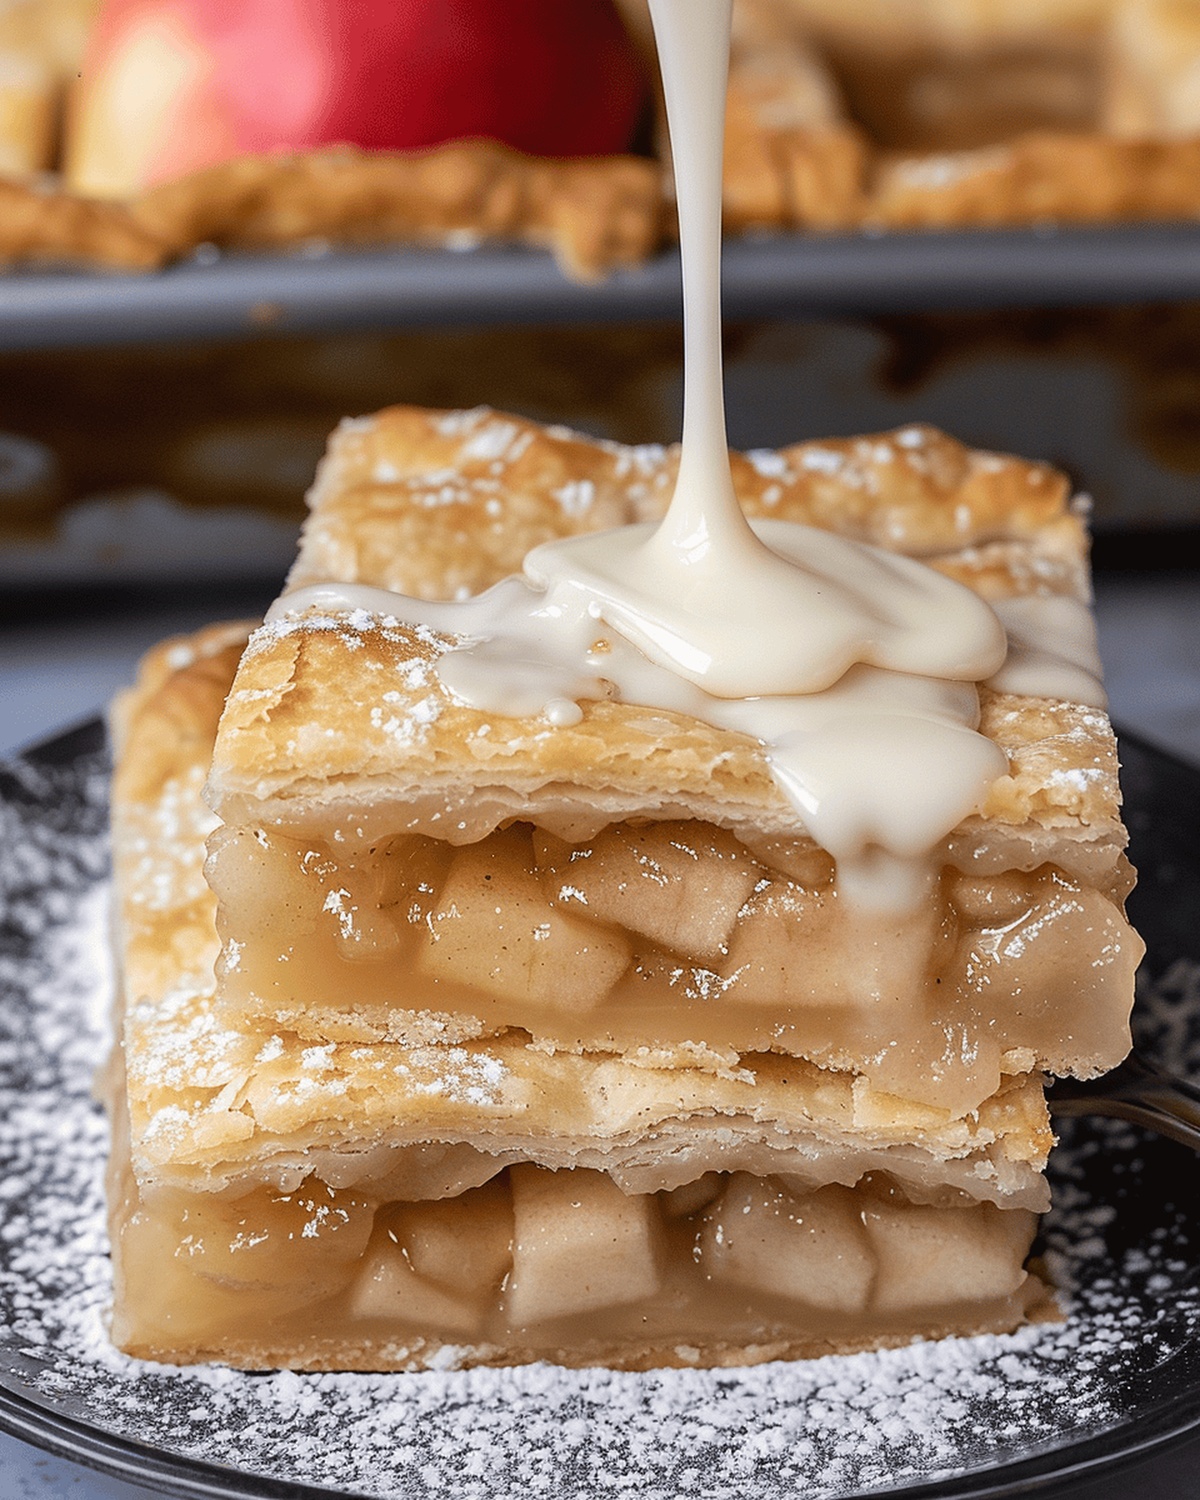
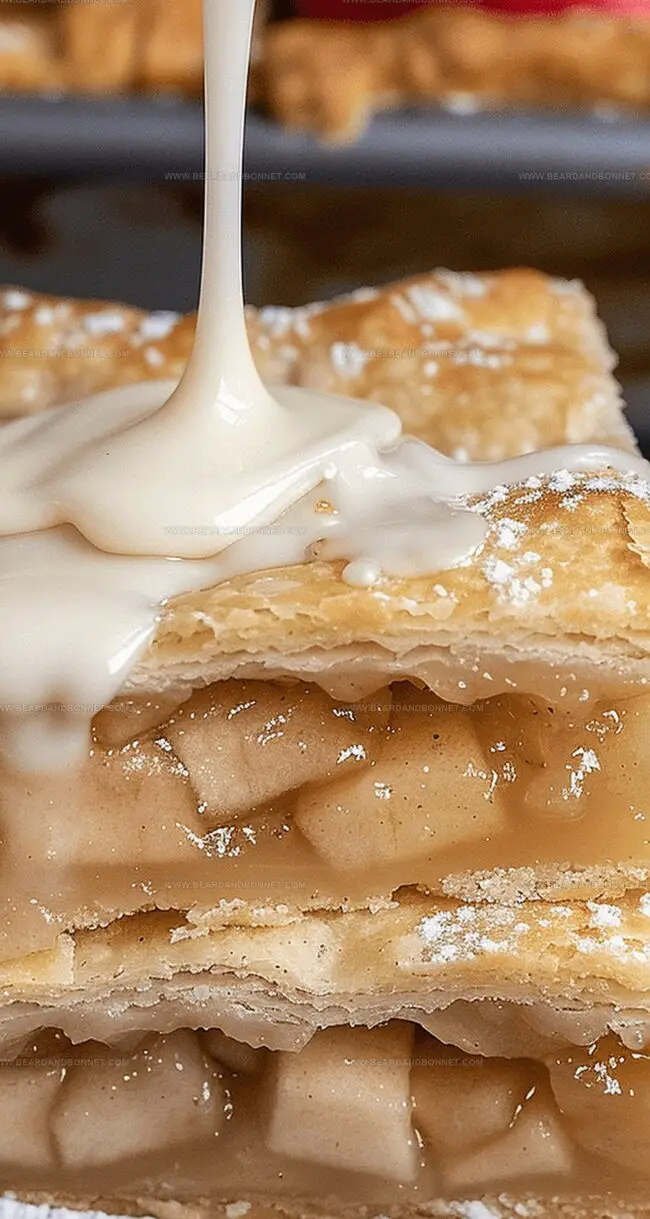
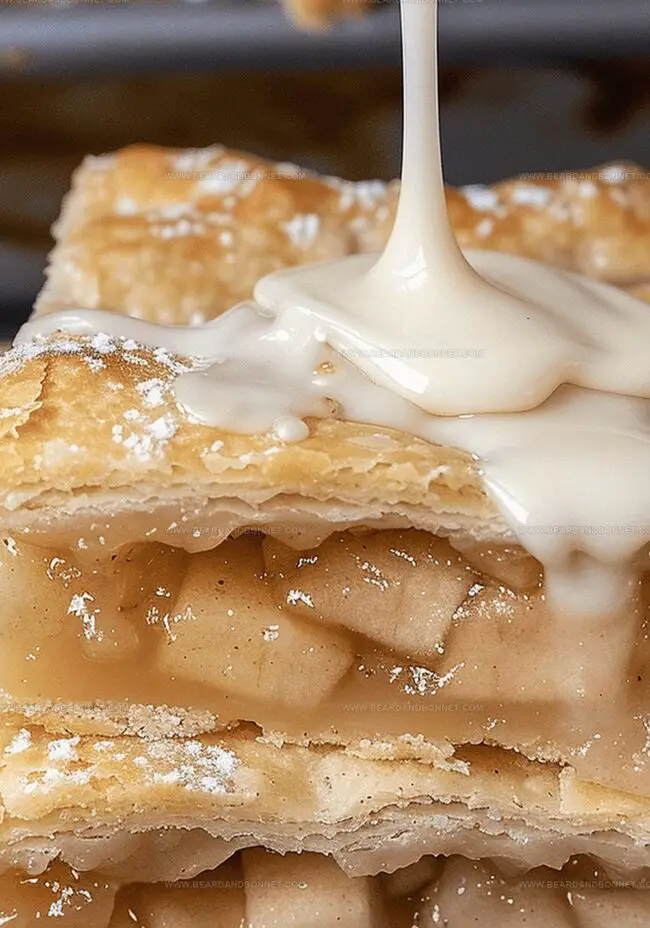
Homemade chicago-style bakery apple squares combine buttery pastry with sweet cinnamon-spiced apples for a classic Midwestern dessert. Generous layers of caramelized fruit nestled between flaky crusts promise comfort in each delightful bite you’ll savor.
Ingredients
- 4 cups all-purpose flour
- 1 ¼ cups (2 ½ sticks / 280 g) unsalted butter, chilled
- 4 cups apple pie filling (canned or homemade)
- 1 cup powdered sugar
- ½ cup (120 mL) ice water, plus more as needed
- 2 tbsps unsalted butter, softened
- 1 tbsp granulated sugar
- 1 tsp salt
- 1 tbsp (15 mL) whole milk
- 1 tsp vanilla extract
Instructions
- Dough Preparation: Combine flour, sugar, and salt in a large mixing bowl, then grate chilled butter over dry ingredients, stirring gently to create a crumbly mixture.
- Dough Consolidation: Add ice water gradually, kneading until the dough forms a cohesive mass, then divide into two equal rectangles and refrigerate for 30 minutes.
- Crust Layering: Roll out one dough rectangle and carefully line a 9×13-inch baking pan, ensuring complete bottom coverage with the pastry.
- Filling Distribution: Spread apple pie filling evenly across the bottom crust, maintaining a consistent layer from edge to edge.
- Top Crust Formation: Roll out the second dough rectangle, drape over the filling, and seal edges by crimping and pinching, then create strategic ventilation slits across the surface.
- Baking Process: Place the pan in a preheated 400°F oven and bake for 40 minutes, or until the pastry achieves a rich golden-brown color and crisp texture.
- Finishing Touch: Allow the baked squares to cool completely on a wire rack, then prepare a smooth glaze by whisking powdered sugar, softened butter, vanilla extract, and milk until well combined.
- Glaze Application: Once cooled, generously spread the glaze over the pastry surface, allowing it to set naturally before slicing and serving.
Notes
- Butter Chilling Technique: Freeze butter for 15-20 minutes before grating to achieve ultra-flaky pastry texture and easier handling.
- Dough Resting Importance: Refrigerating dough allows gluten to relax, preventing tough crust and ensuring tender, delicate pastry layers.
- Apple Filling Tip: Pat apple slices dry with paper towels to prevent excess moisture and maintain crisp bottom crust integrity.
- Glaze Consistency Trick: Add milk gradually to control thickness, ensuring smooth drizzle that sets perfectly without running off the pastry.
- Prep Time: 20 minutes
- Cook Time: 40 minutes
- Category: Desserts, Snacks
- Method: Baking
- Cuisine: American
Nutrition
- Serving Size: 13
- Calories: 263
- Sugar: 16 g
- Sodium: 162 mg
- Fat: 14 g
- Saturated Fat: 8 g
- Unsaturated Fat: 6 g
- Trans Fat: 0 g
- Carbohydrates: 36 g
- Fiber: 1 g
- Protein: 2 g
- Cholesterol: 30 mg
Jessica Martin
Recipe Developer & Food Writer
Expertise
Recipe Development, Food Styling and Photography, Seasonal and Local Ingredients, Vegetarian and Vegan Cuisine, Culinary Education
Education
Portland Community College
Oregon Culinary Institute
Jessica Martin is a talented food writer and recipe creator who specializes in seasonal cooking and approachable home baking.
Educated at Portland Community College with additional pastry training from Oregon Culinary Institute, Jessica’s culinary journey spans nearly a decade of creating and sharing flavorful recipes.
Her deep appreciation for local ingredients shapes each of her recipes, making them both accessible and inspiring. At Beard and Bonnet, Jessica uses her cheerful, down-to-earth writing to help readers effortlessly bring new tastes and creative dishes into their daily routines.