Dreamy Peanut Butter Chocolate Kiss Cookies Recipe
Sweet aromas of chocolate and peanut butter swirl through the kitchen when you bake these irresistible peanut butter chocolate kiss delight cookies.
Soft, pillowy dough meets rich chocolate kisses in a match made in dessert heaven.
These classic cookies promise pure comfort with every single bite.
Generations have cherished this simple yet decadent treat that combines two beloved flavors.
Children and adults alike will fall in love with the perfect balance of nutty and sweet notes.
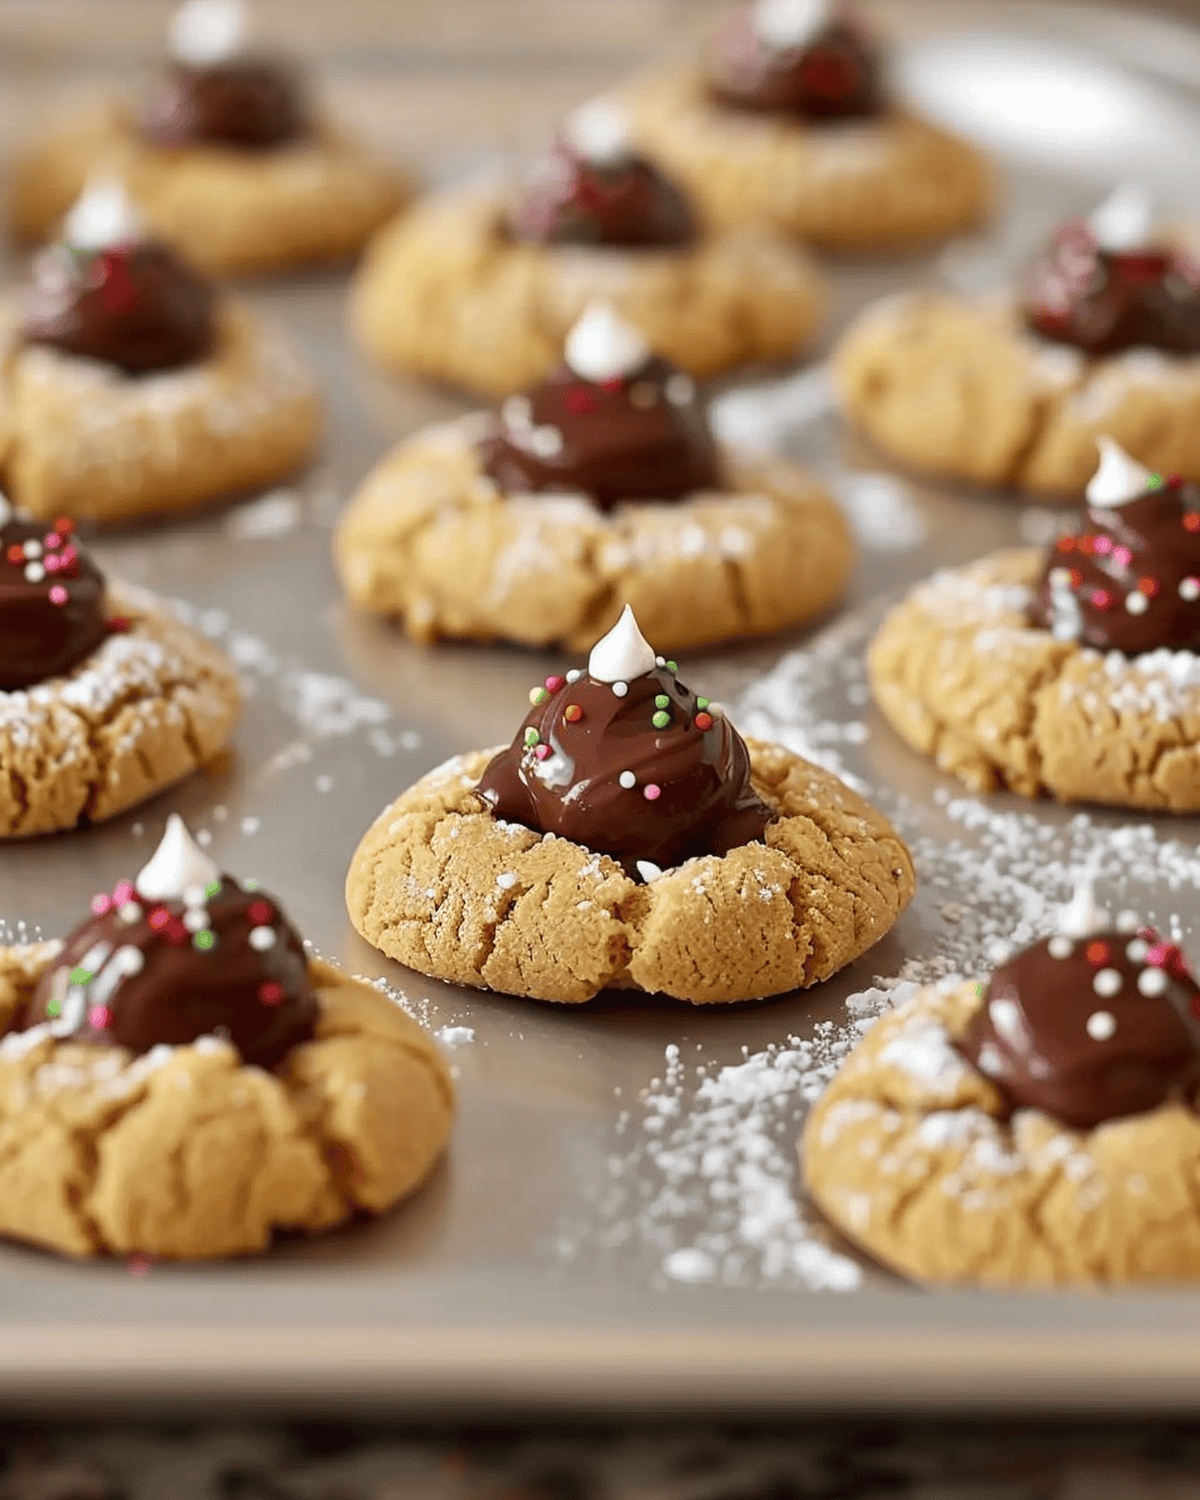
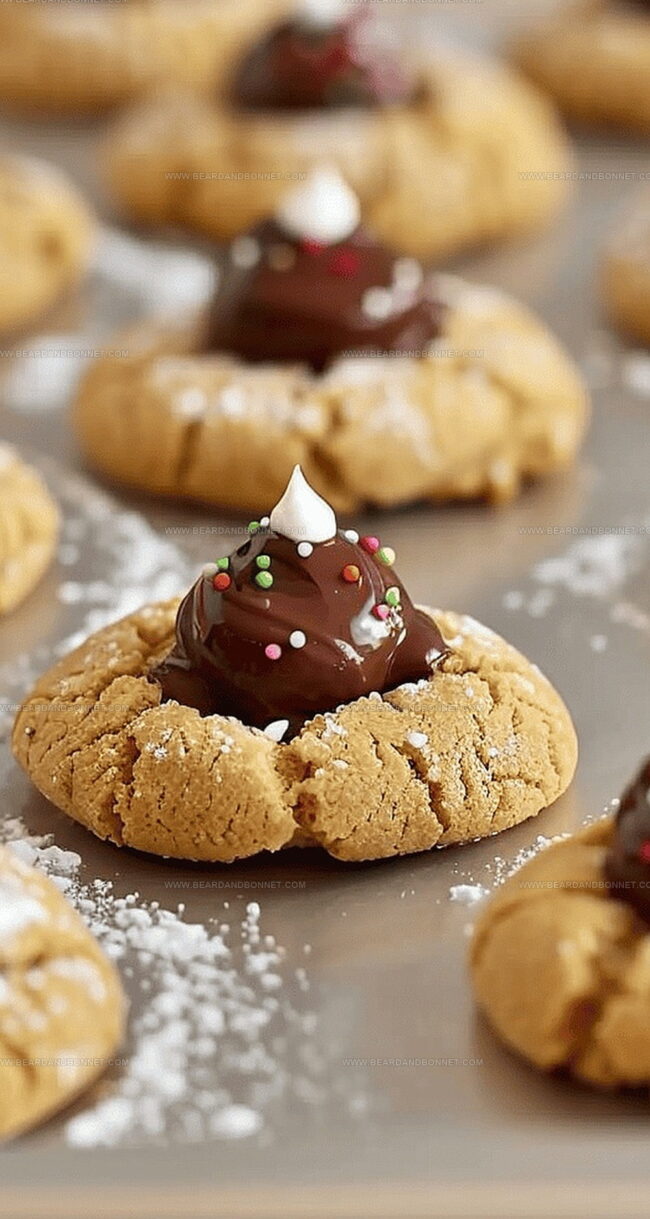
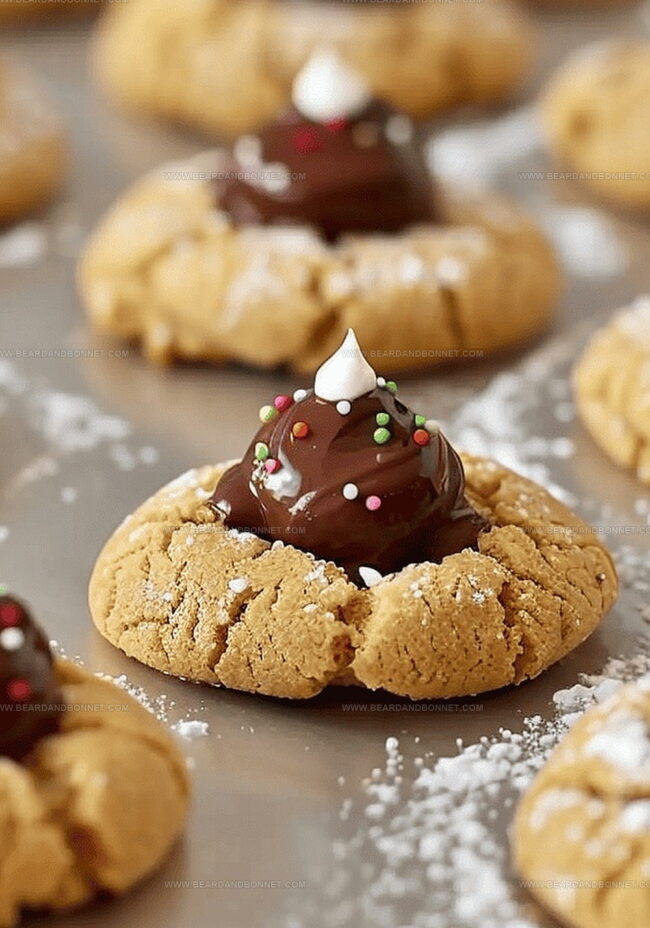
The sparkle of chocolate kisses nestled atop perfectly baked cookies creates an instant moment of joy.
Dive into this delightful recipe and create a batch of memories that melt in your mouth.
Quick Recipe Overview
What You Need for PB Chocolate Kiss Cookies
For Cookie Base:For Coating and Texture:For Baking Preparation:Tools for PB Chocolate Kiss Cookies
How to Make PB Chocolate Kiss Cookies
Peanut Butter Chocolate Kiss Cookies
Warm up your kitchen and gather all the yummy ingredients. Get your baking zone ready with clean surfaces and a welcoming atmosphere.
Grab a mixing bowl and blend the peanut butter cookie mix with a single egg, vegetable oil, and a splash of water. Stir until the mixture looks smooth and inviting, with no dry patches hiding.
Roll the dough into adorable little balls. Give each one a delightful tumble in granulated sugar, creating a sparkly, crunchy exterior that promises sweet deliciousness.
Spread the sugar-kissed dough balls on a cookie sheet, leaving space between them. Slide the tray into a preheated oven at 375°F and let the magic begin.
Once the cookies turn a gorgeous golden brown, pull them out of the oven. Quickly press a chocolate kiss into the center of each warm cookie, watching the chocolate melt slightly and create a perfect flavor connection.
Extra Tips for PB Chocolate Kiss Cookies
How to Serve PB Chocolate Kiss Cookies
Storing PB Chocolate Kiss Cookies with Care
Print
Heavenly Peanut Butter Chocolate Kiss Cookies Recipe
- Total Time: 22 minutes
- Yield: 37 1x
Description
Classic peanut butter chocolate kiss delight cookies showcase rich flavors from American baking traditions. Homemade cookies deliver sweet comfort and nostalgic charm when you bake them with care.
Ingredients
- 1 (17.5 oz/496 g) Betty Crocker peanut butter cookie mix
- 1 egg
- 3 tbsps vegetable oil
- 1 tbsp water
- Granulated sugar (for rolling)
- 36 pieces chocolate kisses
- White decorating gel
- Festive-themed candy sprinkles
Instructions
- Preparation: Preheat oven to 375°F (190°C) and gather all ingredients. Ensure workspace is clean and organized for efficient cookie creation.
- Dough Mixing: Combine peanut butter cookie mix with egg, vegetable oil, and water in a large mixing bowl. Blend thoroughly until a smooth, consistent dough forms with no dry ingredients visible.
- Cookie Shaping: Roll dough into uniform spheres, generously coating each ball in granulated sugar. This creates a crisp, sweet exterior that adds texture and visual appeal to the cookies.
- Baking Process: Place sugar-coated dough balls on an ungreased baking sheet, spacing them two inches apart to prevent merging. Bake for 10-12 minutes until edges turn light golden brown, indicating perfect doneness.
- Chocolate Kiss Topping: Immediately after removing from oven, gently press a chocolate kiss into the center of each warm cookie. The residual heat will help the chocolate slightly melt and adhere to the cookie surface.
- Cooling and Serving: Let cookies cool completely on the baking sheet, allowing the chocolate kiss to set and the cookie to firm up. Transfer to a serving plate or storage container once fully cooled.
Notes
- Precise Sugar Coating: Roll cookies generously in sugar for a delightful crisp exterior that adds sweet crunch and beautiful sparkle.
- Perfect Chocolate Kiss Placement: Press chocolate kiss immediately after baking while cookies are warm, allowing gentle melting for seamless attachment.
- Spacing Strategy: Keep cookie dough balls two inches apart to prevent merging and ensure uniform, professional-looking cookies.
- Doneness Detection: Watch for light golden brown edges as the key signal that cookies are perfectly baked and ready to remove from oven.
- Prep Time: 10 minutes
- Cook Time: 12 minutes (per batch)
- Category: Desserts, Snacks
- Method: Baking
- Cuisine: American
Nutrition
- Serving Size: 37
- Calories: 130
- Sugar: 6 g
- Sodium: 120 mg
- Fat: 7 g
- Saturated Fat: 1 g
- Unsaturated Fat: 5 g
- Trans Fat: 0 g
- Carbohydrates: 15 g
- Fiber: 0 g
- Protein: 2 g
- Cholesterol: 10 mg
Jessica Martin
Recipe Developer & Food Writer
Expertise
Recipe Development, Food Styling and Photography, Seasonal and Local Ingredients, Vegetarian and Vegan Cuisine, Culinary Education
Education
Portland Community College
Oregon Culinary Institute
Jessica Martin is a talented food writer and recipe creator who specializes in seasonal cooking and approachable home baking.
Educated at Portland Community College with additional pastry training from Oregon Culinary Institute, Jessica’s culinary journey spans nearly a decade of creating and sharing flavorful recipes.
Her deep appreciation for local ingredients shapes each of her recipes, making them both accessible and inspiring. At Beard and Bonnet, Jessica uses her cheerful, down-to-earth writing to help readers effortlessly bring new tastes and creative dishes into their daily routines.