Dreamy Fluffernutter Cookies Recipe: Sweet Marshmallow Magic
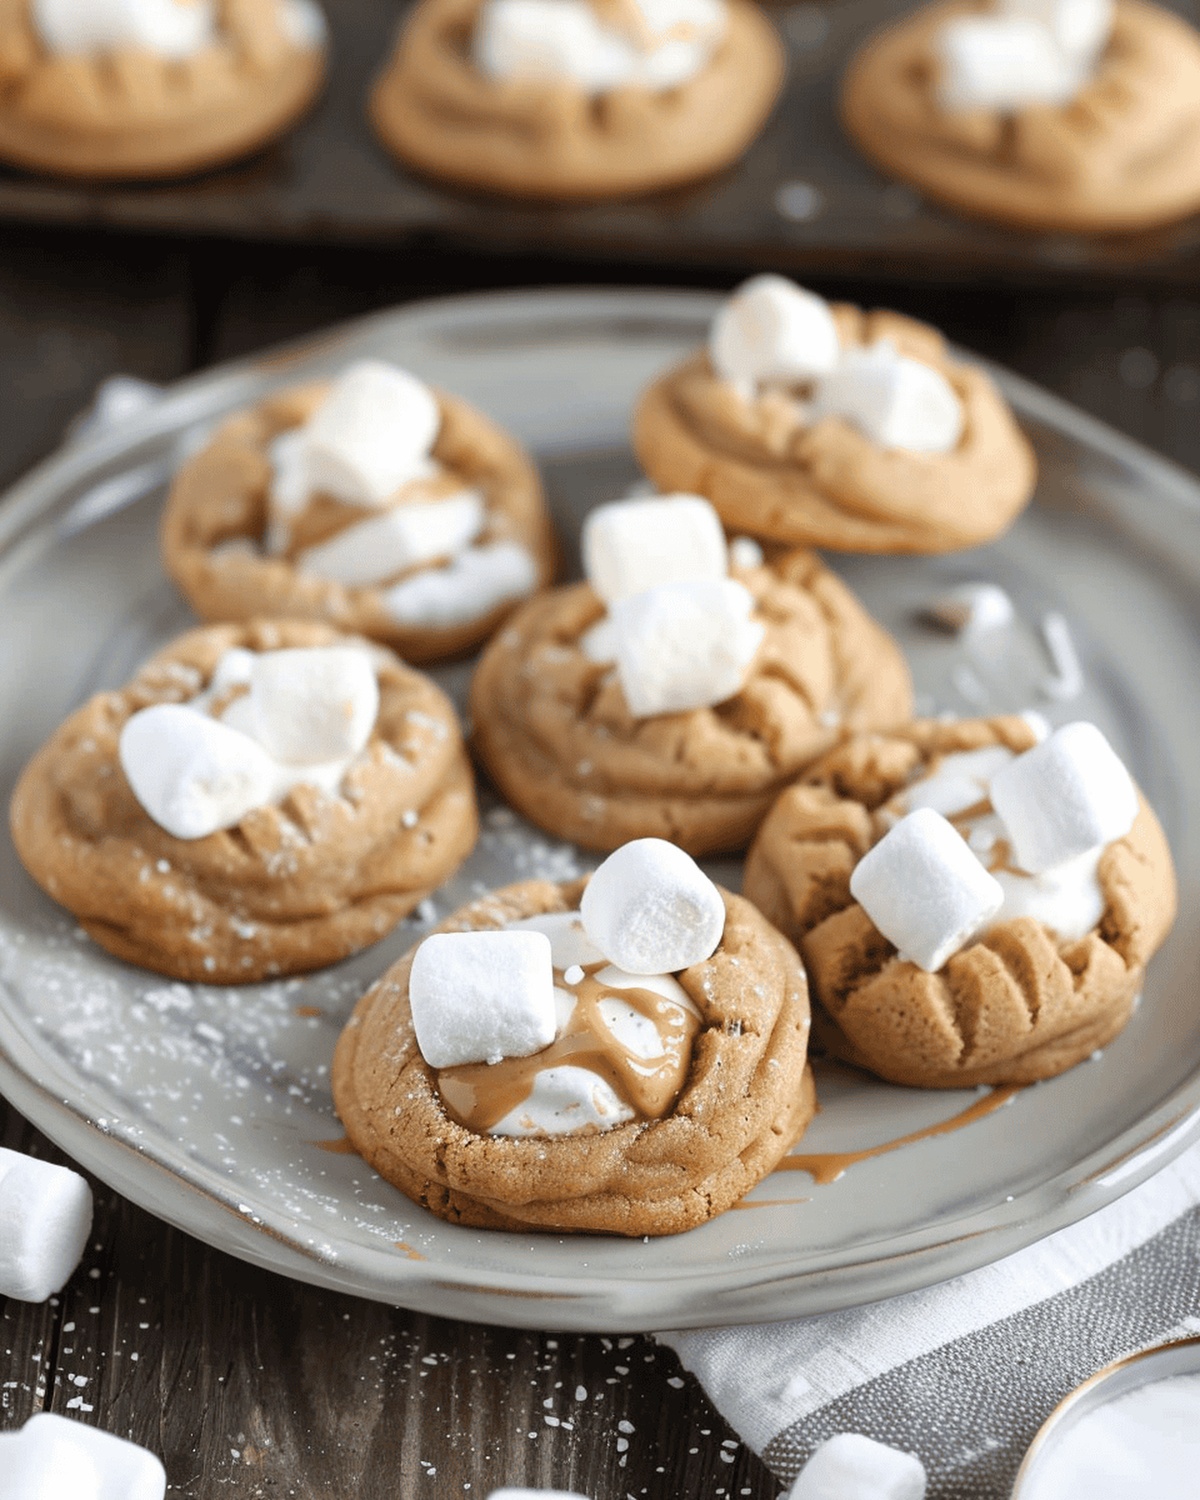
Sweet memories of childhood snacks collide with classic homemade baking in these irresistible fluffernutter delight cookies that blend marshmallow and peanut butter into one decadent treat.
Soft, chewy, and packed with nostalgic flavor, these cookies promise a delightful twist on traditional favorites.
Peanut butter lovers will swoon over the rich, creamy texture that melts in your mouth.
Marshmallow swirls add a playful touch of sweetness to every single bite.
The combination of smooth peanut butter and gooey marshmallow creates a texture that’s both comforting and exciting.
Each cookie carries the perfect balance of salty and sweet, making them impossible to resist.
Dive into this simple yet spectacular recipe and transform your afternoon snack into a moment of pure joy.
Quick Recipe Overview
Ingredients to Mix Fluffernutter Cookies
For Base Components:For Sweet and Creamy Elements:For Binding and Texture:Tools to Help You Whip Up Fluffernutter Cookies
How to Make Gooey Fluffernutter Cookies Fast
Chill mini marshmallows in the freezer for a couple hours until completely solid and frosty.
Heat the oven to a cozy 350 degrees and line baking sheets with parchment paper.
Whip softened butter with sugars until the mixture looks fluffy and cloud-like, creating a creamy base.
Blend in peanut butter, egg, and vanilla, mixing until everything looks smooth and incorporated.
Gently fold dry ingredients into the wet mixture, stopping just before everything looks perfectly combined.
Quickly tuck frozen marshmallows into the dough, moving swiftly to keep them icy cold.
Scoop dough into round balls, spacing them generously on prepared baking sheets.
Slide cookies into the oven, watching for golden brown edges after about 11-12 minutes.
Let cookies rest on the baking sheet for 10 minutes, then transfer to a wire rack for final cooling.
Peanut Butter and Marshmallow Tips for Flavor
Serving Ideas for Fluffernutter Lovers
How to Store Fluffernutter Cookies Without Mess
Print
Gooey Fluffernutter Cookies Recipe
- Total Time: 32 minutes
- Yield: 13 1x
Description
Nostalgic fluffernutter delight cookies bring childhood memories onto your plate with marshmallow and peanut butter magic. Homemade treats connect sweet moments from past kitchens while inviting new delicious experiences for hungry snackers.
Ingredients
- 1 ½ cups (180 g) all-purpose flour
- 1 tsp baking soda
- ½ tsp salt
- ½ cup (113 g) unsalted butter, softened
- ½ cup (100 g) granulated sugar
- ½ cup (100 g) light brown sugar, packed
- ½ cup (132 g) creamy peanut butter
- 1 large egg
- 1 tsp vanilla extract
- 1 cup (45 g) mini marshmallows, frozen
Instructions
- Marshmallow Preparation: Deeply chill mini marshmallows for 1-2 hours to guarantee structural stability during baking and prevent premature melting.
- Oven Configuration: Heat oven to 350°F and prepare baking sheets with silicone mats or parchment paper for uniform heat distribution and effortless cookie removal.
- Dry Ingredient Fusion: Meticulously sift flour, baking soda, and salt in a mixing bowl, creating a harmonious dry ingredient foundation for consistent cookie texture.
- Butter-Sugar Transformation: Whip softened butter with granulated and light brown sugars using an electric mixer until the mixture achieves a pale, airy consistency.
- Wet Ingredient Integration: Blend creamy peanut butter, egg, and vanilla extract into the butter-sugar mixture, ensuring complete incorporation and smooth texture.
- Dough Formation: Gently fold dry ingredients into wet components, mixing until just combined to maintain optimal dough structure and prevent toughness.
- Marshmallow Incorporation: Delicately fold frozen mini marshmallows throughout the dough, distributing them evenly while preserving their chilled state.
- Cookie Shaping and Placement: Use a cookie scoop to create uniform dough balls, strategically positioning them on prepared baking sheets with adequate spacing for expansion.
- Baking and Finishing: Bake for 11-12 minutes, monitoring for golden-brown edges indicating perfect caramelization, then allow cookies to rest on the sheet for 10 minutes before transferring to a cooling rack.
Notes
- Freeze Marshmallows Strategically: Hard-freeze mini marshmallows for 1-2 hours to prevent rapid melting and maintain their distinctive shape during baking.
- Master Mixing Technique: Blend butter and sugars until pale and fluffy, creating a smooth base that ensures tender, well-structured cookies.
- Control Dough Handling: Mix dry and wet ingredients gently, avoiding overmixing to preserve the delicate cookie texture and prevent toughness.
- Watch Baking Precision: Monitor cookies closely at the 11-12 minute mark, looking for golden-brown edges as the perfect doneness indicator for maximum flavor and texture.
- Prep Time: 20 minutes
- Cook Time: 12 minutes
- Category: Desserts, Snacks
- Method: Baking
- Cuisine: American
Nutrition
- Serving Size: 13
- Calories: 157
- Sugar: 10 g
- Sodium: 136 mg
- Fat: 7 g
- Saturated Fat: 4 g
- Unsaturated Fat: 2 g
- Trans Fat: 0 g
- Carbohydrates: 22 g
- Fiber: 1 g
- Protein: 3 g
- Cholesterol: 21 mg
Jessica Martin
Recipe Developer & Food Writer
Expertise
Recipe Development, Food Styling and Photography, Seasonal and Local Ingredients, Vegetarian and Vegan Cuisine, Culinary Education
Education
Portland Community College
Oregon Culinary Institute
Jessica Martin is a talented food writer and recipe creator who specializes in seasonal cooking and approachable home baking.
Educated at Portland Community College with additional pastry training from Oregon Culinary Institute, Jessica’s culinary journey spans nearly a decade of creating and sharing flavorful recipes.
Her deep appreciation for local ingredients shapes each of her recipes, making them both accessible and inspiring. At Beard and Bonnet, Jessica uses her cheerful, down-to-earth writing to help readers effortlessly bring new tastes and creative dishes into their daily routines.