Dreamy Apple Crisp Cheesecake Recipe: Fall’s Sweetest Treasure
Dessert enthusiasts crave a decadent apple crisp cheesecake that blends classic comfort with creamy indulgence.
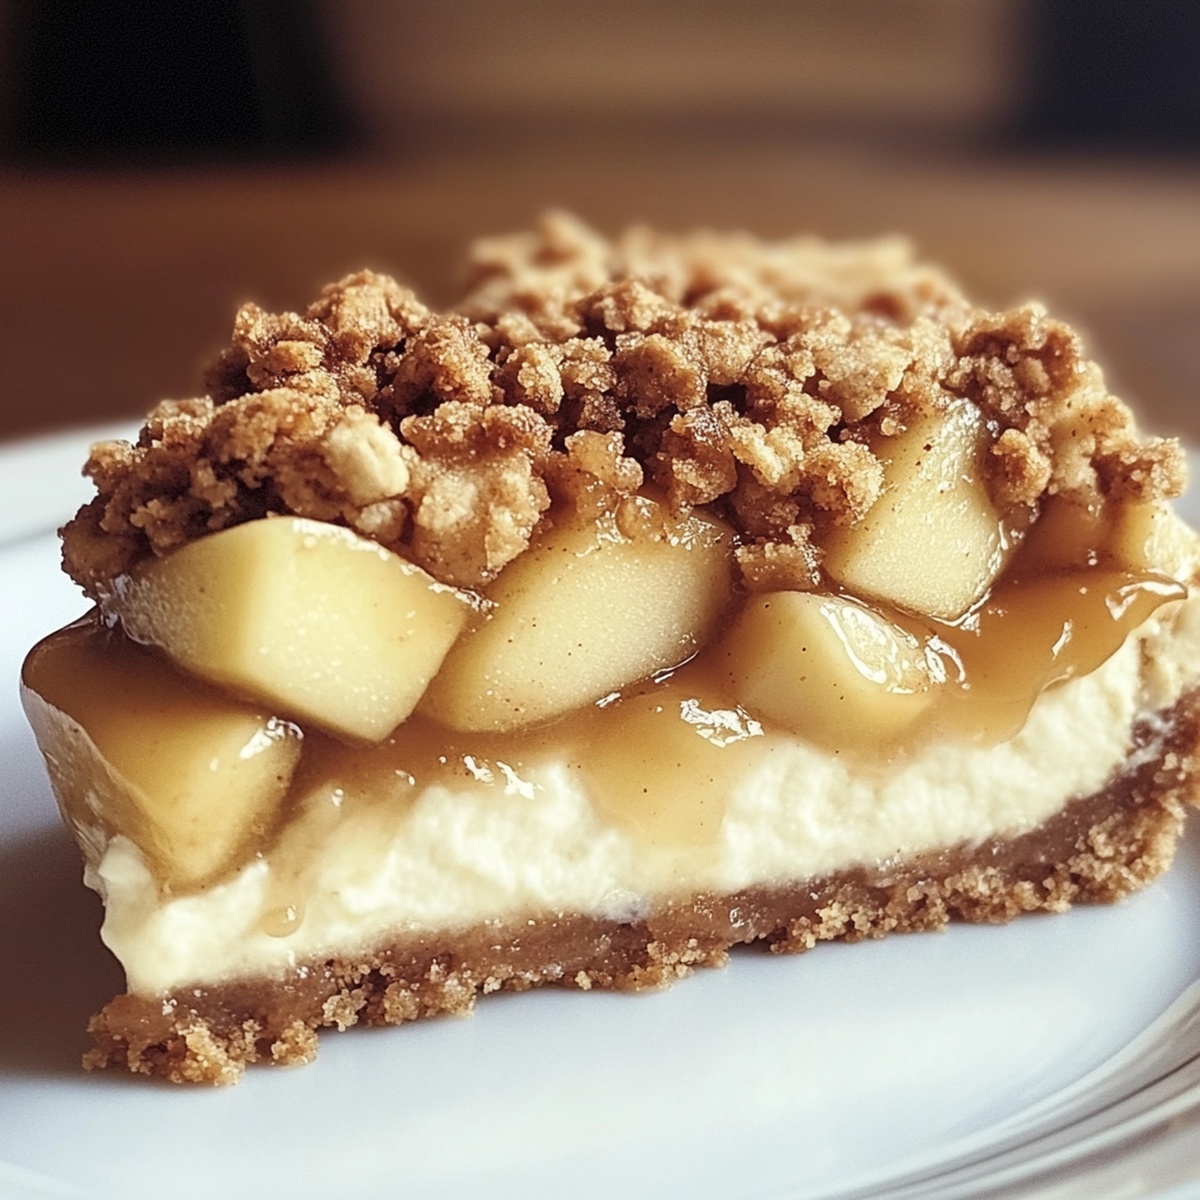
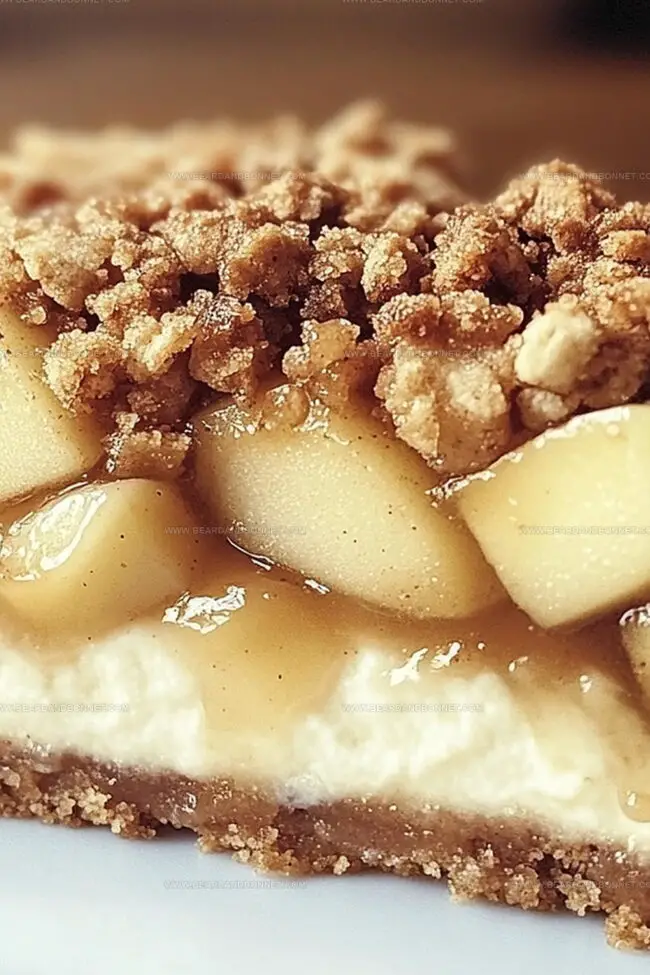
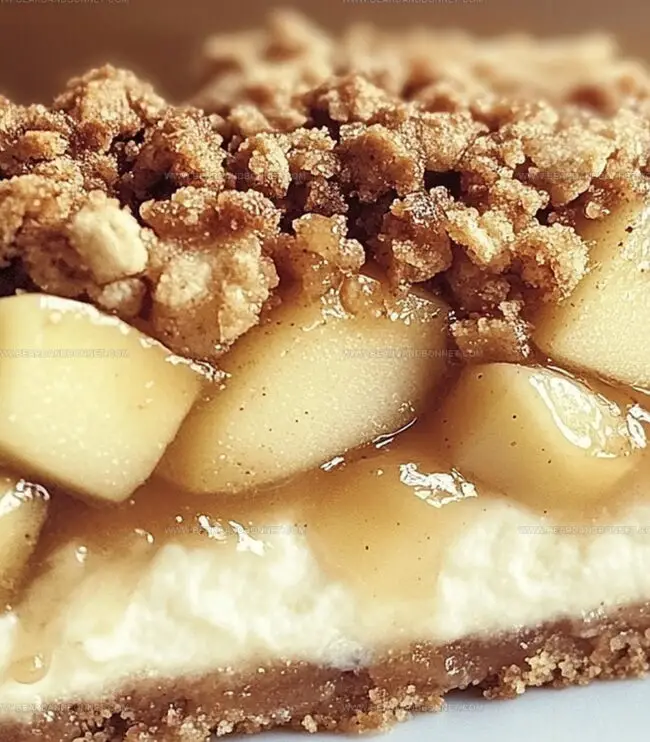
Layers of rich, velvety cheesecake mingle with warm spiced apples and a buttery crumble topping.
Each forkful promises a symphony of textures and flavors that dance across your palate.
Crisp autumn apples caramelize beautifully beneath a golden-brown streusel crust.
The silky cheesecake base provides a luxurious contrast to the crunchy topping.
Seasonal ingredients transform this dessert into a showstopping centerpiece for any gathering.
Prepare to fall in love with this irresistible fusion of two beloved desserts that will have everyone asking for seconds.
Quick Recipe Overview
What’s Inside Apple Crisp Cheesecake
For Crust:For Cheesecake Filling:For Apple Layer and Crisp Topping:What You’ll Need For Apple Crisp Cheesecake
Simple Steps To Bake Apple Crisp Cheesecake
Create a buttery base by crushing graham crackers and mixing with sugar and melted butter. Press mixture firmly into a springform pan, then bake briefly to set the foundation.
Blend cream cheese until silky smooth, gradually incorporating eggs, sour cream, and vanilla. Pour this luxurious mixture over the cooled crust, creating a rich and velvety layer.
Gently coat diced apples with warm spices, then nestle them carefully across the cheesecake surface. The fruit adds a vibrant pop of color and bursting flavor.
Craft a delectable topping by combining flour, oats, brown sugar, and cold butter. Sprinkle this golden-brown mixture over the apple layer, creating a crunchy, textured finish.
Slide the assembled dessert into the oven, allowing it to transform for about an hour. Watch for edges to set and center to develop a gentle wobble, signaling perfect doneness.
Let the cheesecake rest and cool completely, then refrigerate for several hours. This crucial step allows flavors to meld and texture to firm up beautifully.
Carefully release the cheesecake from its pan, slice into elegant portions, and serve. Optional caramel drizzle adds an extra touch of decadence.
Pro Tips For Apple Crisp Cheesecake
How To Serve Apple Crisp Cheesecake Neatly
Storage Guide For Apple Crisp Cheesecake
Print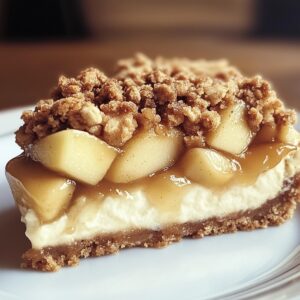
Dreamy Apple Crisp Cheesecake Recipe
- Total Time: 5 hours 30 minutes
- Yield: 11 1x
Description
Spiced apple crisp cheesecake blends classic dessert flavors into one irresistible creation. Creamy cheesecake meets crunchy streusel topping, promising a delightful sensory experience you won’t soon forget.
Ingredients
- 3 packages cream cheese (8 oz / 226 g), softened
- 3 medium apples, peeled and diced
- 3 large eggs
- 1 cup granulated sugar (200 g / 7 oz)
- ½ cup sour cream (120 ml / 4 fl oz)
- ½ cup unsalted butter (115 g / 4 oz), melted
- ¼ cup unsalted butter (55 g / 2 oz), cold and cubed
- ⅓ cup brown sugar (65 g / 2.3 oz)
- 2 cups graham cracker crumbs (200 g / 7 oz)
- ½ cup all-purpose flour (60 g / 2.1 oz)
- ½ cup old-fashioned oats (40 g / 1.4 oz)
- 1 tsp vanilla extract
- 1 tsp ground cinnamon
- ½ tsp ground cinnamon
- ¼ tsp nutmeg
- ¼ cup granulated sugar (50 g / 1.8 oz)
Instructions
- Crust Preparation: Pulverize graham crackers with melted butter and sugar, pressing the mixture into a parchment-lined springform pan. Briefly bake to set the golden, crisp foundation.
- Cheesecake Filling: Whip cream cheese and sugar until silky, gradually blending in eggs for a smooth consistency. Incorporate sour cream and vanilla extract to elevate the flavor profile, creating a luxurious base.
- Apple Spice Layer: Dice fresh apples and coat with warm cinnamon and nutmeg, crafting a fragrant filling that will perfectly complement the creamy cheesecake base.
- Crumble Topping: Blend flour, rolled oats, brown sugar, and cold butter using fingertips to create a textured, crumbly mixture that promises a delightful crunch and caramelized finish.
- Assembly and Baking: Layer the spiced apple mixture over the cheesecake base, generously scatter the oat crumble on top. Bake in a preheated oven until edges are set but center remains slightly wobbly, indicating the ideal custard-like consistency.
- Cooling and Setting: Allow the cheesecake to cool completely at room temperature, then refrigerate for several hours. This process helps the filling set and intensifies the complex flavor profile, transforming it into a rich, decadent dessert.
- Serving: Carefully release from the springform pan, slice into elegant portions, and optionally embellish with a luxurious caramel sauce drizzle for an extra touch of indulgence.
Notes
- Prevent Crust Crumbling: Press graham cracker mixture firmly and evenly into the pan, ensuring a compact base that won’t fall apart when slicing.
- Achieve Smooth Cheesecake Texture: Bring cream cheese to room temperature and beat slowly to eliminate lumps, creating a silky-smooth filling without overmixing.
- Control Apple Moisture: Pat diced apples dry with paper towels to prevent excess liquid from making the cheesecake soggy, maintaining a perfect creamy consistency.
- Protect from Cracking: Use a water bath or place a pan of water in the oven during baking to create humid environment, preventing surface cracks and ensuring even cooking.
- Prep Time: 30 minutes
- Cook Time: 4 hours
- Category: Desserts, Snacks
- Method: Baking
- Cuisine: American
Nutrition
- Serving Size: 11
- Calories: 350
- Sugar: 30 g
- Sodium: 210 mg
- Fat: 20 g
- Saturated Fat: 10 g
- Unsaturated Fat: 9 g
- Trans Fat: 0 g
- Carbohydrates: 38 g
- Fiber: 2 g
- Protein: 4 g
- Cholesterol: 80 mg
Jessica Martin
Recipe Developer & Food Writer
Expertise
Recipe Development, Food Styling and Photography, Seasonal and Local Ingredients, Vegetarian and Vegan Cuisine, Culinary Education
Education
Portland Community College
Oregon Culinary Institute
Jessica Martin is a talented food writer and recipe creator who specializes in seasonal cooking and approachable home baking.
Educated at Portland Community College with additional pastry training from Oregon Culinary Institute, Jessica’s culinary journey spans nearly a decade of creating and sharing flavorful recipes.
Her deep appreciation for local ingredients shapes each of her recipes, making them both accessible and inspiring. At Beard and Bonnet, Jessica uses her cheerful, down-to-earth writing to help readers effortlessly bring new tastes and creative dishes into their daily routines.