
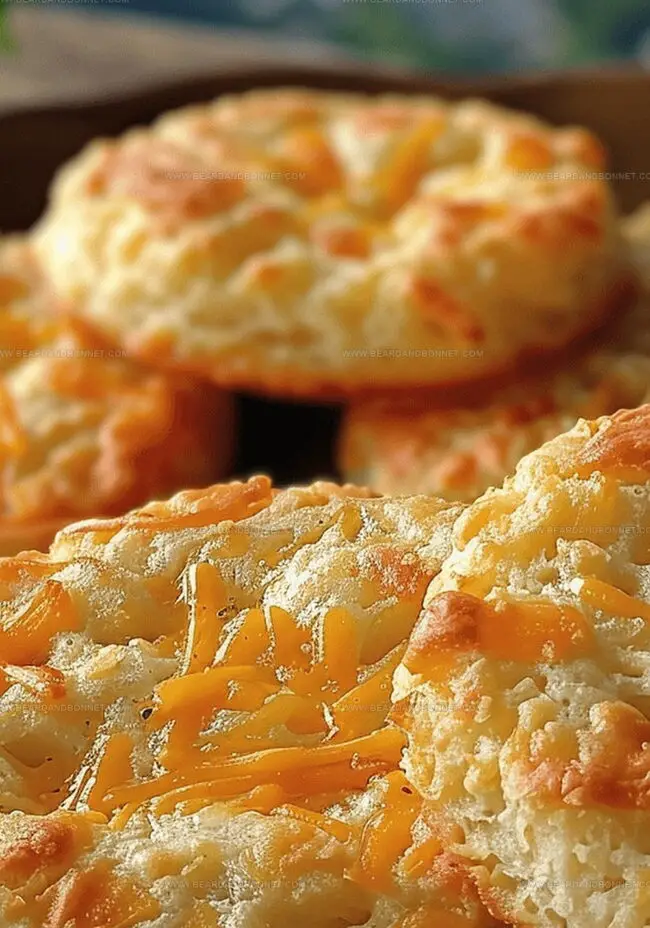
Buttery Cheesy Biscuits Recipe: Oven-Fresh Joy
Golden, buttery biscuits that melt with irresistible cheesy biscuit delights burst with savory flavor and warmth.
Flaky layers of comfort emerge from simple ingredients blended with precision.
Each bite promises a rich, indulgent experience that connects you to homestyle baking traditions.
Cheese weaves its magic through soft, tender dough, creating a side dish that steals the spotlight at any meal.
The aroma alone draws hungry souls to the kitchen with anticipation.
These biscuits serve up comfort in every delectable morsel.
Dive into this recipe and savor a taste of pure, cheesy bliss.
Quick Recipe Overview

Cheesy Biscuit Ingredients
For Base and Texture:For Richness and Flavor:For Moisture and Binding:Biscuit Tools You’ll Need
Step-by-Step Cheesy Biscuit Instructions
Warm the kitchen with a toasty 450F heat. Grab a baking sheet and line it with parchment paper, giving it a quick spray to keep things from sticking.
Grab a mixing bowl and combine flour with a pinch of salt. Crumble cold butter into the mix using your fingertips until it looks like soft sandy crumbs.
Sprinkle in sharp cheddar cheese, working it through the floury mixture with gentle hands until everything looks evenly coated.
Pour in cool water and a whisper of cayenne pepper. Stir with a fork until the ingredients come together into a soft, cohesive dough.
Dust your countertop with flour and roll out the dough. Cut playful rounds using a cookie cutter, reshaping scraps to maximize your biscuit yield.
Place biscuits on the prepared sheet and poke them with a fork. Slide into the hot oven and bake until edges turn a gorgeous golden brown.
Let biscuits rest on the baking sheet for a few minutes, then transfer to a wire rack to cool completely before enjoying their cheesy goodness.
Biscuit Tips for Better Bakes
Serving Warm Cheesy Biscuits
How to Keep Cheesy Biscuits Fresh
Print
Buttery Cheesy Biscuits Recipe
- Total Time: 35 minutes
- Yield: 13 1x
Description
Homemade cheesy biscuit delights combine buttery comfort with sharp cheddar flavors from Southern kitchens. Quick breads packed with cheese promise warm, golden results that welcome hungry guests to the table.
Ingredients
- 3.5 cups (840 ml) shredded cheddar cheese
- 2 cups (480 ml) all-purpose flour
- 8 tbsps (120 ml or ½ cup) butter
- 1 tsp salt
- 1/8 tsp cayenne pepper
- 6 to 7 tbsps (90 to 105 ml) water
Instructions
- Oven Preparation: Ignite the oven to a blazing 450F. Outfit a baking sheet with parchment paper and a delicate mist of nonstick spray for seamless biscuit extraction.
- Dough Foundation: In a mixing bowl, unite flour and salt. Integrate diced butter using fingertips, transforming the mixture into a sandy landscape. Cascade shredded cheddar cheese throughout, blending with a light touch to create a uniform texture.
- Dough Composition: Introduce water and sprinkle cayenne pepper across the surface. Fold and blend with a fork until the ingredients meld into a supple, cohesive dough that whispers of cheesy potential.
- Shaping Ritual: Liberate the dough onto a flour-dusted workspace. Roll to a precise 1/4-inch thickness, then choreograph circular shapes using a cookie cutter. Reassemble scraps to maximize biscuit yield, ensuring no morsel goes to waste.
- Baking Transformation: Position biscuits on the prepared sheet, puncturing each with a fork to create strategic ventilation points. Slide into the scorching oven, allowing 15 minutes of intense heat to transmute the discs into golden-rimmed delicacies.
- Cooling Finale: Rescue the biscuits from the oven’s embrace. Allow a brief 5-minute rest on the baking sheet, then migrate to a wire rack to complete the cooling process, achieving a crisp exterior and tender core that promises culinary delight.
Notes
- Butter Temperature Matters: Use cold butter cut into small cubes to create flaky, layered biscuits with maximum texture and rise.
- Cheese Distribution Technique: Gently toss cheese throughout the flour mixture to prevent clumping and ensure even flavor in every bite.
- Forking Technique: Piercing biscuits prevents excessive rising and helps create an even, crisp surface during baking.
- Handling Dough Gently: Minimal handling keeps biscuits tender; overmixing can develop gluten and result in tough, dense biscuits.
- Prep Time: 20 minutes
- Cook Time: 15 minutes
- Category: Breakfast, Snacks
- Method: Baking
- Cuisine: American
Nutrition
- Serving Size: 13
- Calories: 198
- Sugar: 0.5 g
- Sodium: 154 mg
- Fat: 13.5 g
- Saturated Fat: 8.2 g
- Unsaturated Fat: 4.9 g
- Trans Fat: 0 g
- Carbohydrates: 15 g
- Fiber: 0.3 g
- Protein: 6.7 g
- Cholesterol: 33 mg
Jessica Martin
Recipe Developer & Food Writer
Expertise
Recipe Development, Food Styling and Photography, Seasonal and Local Ingredients, Vegetarian and Vegan Cuisine, Culinary Education
Education
Portland Community College
Oregon Culinary Institute
Jessica Martin is a talented food writer and recipe creator who specializes in seasonal cooking and approachable home baking.
Educated at Portland Community College with additional pastry training from Oregon Culinary Institute, Jessica’s culinary journey spans nearly a decade of creating and sharing flavorful recipes.
Her deep appreciation for local ingredients shapes each of her recipes, making them both accessible and inspiring. At Beard and Bonnet, Jessica uses her cheerful, down-to-earth writing to help readers effortlessly bring new tastes and creative dishes into their daily routines.